
#3 Overhalling the ONE backpack
Illustaration: KOHBODY
Editor/Photographs: Masaaaki Mita
#3 Overhalling the ONE backpack
Illustaration: KOHBODY
Editor/Photographs: Masaaaki Mita
This chapter is a little different than our usual repair diary. This particaller backpack is a great repair example to showcase the work we conduct in the repair department.
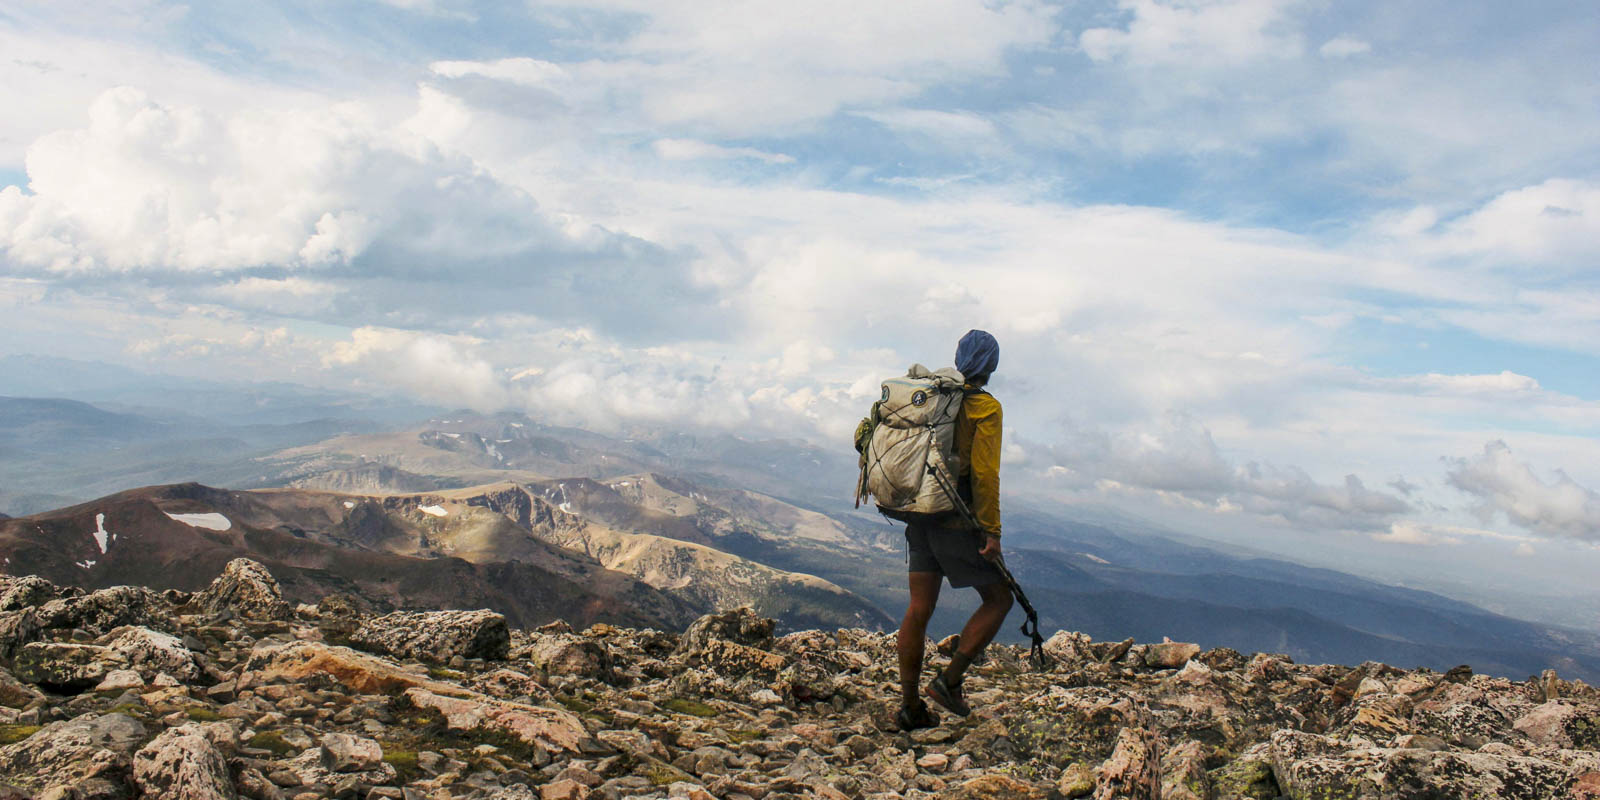
This repair is on our ONE, the largest backpack we have, designed for long distance hiking. This backpack belongs to a man who has walked a considerable distance, and it that can be seen with the backpacks tired condition.
We begin work to bring this beautiful backpack back to life.
Gear with perosnality
Hello, my name is Kitajima, from our Repair Department. We repair all of our products here at the repair department and the sight of worn down gear that I receive everyday brings me great joy.
The gear I often see in our repair department make me feel as if I was hiking with the user. The wear and tear tells a unique story, and carries more character than when it first left our store in its brand new condition.
Todays repair diary showcases is a great example to showcase the type of repairs we do here at Yamatomichi.
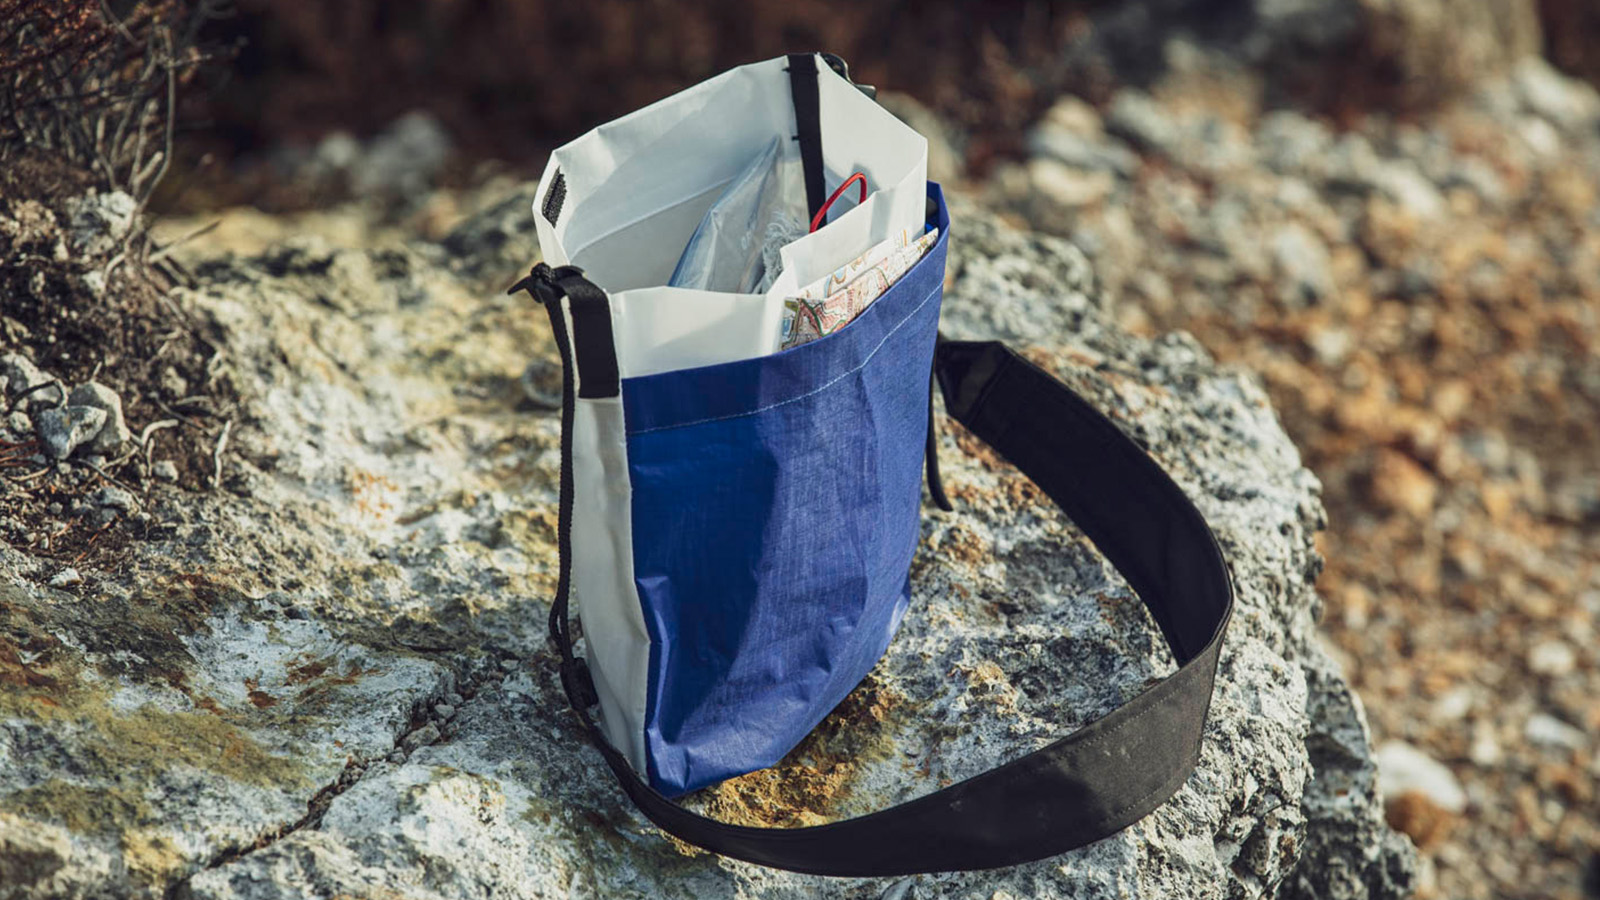
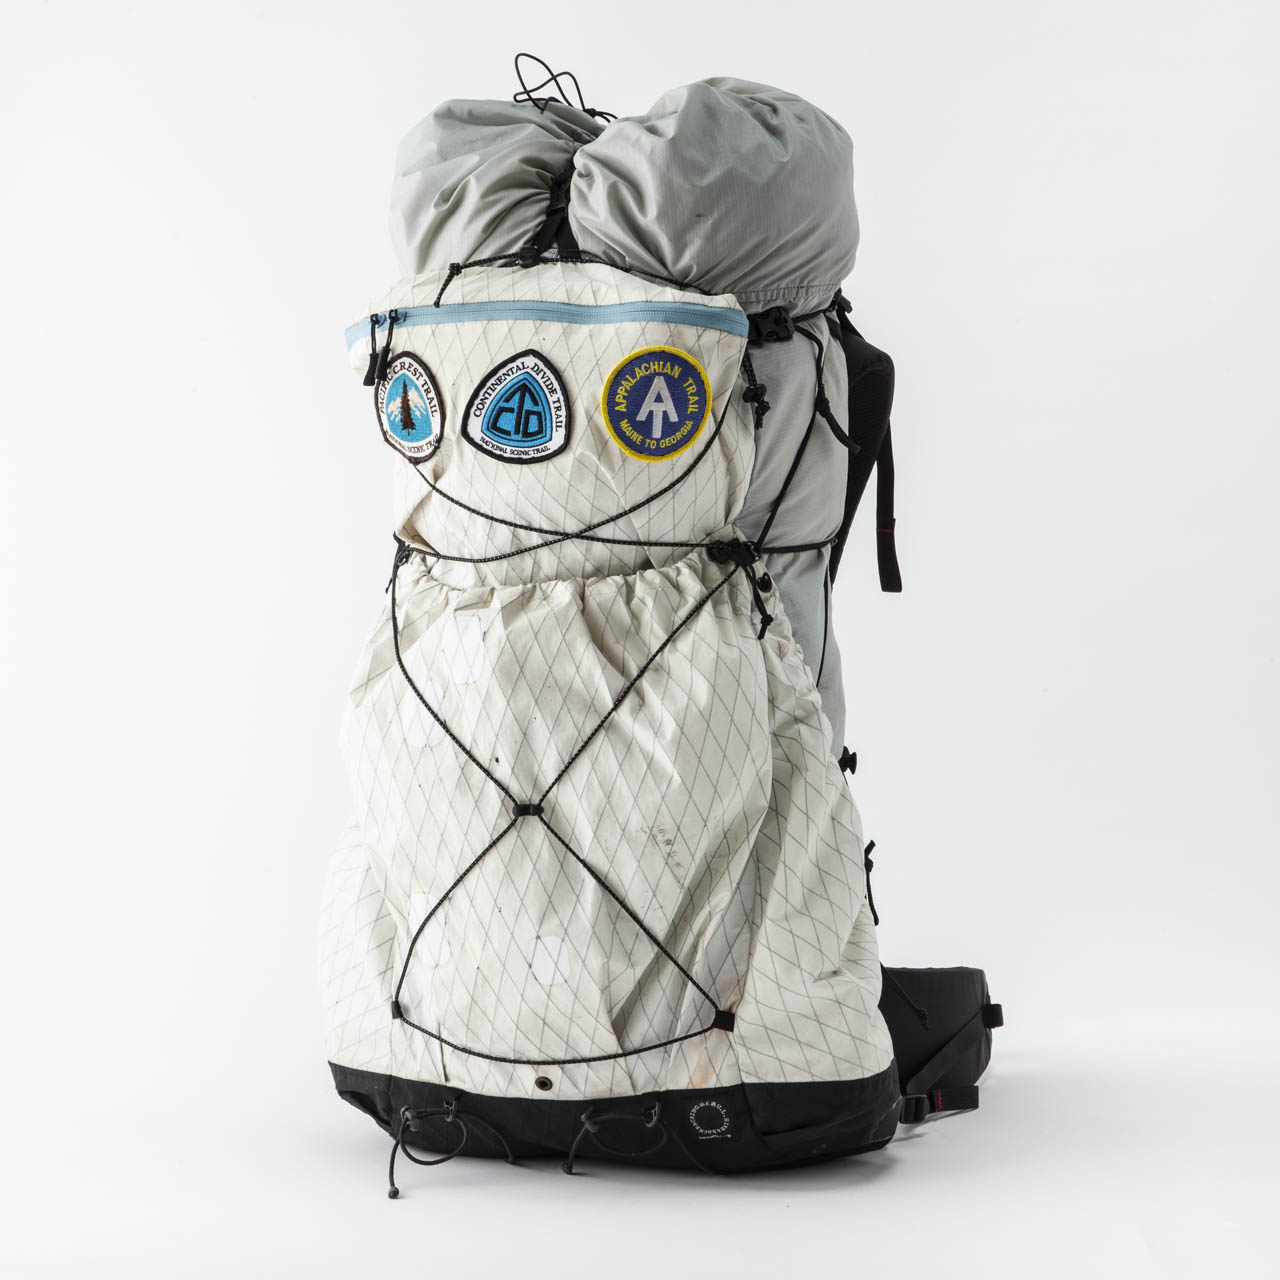
Take a look at the below photo and just imagine the trips it has been on!
BEFORE
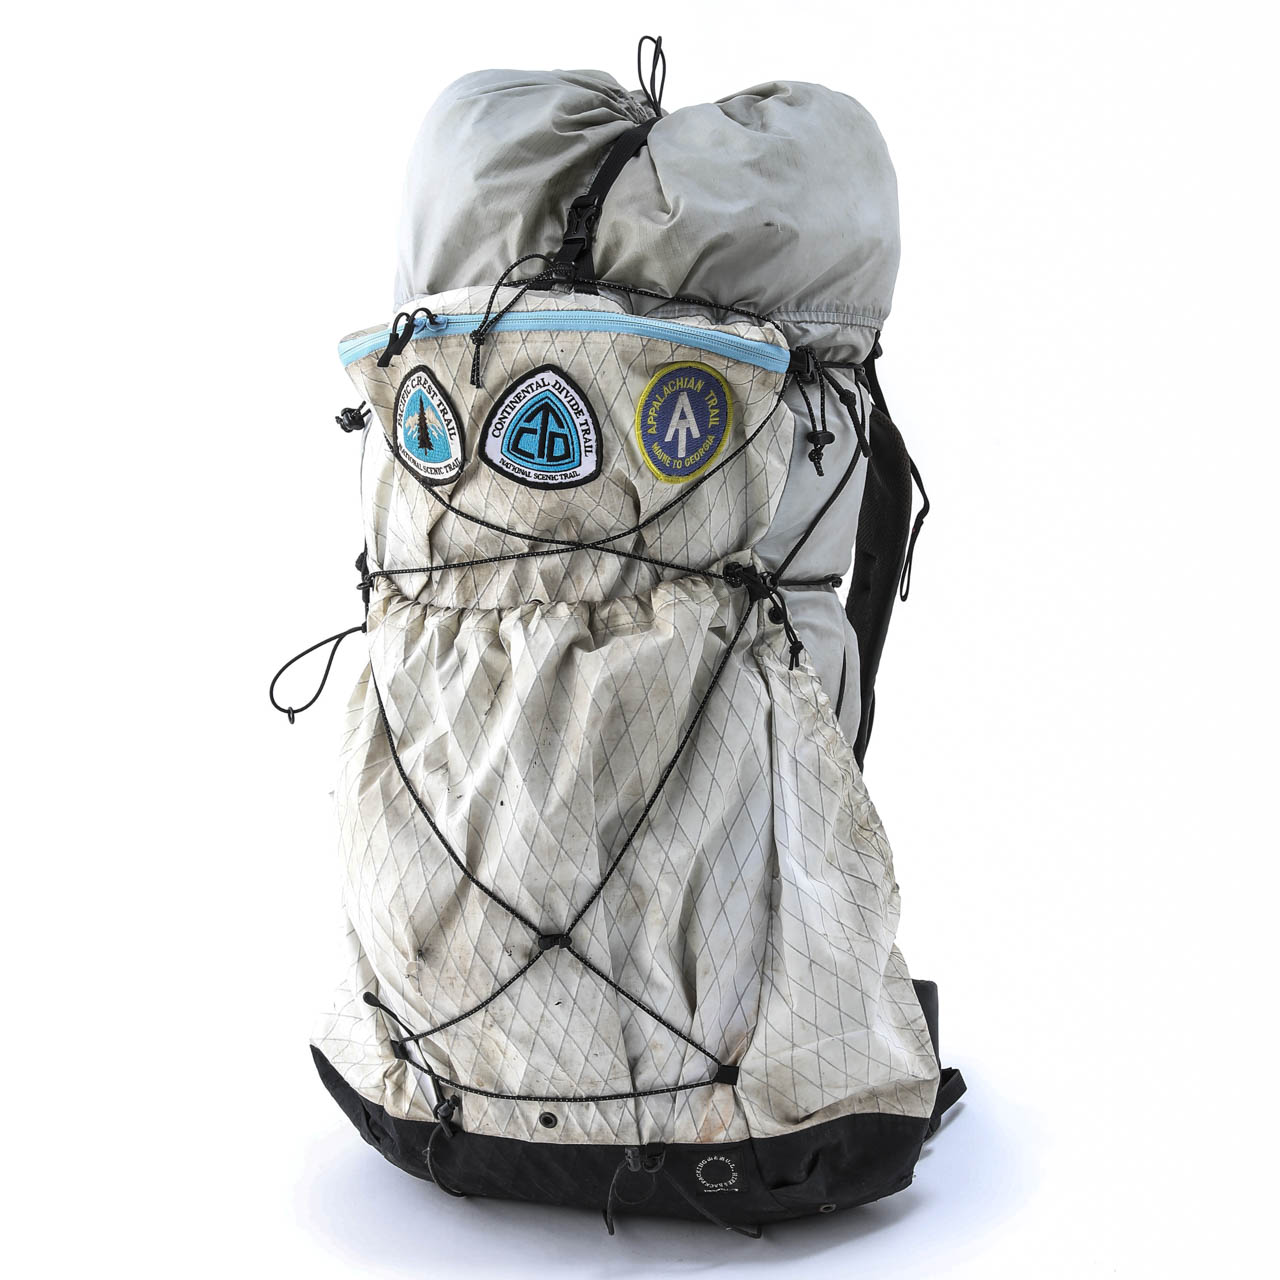
ONE (Model 2019)
Body: Gray(70D Silicone Coated Ripstop Nylon)
Pocket: White(X-Pac VX07)
Zipper: Light Blue(Aqua Guard Zipper)
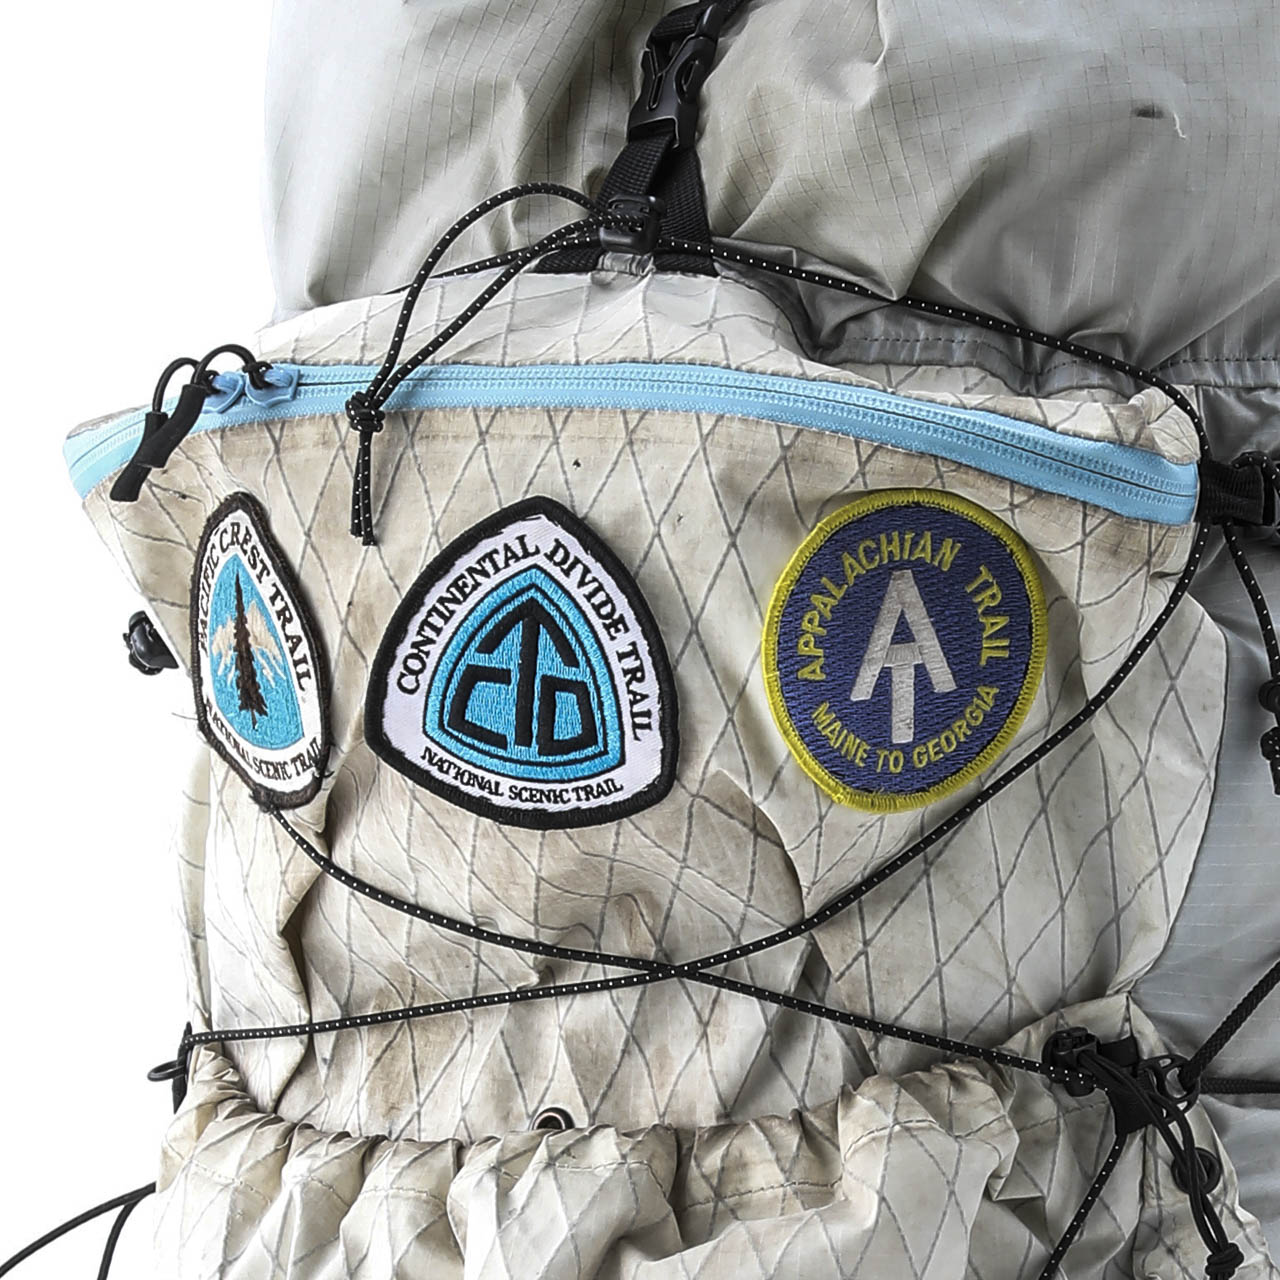
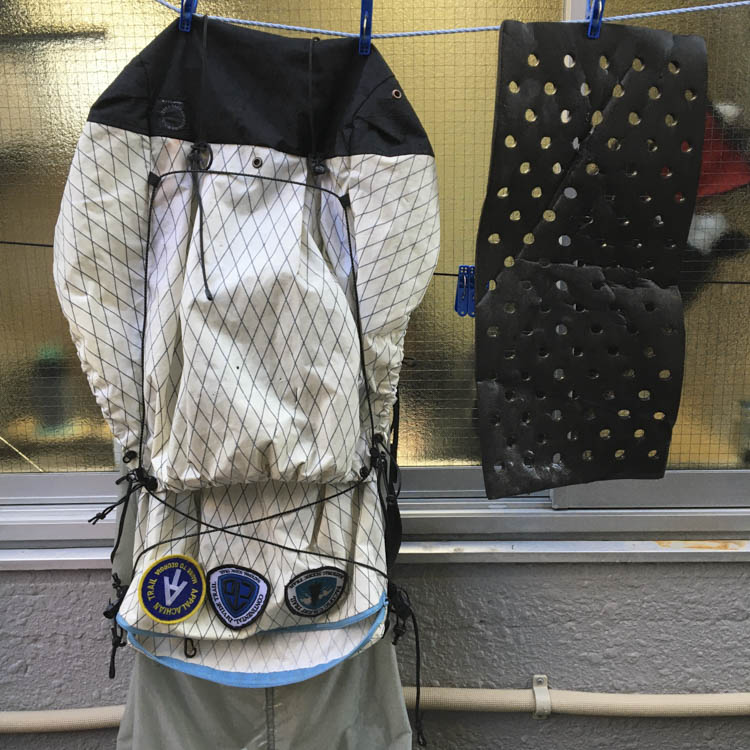
Among the stains that give the overall appearance of heavy use, the first thing that catches the eye are the three patches. A dead giveaway, the user is quite the adventurer, hiking the top 3 long-trails of the US.
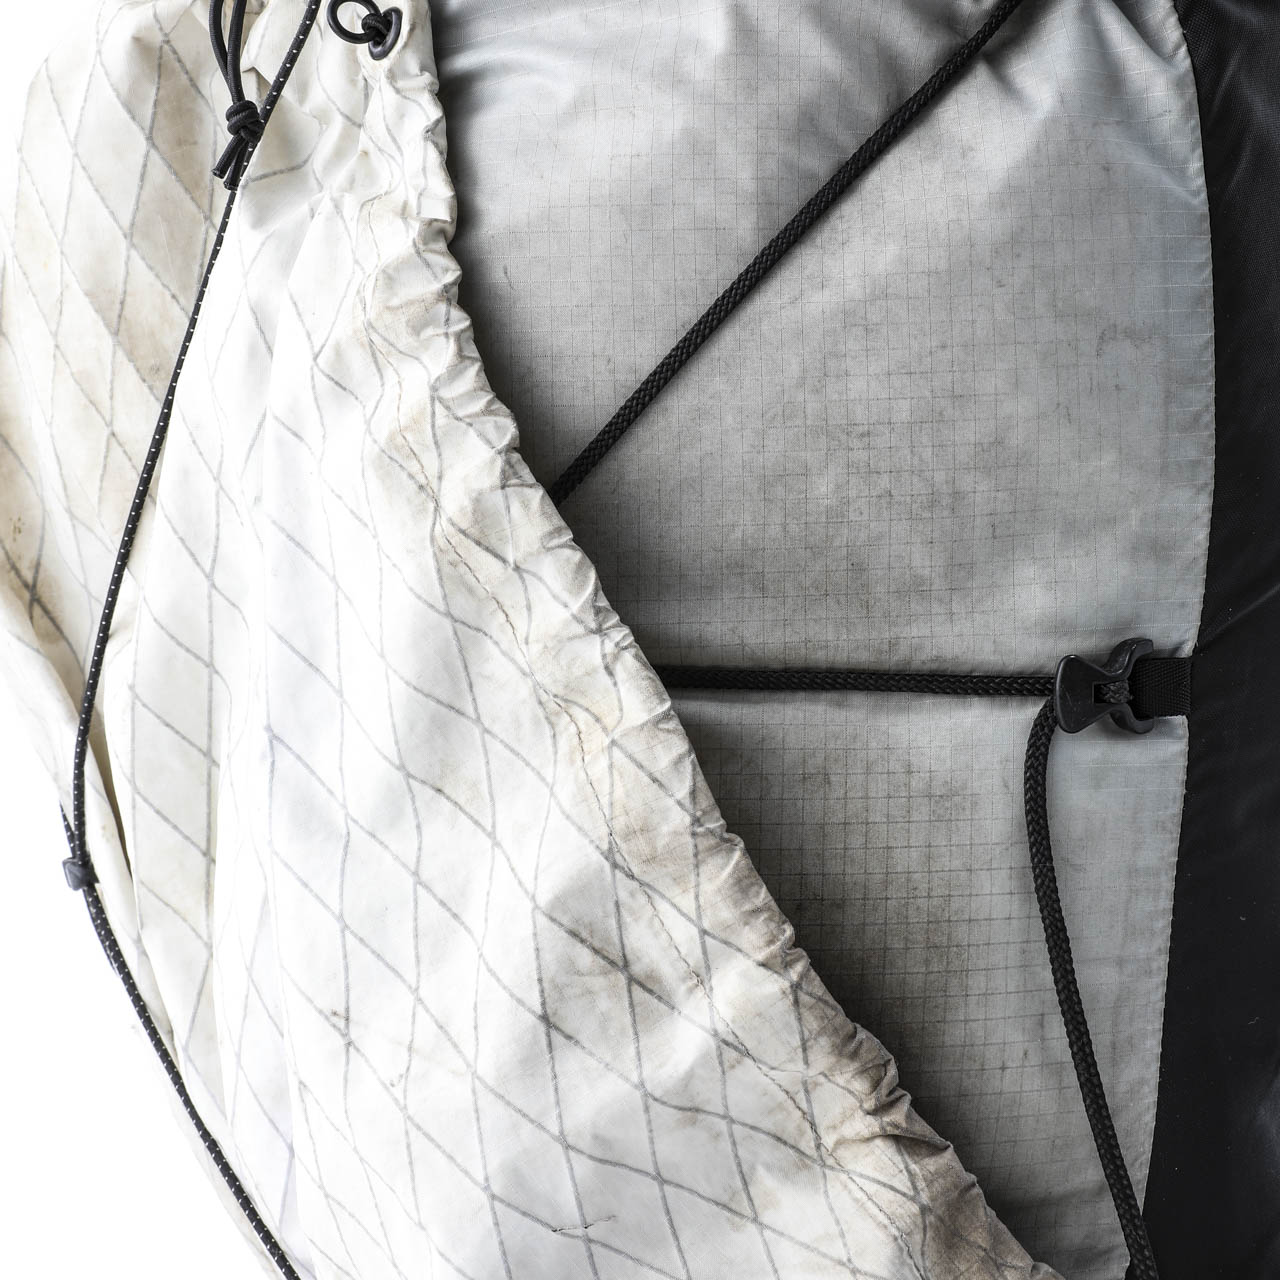
The side pockets and body fabrics are particularly stained. Since they are accessed on a daily basis, the inside of the pockets are also the places where dirt is likely to be found. It is more noticeable on white fabrics, but black and other dark-colored fabrics will be just as dirty.
The side pockets and body fabrics are particularly stained. Since they are accessed on a daily basis, the inside of the pockets are also the places where hand dirt is likely to be found. It is more noticeable on white fabrics, but black and other dark-colored fabrics should actually be just as dirty.
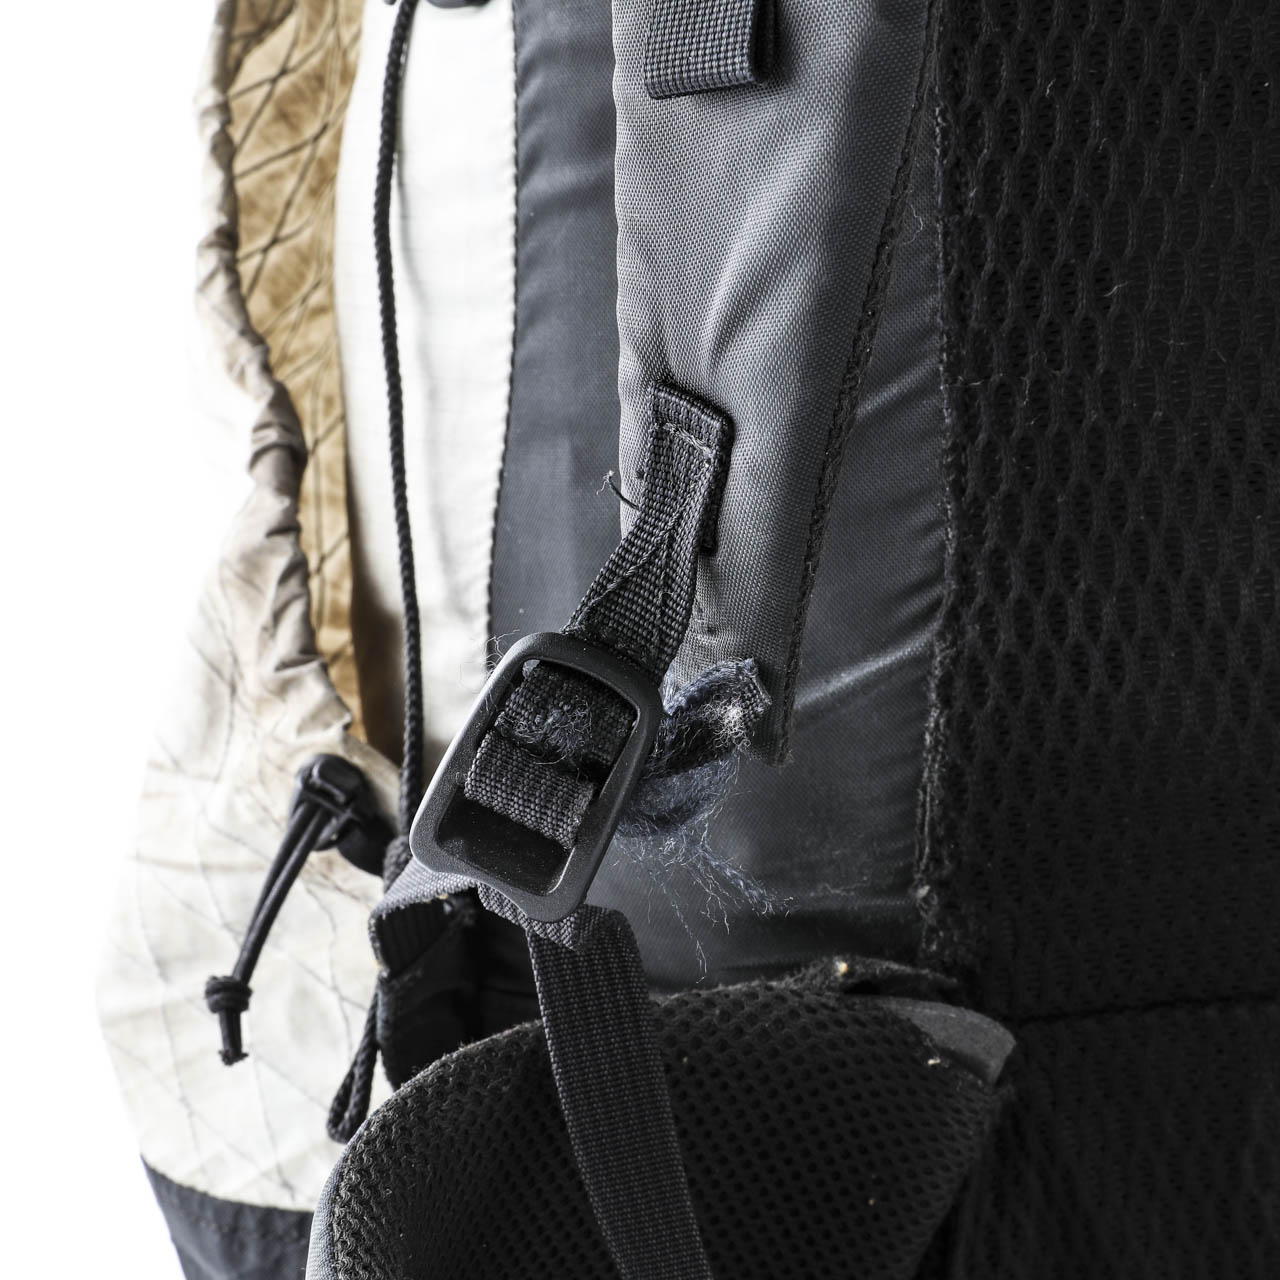
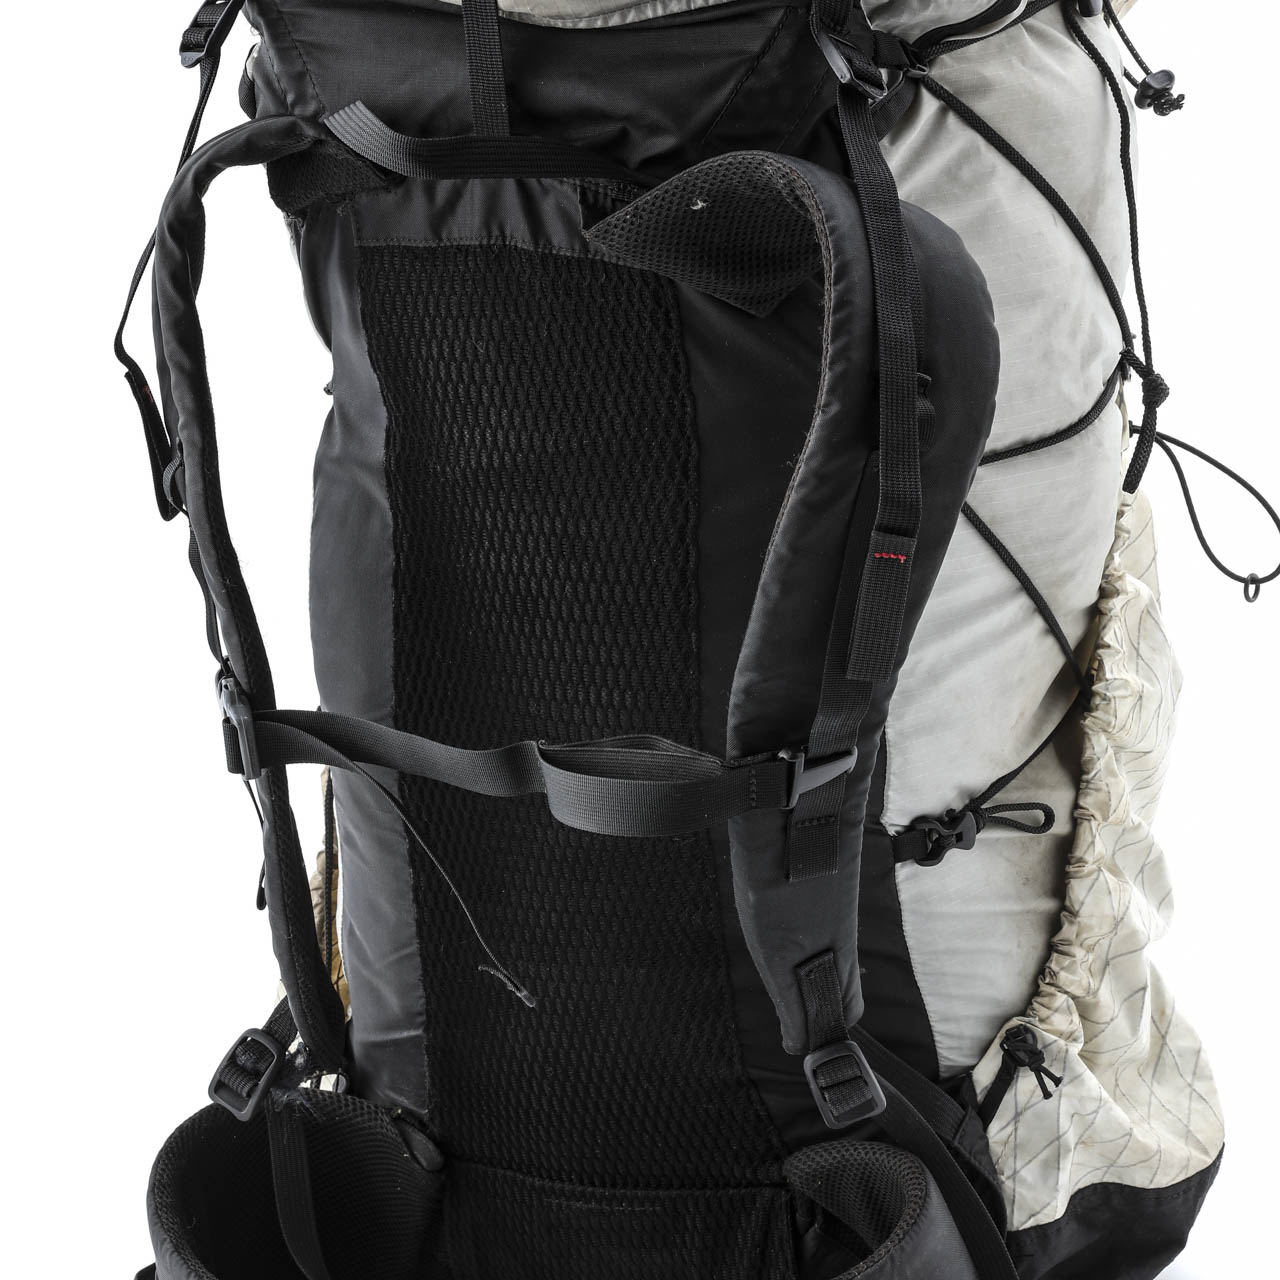
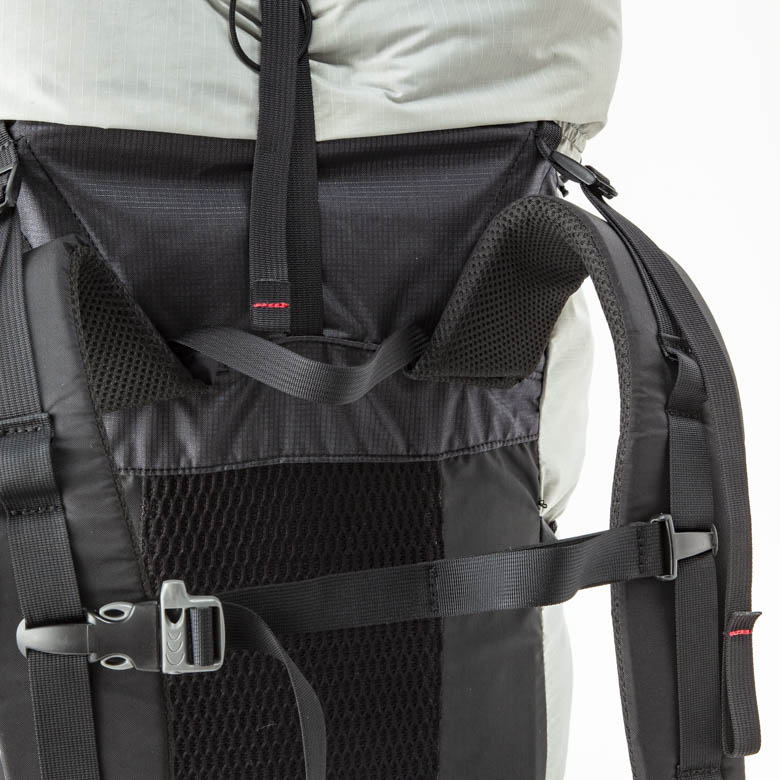
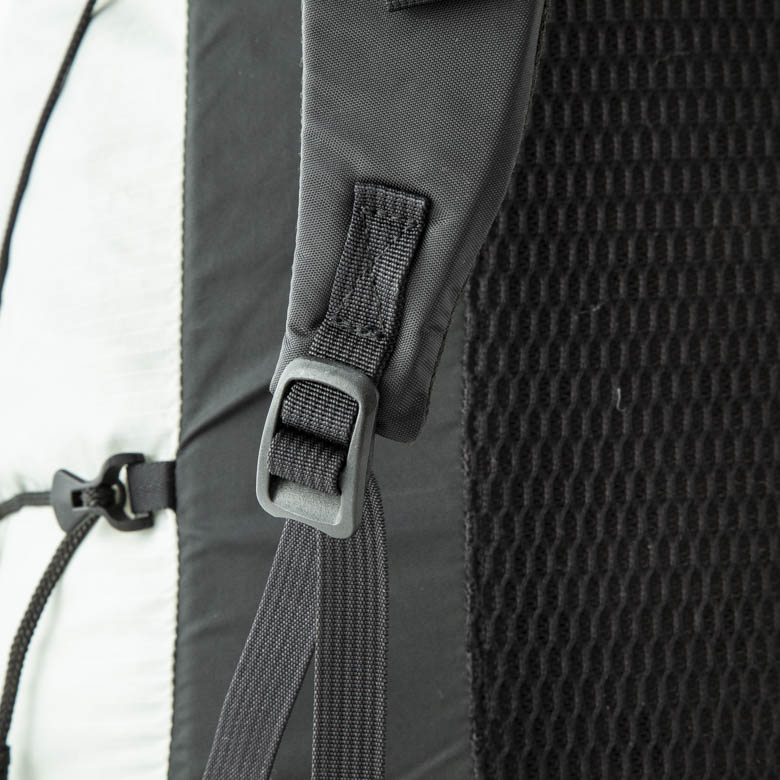
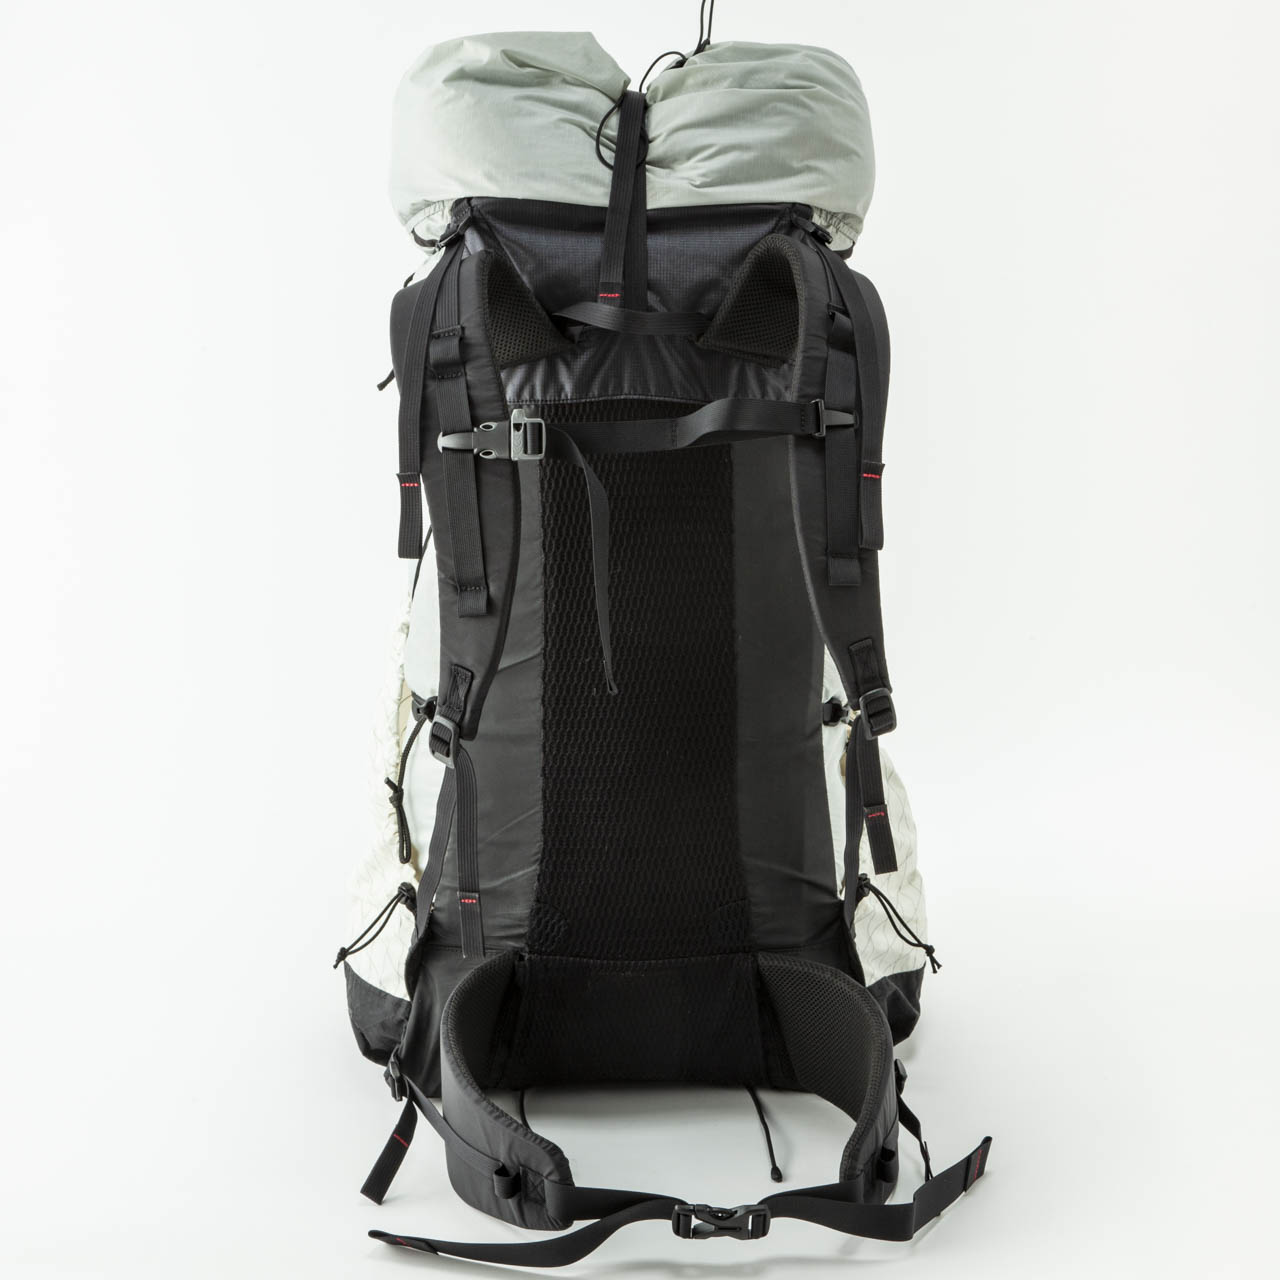
The shoulder strap is also worn and the strap is coming off. This is a moving part, so it is prone to wear, but we can see that it was also under high load. It is a feature of ONE that the load balance to the waist and shoulders can be adjusted, but long trails may push the straps to its limit from frequent use.
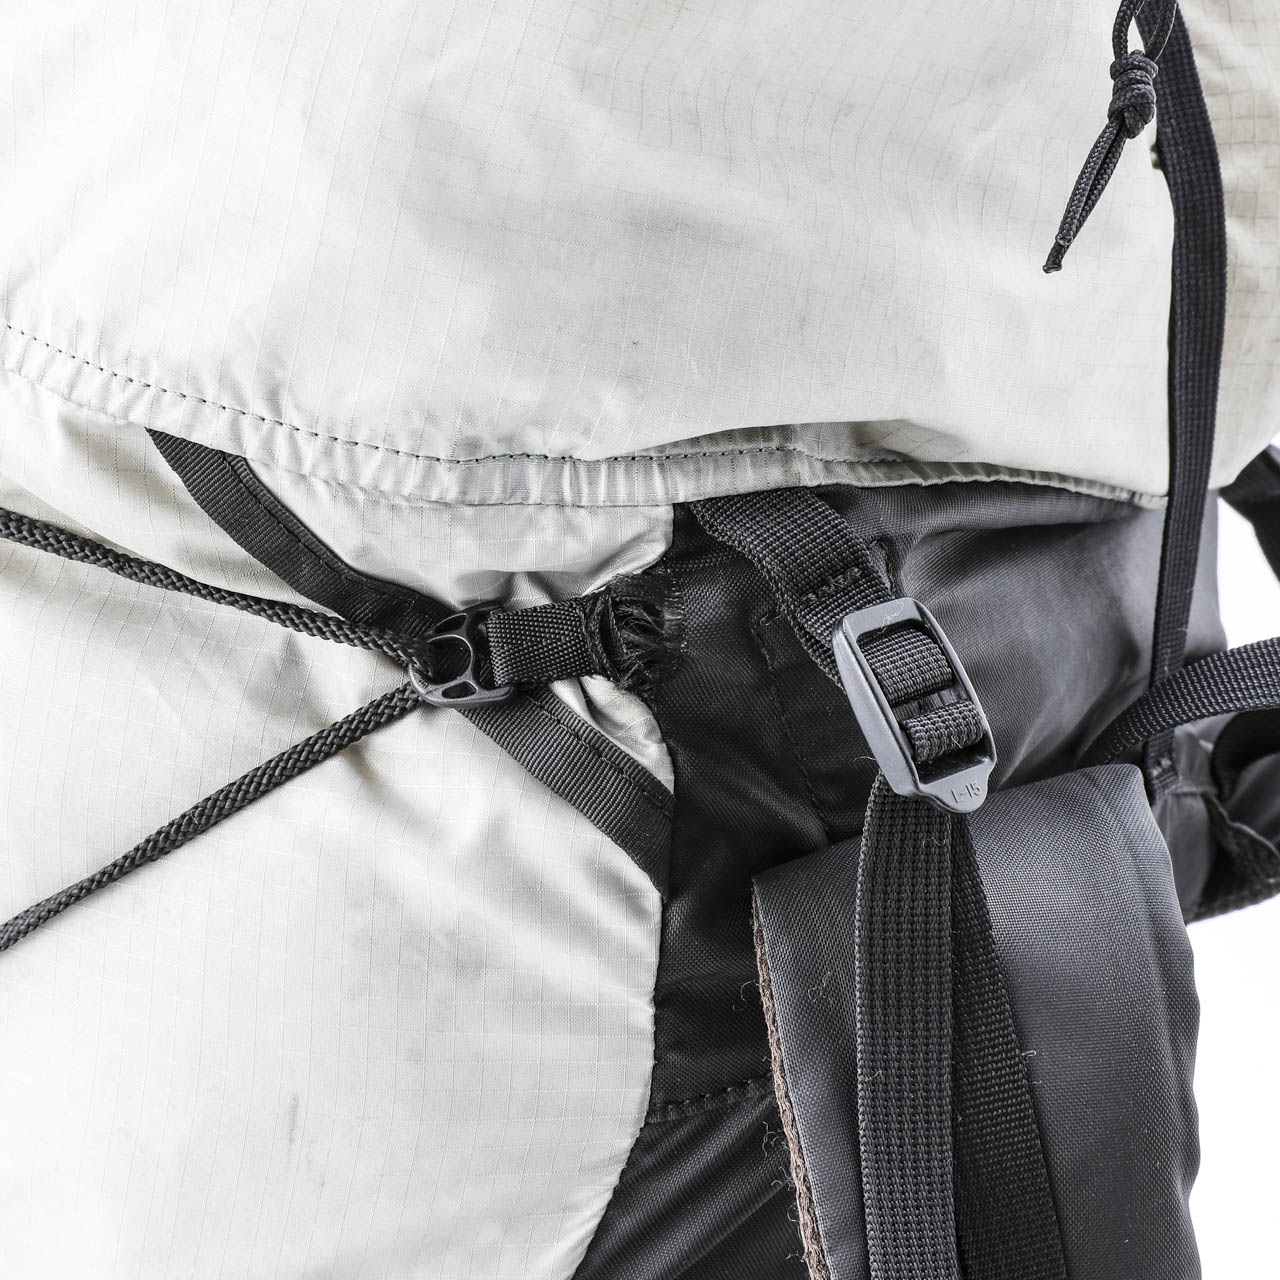
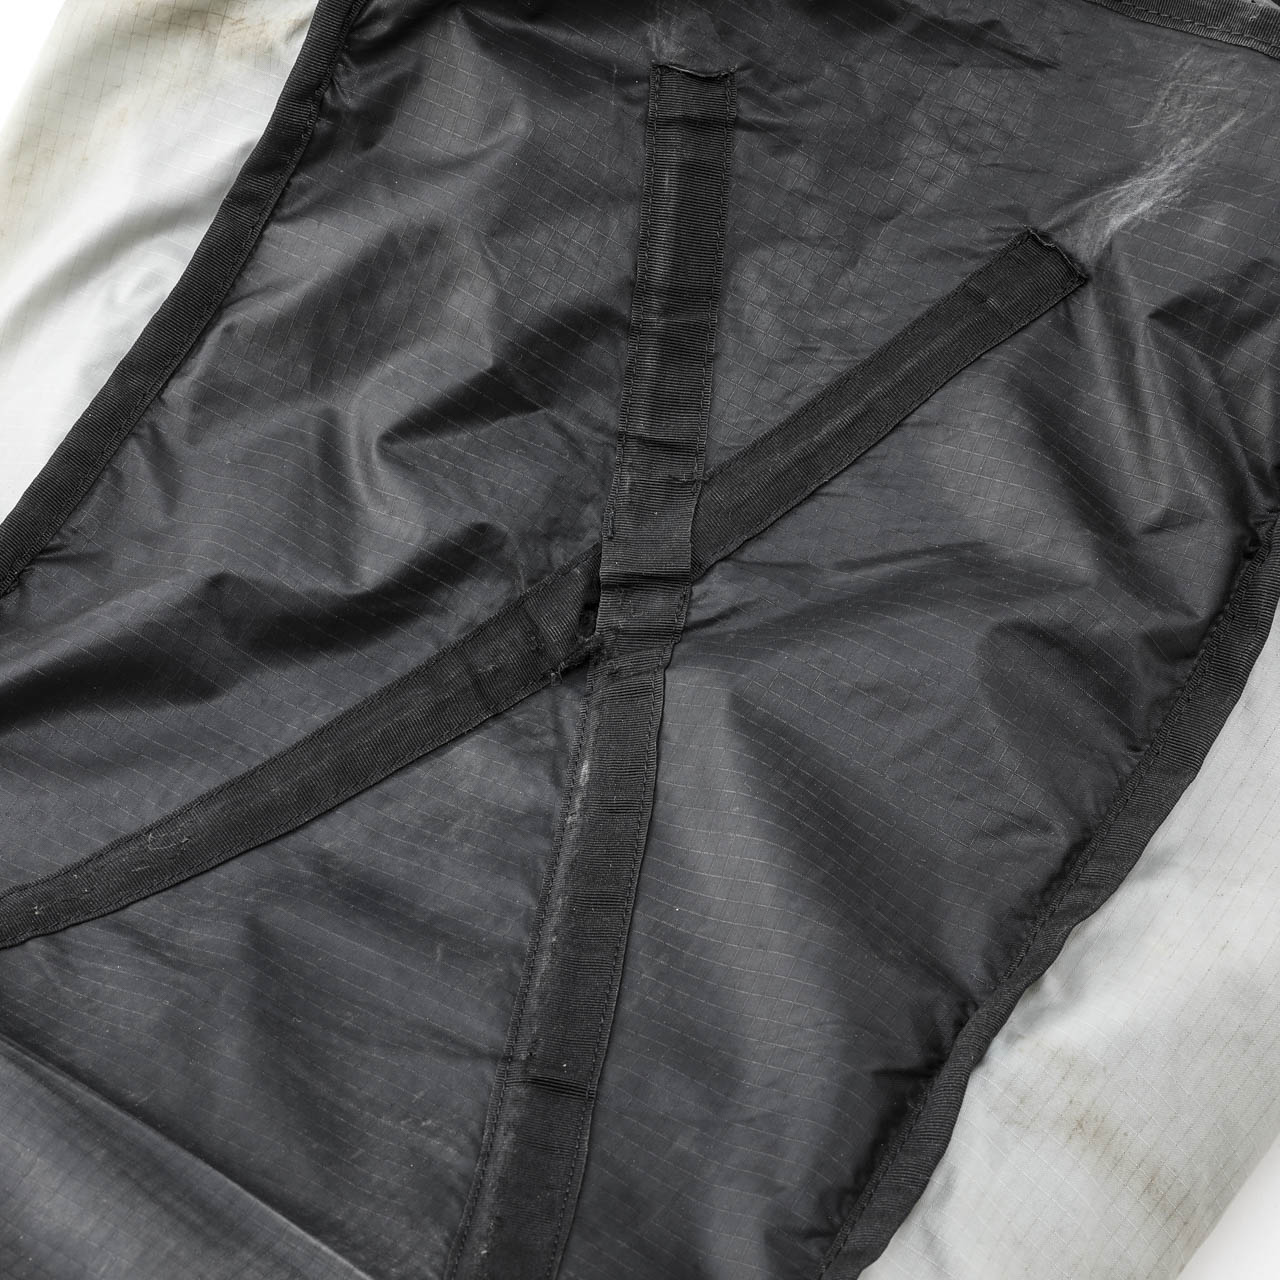
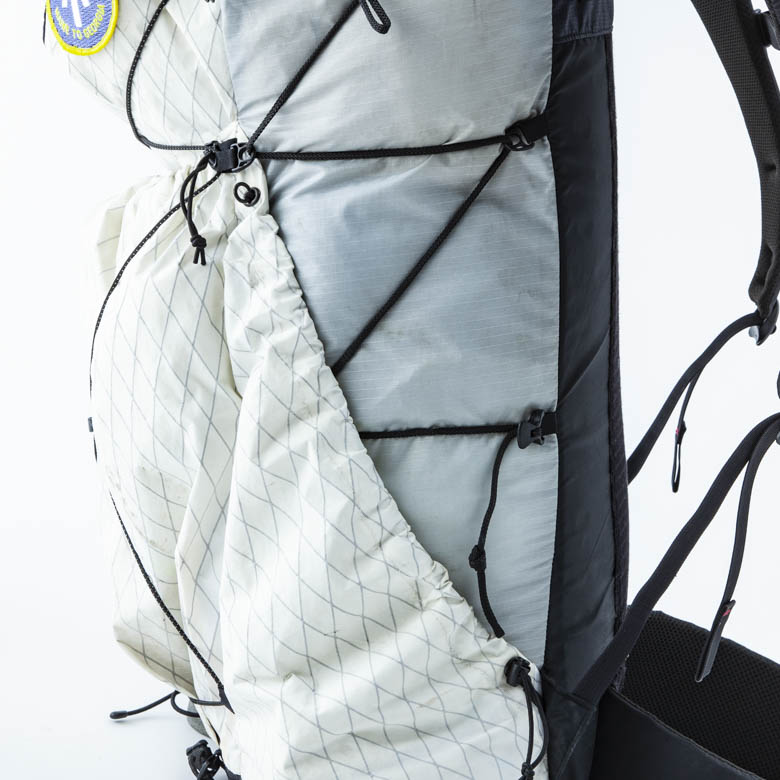
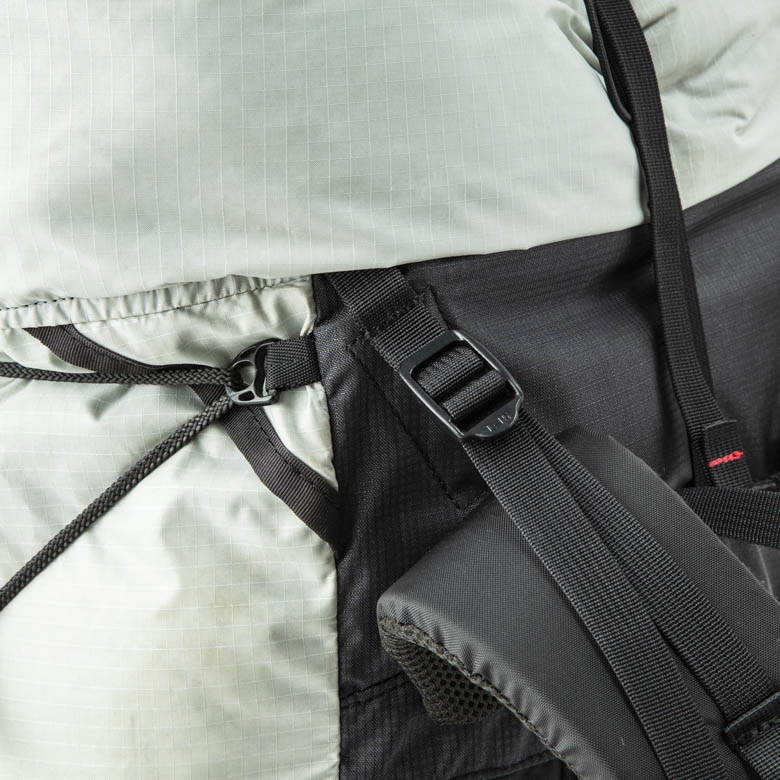
The compression cord base is also frayed. ONE is designed with durability in mind after repeated testing, but we are constantly updating our sewing methods and materials by identifying areas that are more susceptible to stress from actual cases like this.
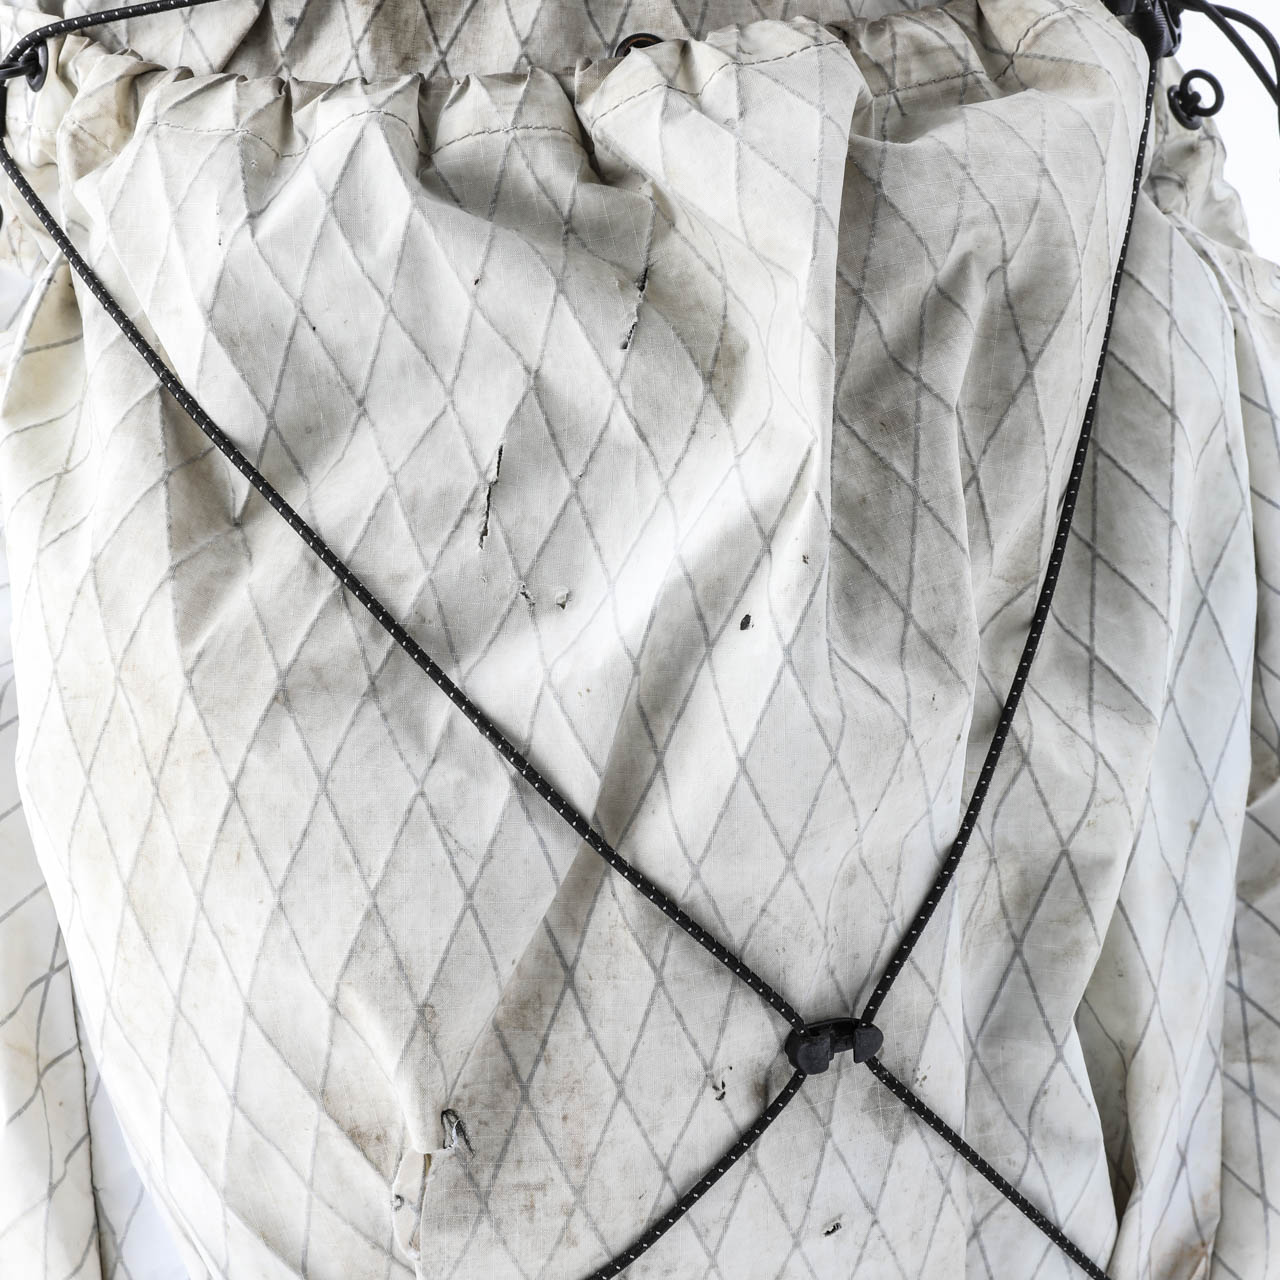
There are multiple holes in the front pocket area. The X-PAC VX07 used for the pocket fabric of this ONE is a relatively strong fabric, but it may develop holes if it is continuously hit by sharp objects or comes in contact with rocks. Also, as the fabric degrades over time, its strength decreases.
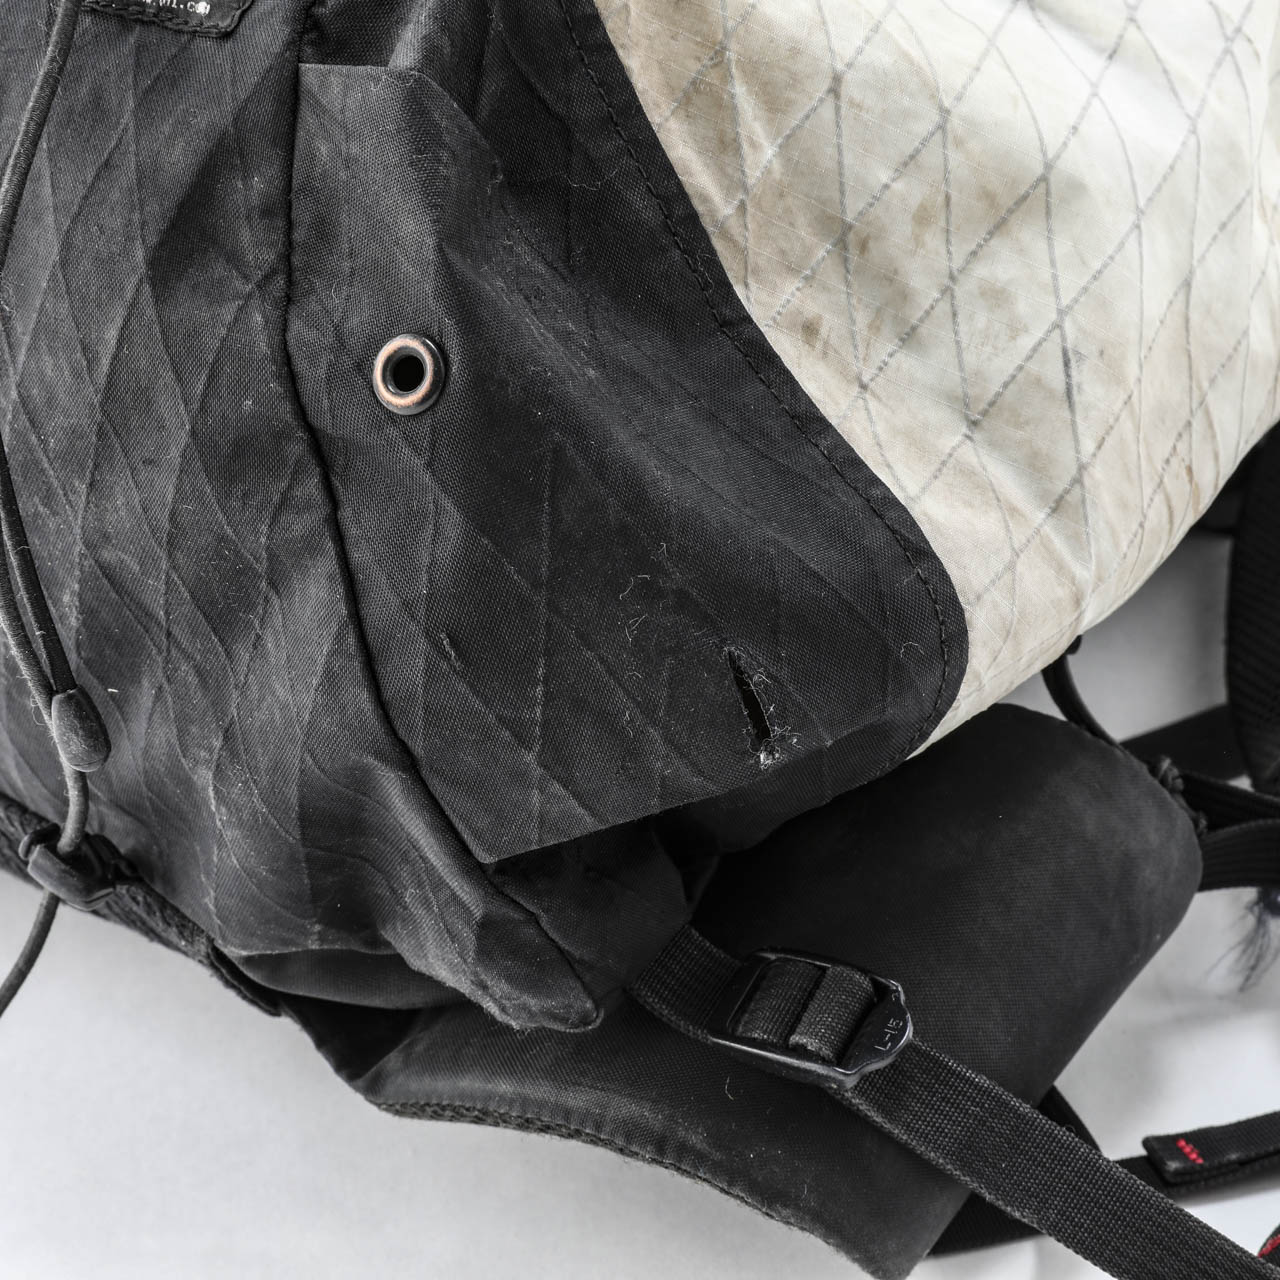
A couple holes on the bottom of the side pockets that seemed to be made from contact with sharp objects. The bottom uses X-Pac VX21/VX42, a more durable fabric than the body.
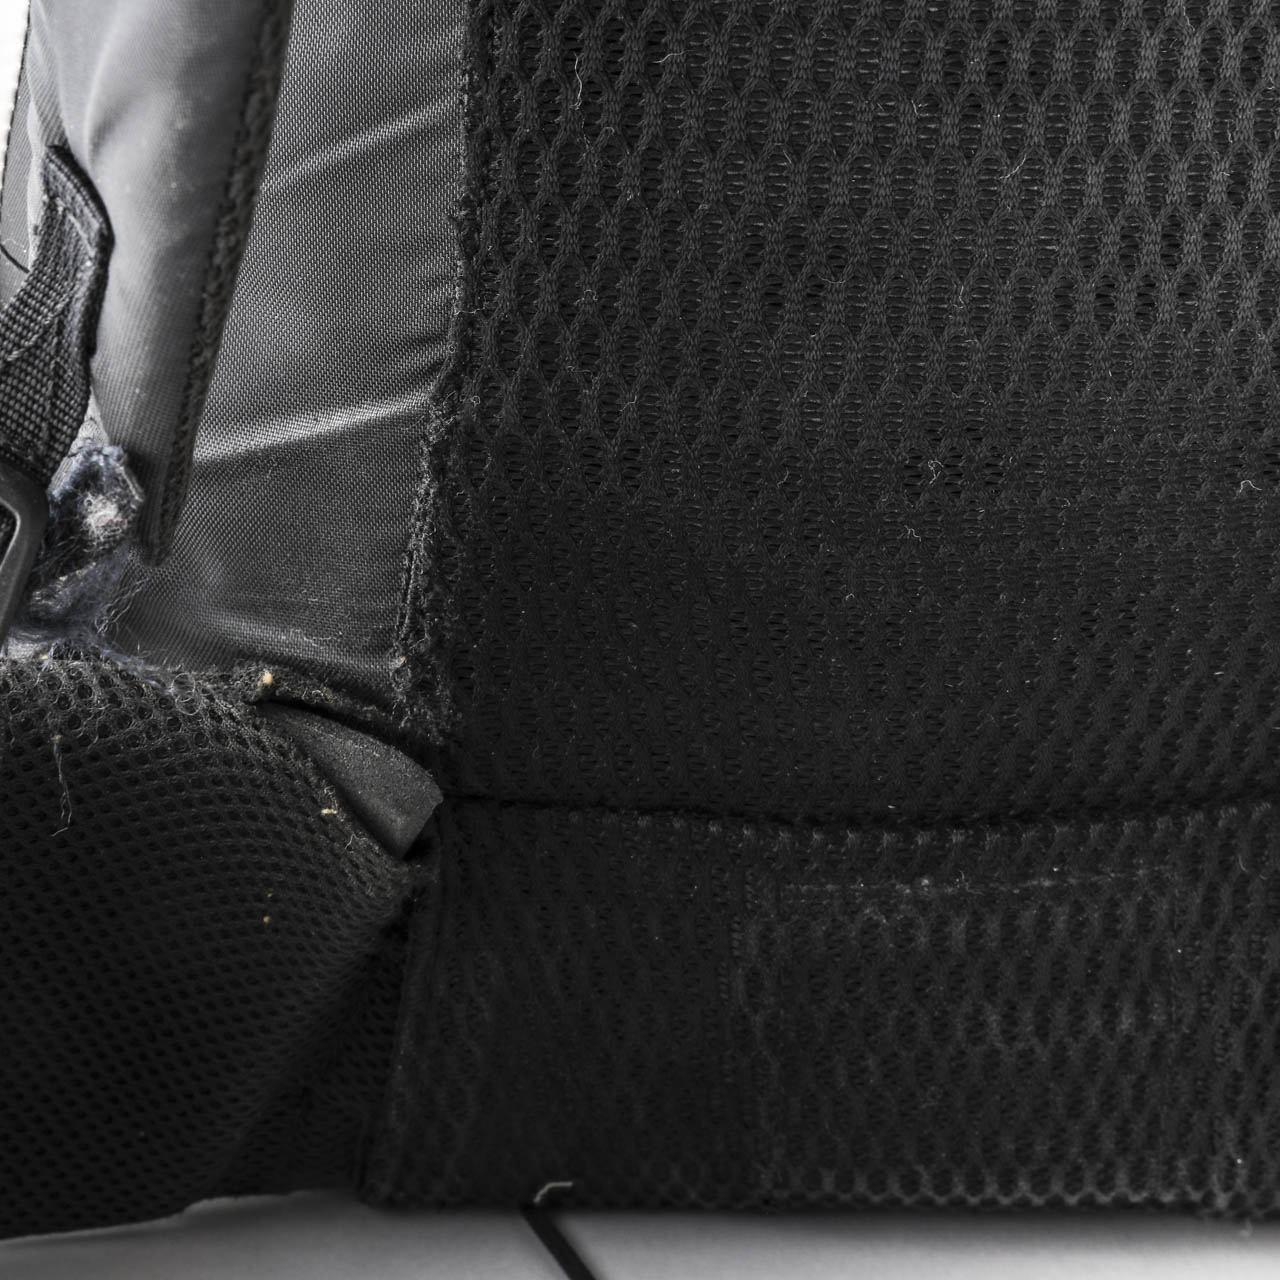
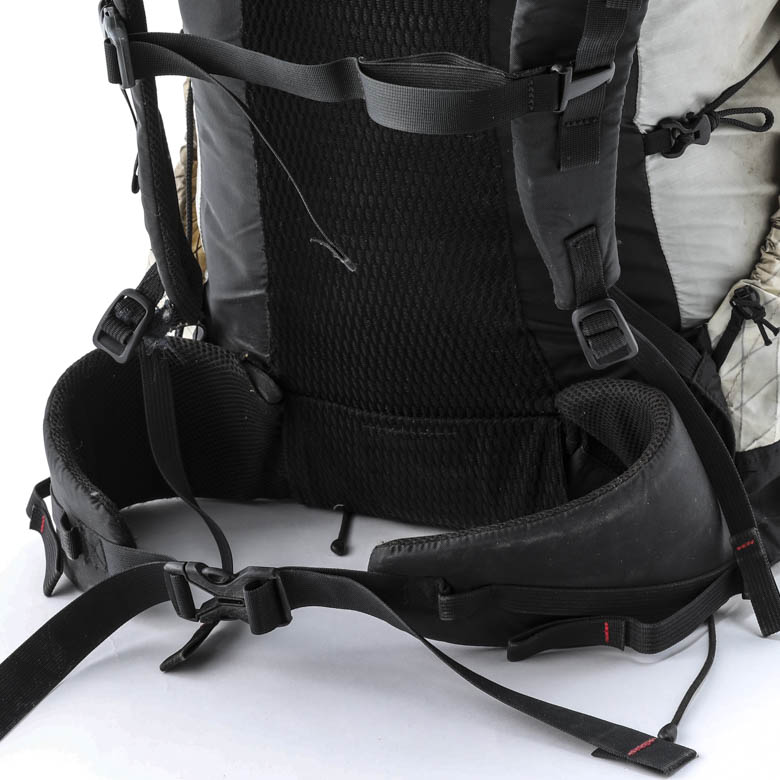
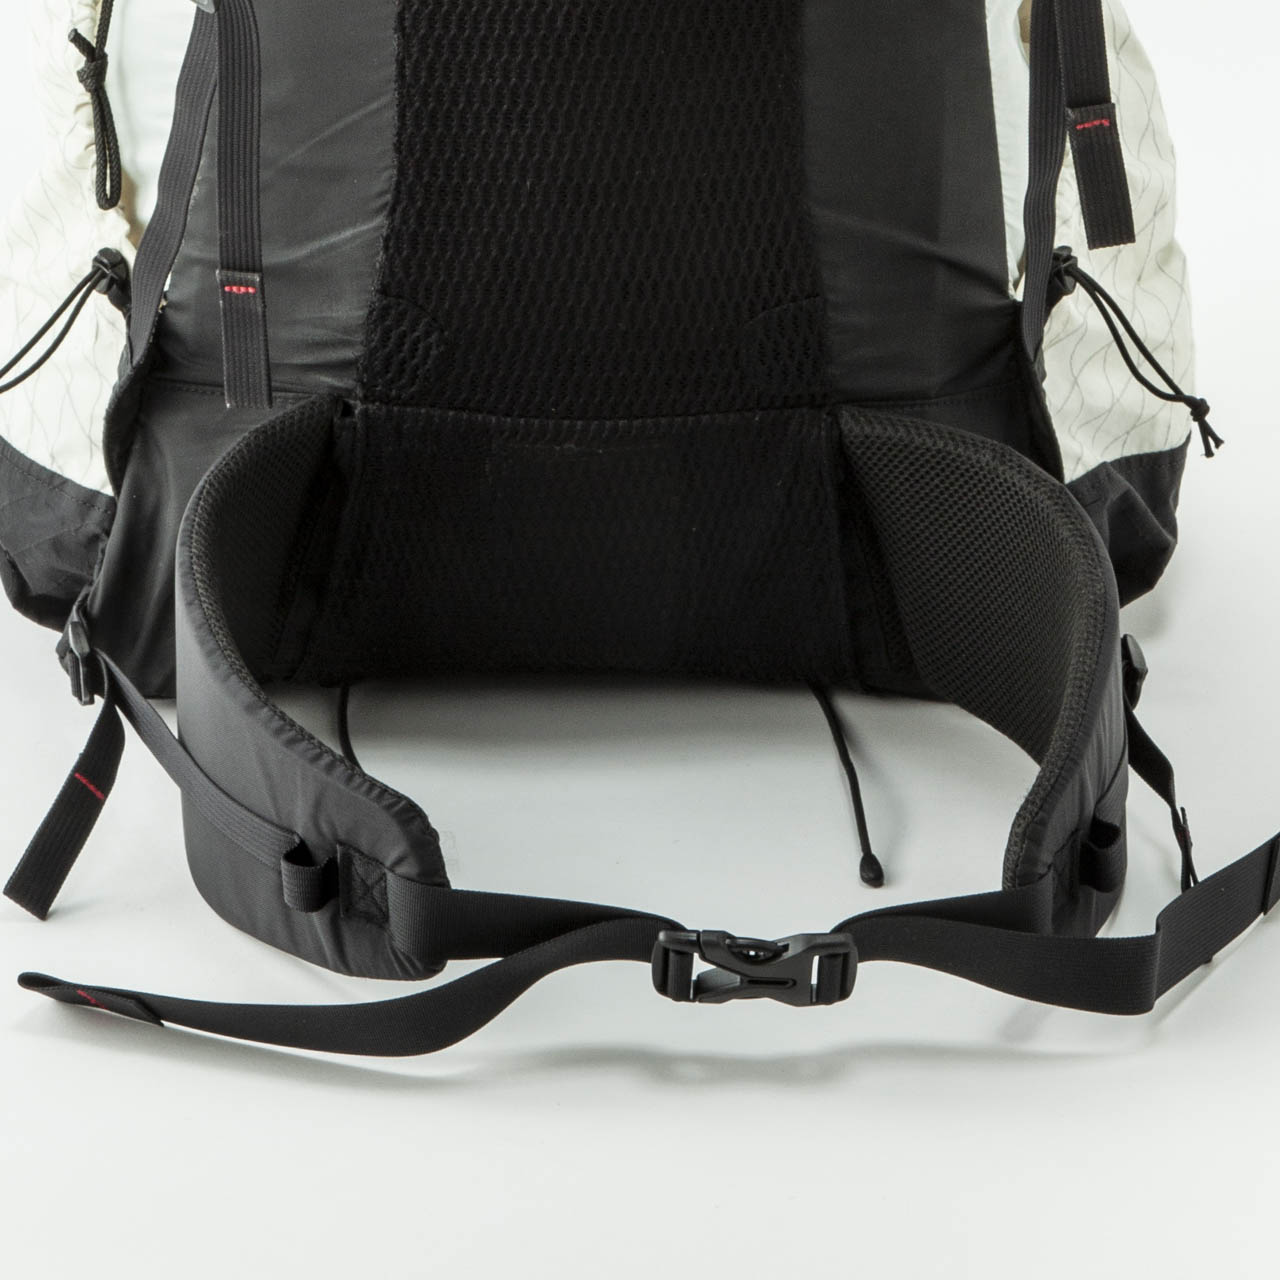
The lower back mesh and hip belt are also quite worn; not only the ONE, but also the MINI and THREE are prone to wear after repeated use. However, this level of use is a more rare case.
One of the inner carbon frames is damaged. Since the frame is made of lightweight carbon, the frame can brake if force is applied from an unusual direction, such as by sitting on the backpack.
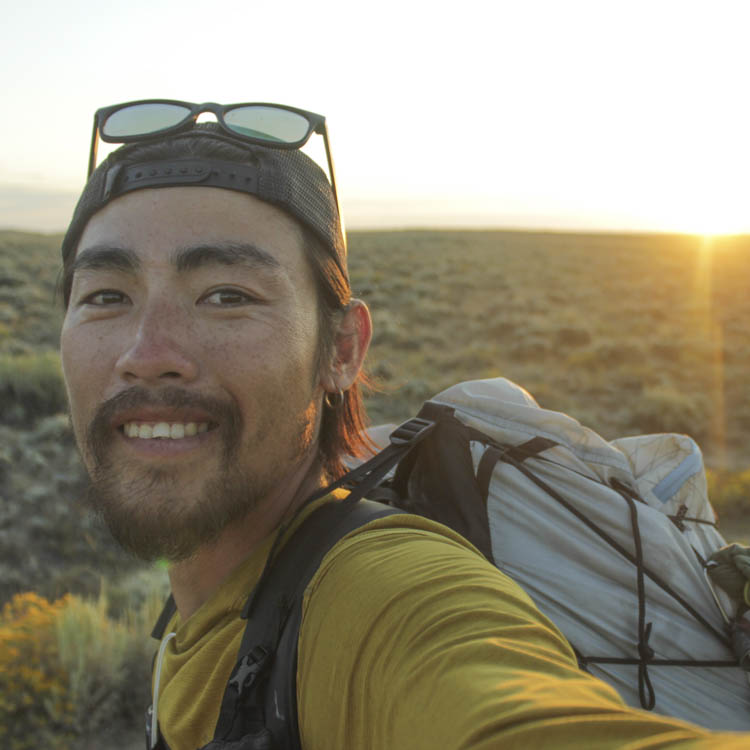
Masaru Kiyota, Triple Crown Hiker
Duration of use: 111 days
Location of use: Continental Divide Trail Rocky Mountains (Montana, Wyoming, Colorado, New Mexico)
The owner of this ONE is Mr. Masaru Kiyota, a triple crowner. (Triple crowner; completion of thru-hiking the Pacific Crest Trail, Continetal Divide Trail and Appalachian trail.)
This ONE was used when he hiked the Continental Divide Trail (CDT), one of the “Triple Crown” trails, over 111 days in 2019. I can only imagine how tough of a hike it was from the heavily worn out backpack.
According to Mr. Kiyota, the base weight (total weight excluding food, water, and fuel) for the CDT was about 9 kg, but there were many sections on the CDT where it was difficult to replenish food and water, and he sometimes carried a week’s worth of food plus 5 L of water. Which means his backpack was as much as 17 kg during some sections. 17kg is too heavy for the ONE, designed for an optimum load of 11 kg….
I was deeply moved by the sight of the backpack, imagining the magnificent scenery and time that Masaru and this ONE have seen together. While I want to go into detail of Masaru’s fascinating journey, I will be focusing on the repair.
Growing up, Masaru always hated the idea of becoming an adult. All he wanted to do was play foot-ball. When it was time to become a working class adult, he rode the mainstream of society and got an office job, but the question of “Is this the right way to live?” always remained.
He decided to leave that job after a year, loaded everything on his bicycle, and set off to bike around-the-world. While sometimes working seasonal jobs in places like Australia, found himself wandering in 24 different countries. He hiked his first long trail, the Pacific Crest Trail in 2017, the Appalachian Trail in 2018, and the Continental Divide Trail in 2019, covering about 12,500 km in 3 years, becoming the 6th Japanese triple-crowner.
He currently works on many projects such as sharing theses stories on talk shows, lectures, podcasts, and plublished his own photo books.
The Repair
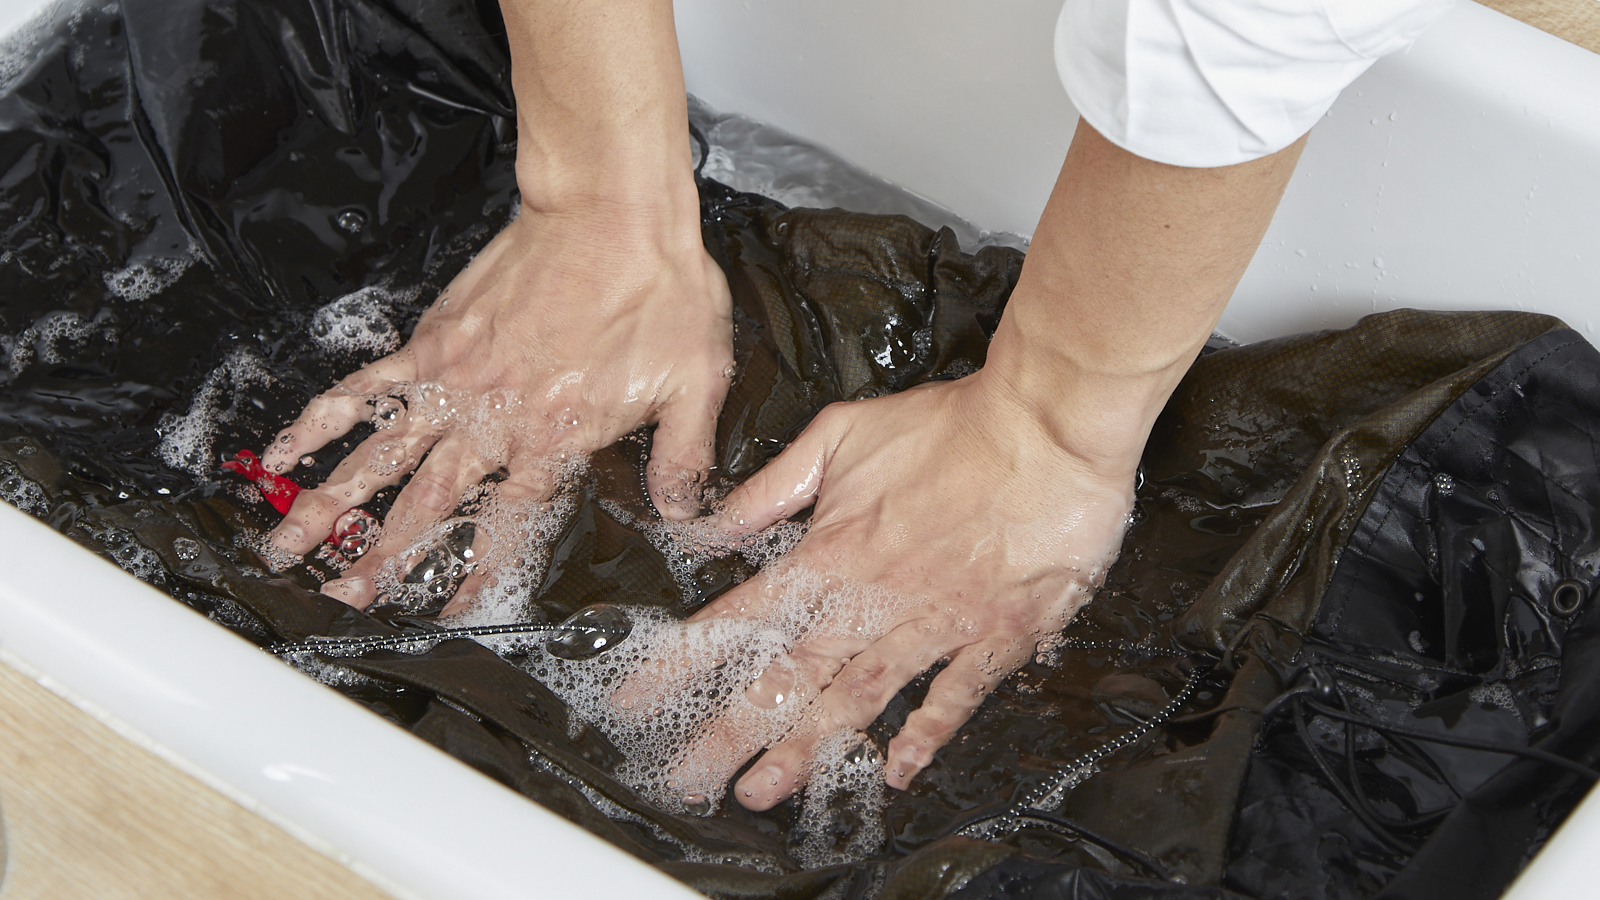
1. Cleaning
The 70D nylon of the body as well as the X-PAC pockets were noticeably dirty, so we first cleaned them before repairing (we do not normally offer cleaning services for repairs). When hiking for a long period, dirt and oil stains build up on the surface.
This is a somewhat persistent process, but using a mild detergent and a laundry brush, and scrubbing with a toothbrush or similar tool for small areas, we were able to remove even the blackened edges with minimal effort.
The white-based ONE was a good example for seeing how much dirt actually can be removed from cleaning.
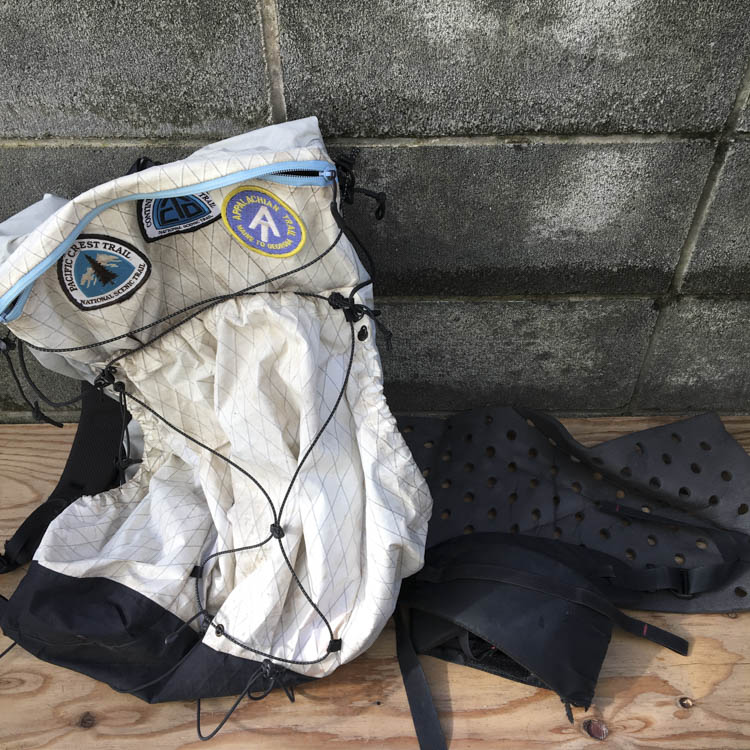
First, I remove the back pad, hip belt, bungee cords, and other accessories.
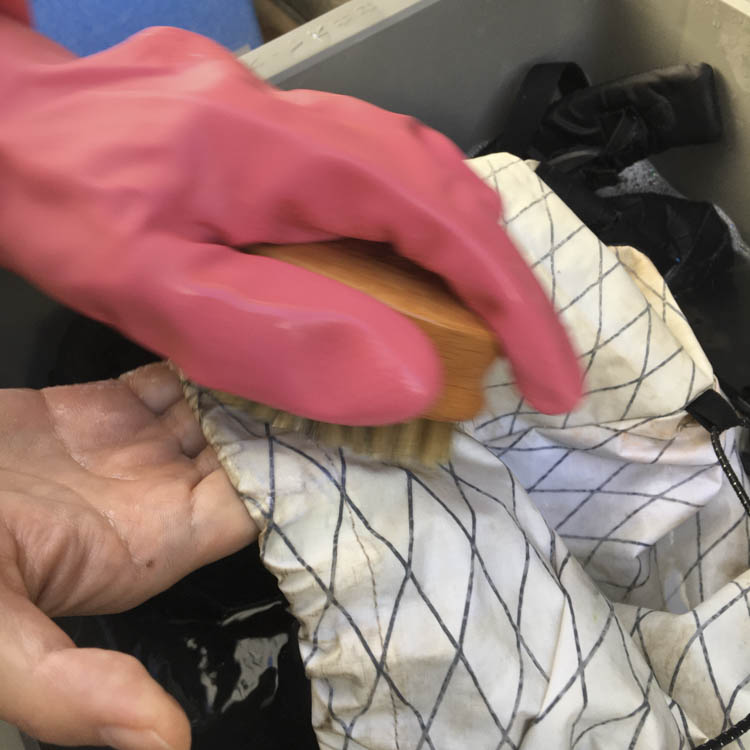
Clean the pockets of the X-PAC material by dipping them in warm water blended with neutral detergent. A laundry brush and a toothbrush were very effective for the smallest parts. I recommend using “Utamaro,” a neutral detergent previously introduced in a Repair Diary.
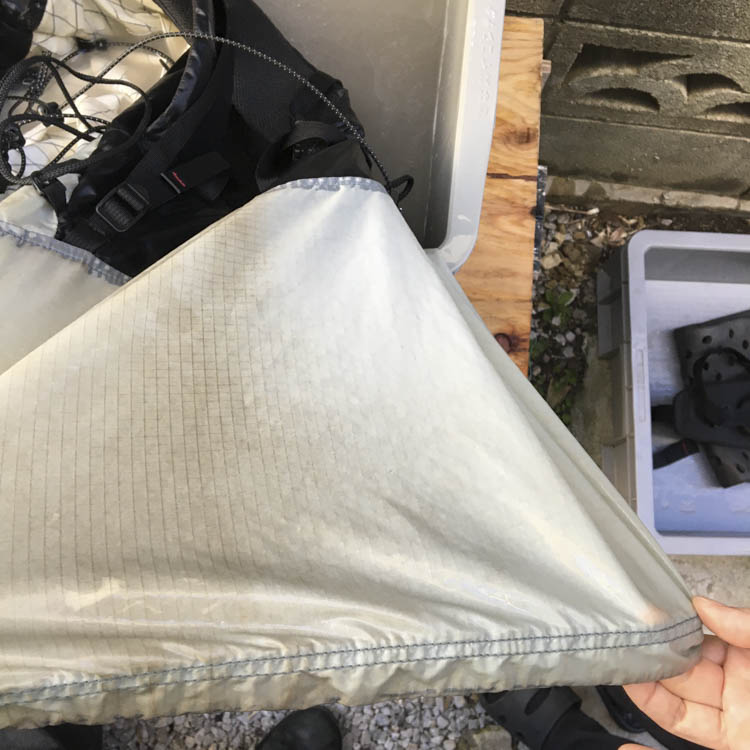
The 70D nylon of the body is also stained as shown. The photo shows only the upper right side of the body, but you can see how dirty it is compared to the rest of the body. The dirt was removed relatively easily with neutral detergent and a brush.
From past repairs, we know that the X-PAC gradually turns yellow from its original pure white state due to deterioration. We were unable to improve the yellowing with this method.
BEFORE
AFTER
2. Shoulder strap replacement
If the fabric itself or padding is severely damaged, the entire part will be replaced.
After prolonged use, the padding inside the shoulder straps and hip belt may become worn from deterioration, or the padding may become visible due to wear of the surface fabric. If the tear is small, it can be repaired with a partial patch, but if it is severe, the entire part will be replaced.
TThe shoulder straps and hip belt are the most important parts for ONE. By replacing them, the backpack truly comes back to life. If you believe that your backpack’s shoulder straps or hipbelt is worn down, contact us for a overhaul!

BEFORE
AFTER
Disassembling and replacing the shoulder with a new piece is a major task, because the back of the bag has to be disassembled as well. However, I always get very excited when I see backpacks disassembled and in its component form.
Shoulder replacement: ¥6,000~+tax (left and right)
3. Hip belt replacement
BEFORE
AFTER
The removable hip belt is also replaced entirety.
The mesh part of the hip belt is also prone to wear and tear. If there is a small tear, it can be repaired by patching, but if the wear and tear is severe, the entire hip belt will be replaced. In this case, the mesh part and the inner padding was comepletly worn out so we decided to replace it.
The ONE hip belt is removable, so it is easy to replace the part itself. However, if the inner padding has not deteriorated, you can repair the hip belt by patching the mesh.
Belt replacement: ¥3,500+tax
4. Repairing wear and tear
General wear and tear is where the characteristics of the user can be clearly seen. It is interesting to imagine how the item were used by looking at the damage.
The location of wear is very different from customer to customer. When repairing, we try to make that specific location of wear and tear stronger than the intial design. Therefore, after a repair the backpack becomes more fitting for that customer, just as a person’s broken bones become stronger.
BEFORE
AFTER
BEFORE
AFTER
The fraying is present at the base of the compression cord. We repaired this by removing the thread and re-sewning a new loop. Fraying was also present on the shoulder strap, so we repaired that in a similar way.
Strap repair: ¥1,000~+tax~
BEFORE

AFTER
This is wear at the waist area of the mesh. Mesh material is a fabric that inevitably wears easily due to its stracture, especially around the shoulders and waist. Some of the worn areas can be repaired by patching. If the damage is more severe, a new piece of fabric can be sown in.
Patching: ¥1,000~
Sewing new fabric: ¥2,000~
BEFORE

AFTER
We replaced the broken carbon rod and repaired the frayed end that holds the rod. The carbon rod is sold separately and can be easily replaced.
Carbon rod: ¥500 per rod
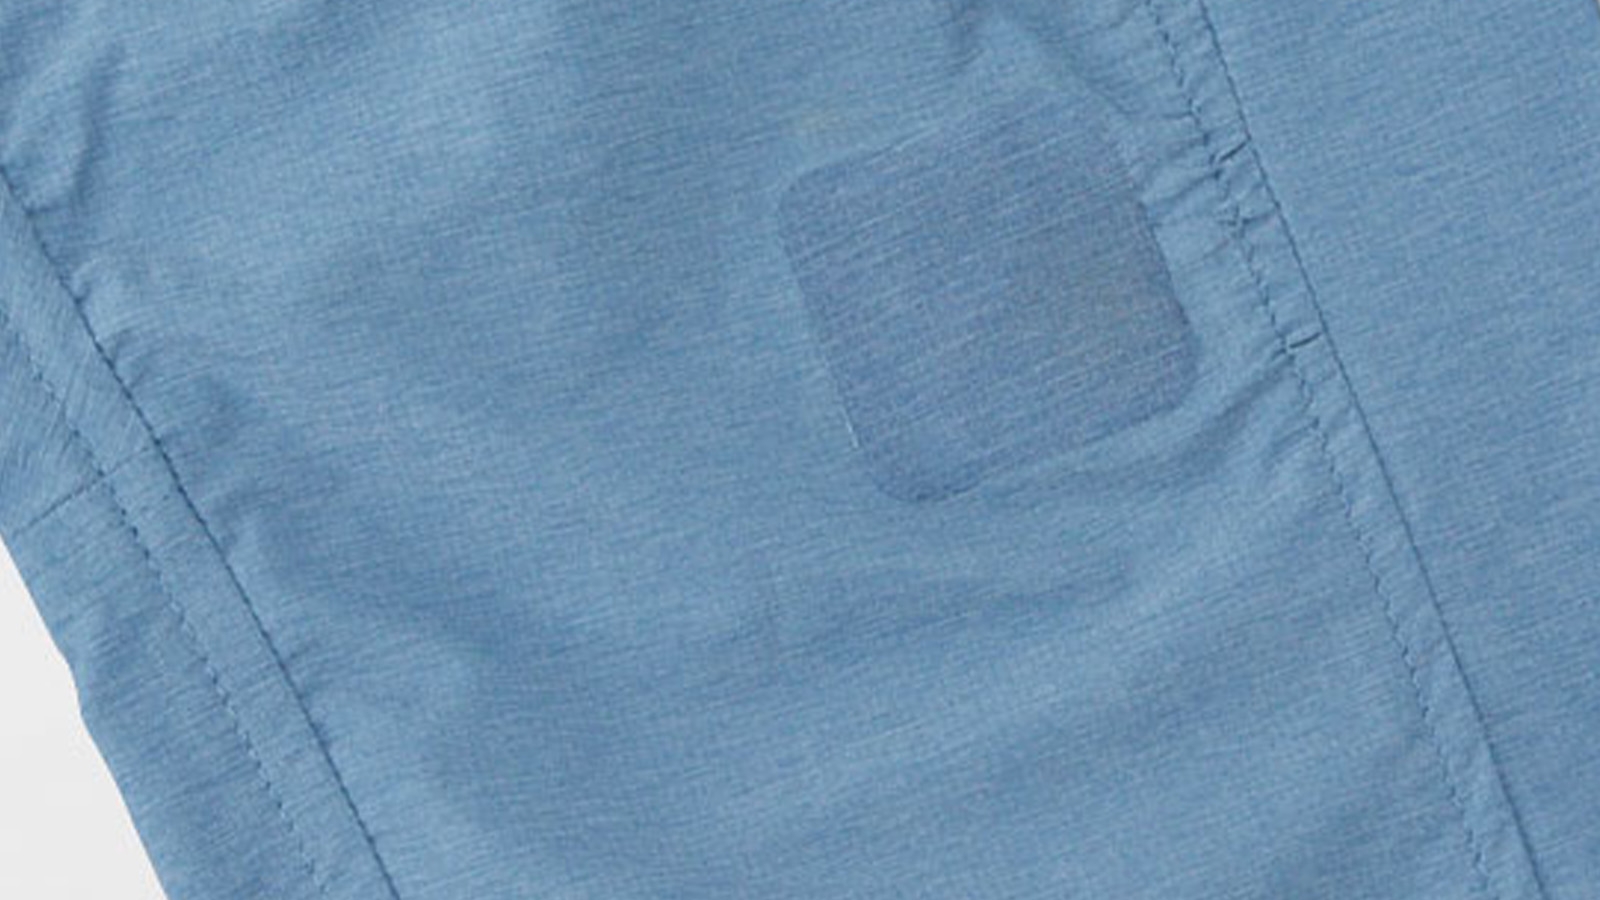
5. Patching Holes
Although X-PAC is a sturdy material, it may develop holes due to continuous friction or contact with sharp objects. The high-strength fibers are arranged in a grid pattern, so it is unlikely that a small hole will cause a large tear, but if a hole does occur, please repair it as soon as possible.
If a hole occurs during a trip, it can be repaired by applying the repair sheet included with your backpack at the time of purchase.
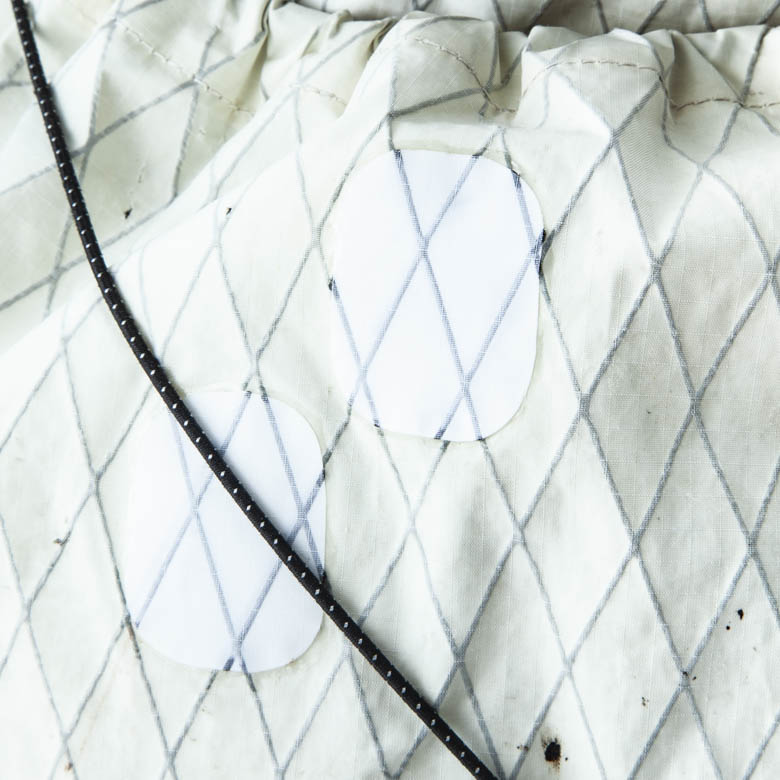
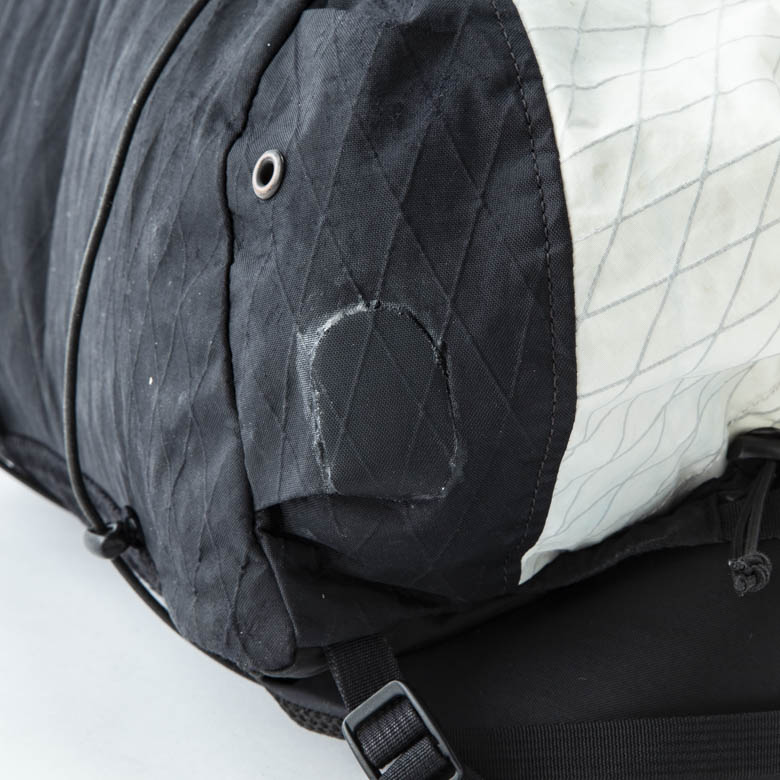
The hole in the front pocket is repaired by using a symbiotic double-sided adhesive sheet. The patch may be noticeable, especially on white X-PAC, because the fabric is often discolored after use.
Patch repairs: ¥500~
AFTER
In documenting the repair of Masaru’s ONE, we used the same lighting and settings that we normally use to take product photos to capture the condition of the ONE before repair.
The moment we set up Masaru’s ONE, we felt its indescribable presence. Normally, we see beautifully arranged product photos, but we rarely see such a beautifully photographed product after use.
I thought it was genuinely cool and saw the true value of the product as a tool.
It is fascinating to see the process of a product becoming more and more original each time it is repaired.
It may be difficult to keep using a backpack for a lifetime, but I would like to continue researching repair methods so that gear can go on many beautiful trips as possible.
Thank you very much, Masaru, for providing us with this wonderful ONE!
Reference price for ONE repair
Zipper replacement: ¥5,000
Hip belt replacement: ¥3,500 per belt
Shoulder strap replacement: ¥6,000~ (left and right)
Holes in sides, bottoms, etc.
– If replacement is necessary: ¥5,000~
– Minor patching repairs: ¥500~
Mesh repair
– Partial patching: ¥1,000~
– large area: ¥2,000~
Extension replacement:¥4,000
Carbon rod replacement:¥500 per rod
Plastic parts replacement:¥100~
*Excluding tax and shipping charges
*We do not accept cleaning work for repair.
Repair tape (included with every Yamatomichi backpack)
– The repair tape included is great for easy repair, so please keep it handy as an emergency remedy for hiking.
– Cut a piece of repair tape larger than the tear and apply it to both inside and the surface.
– Cut off the corners of the repair tape or cut a rounded circle to make it more difficult to peel off.
*It cannot be used on silicone coated fabrics.

Repair Team
After graduating from highschool with a engineering degree, Ichiro’s career in craftsmanship started in a video equipment manufacturer. After that he worked as a pattern cutter for 11 years at a sewing factory that handledhandles various brands. During his search for a lifestyle closer to nature, he encountered Yamatomichi and was profoundly moved by its philosophy, that led him to embark on a new challenge in his life. He is currently in charge of repairs. He has a passion for craftsmanship and nature, and his dream is to achieve a complete self-sufficiency lifestyle someday.