HLC Kita-kanto MYOG Workshop #1
HLC Kita-kanto MYOG Workshop #1
Yamatomichi HLC operates at eight bases across Japan plus Taiwan, running daily programs to build communities through ultralight hiking.
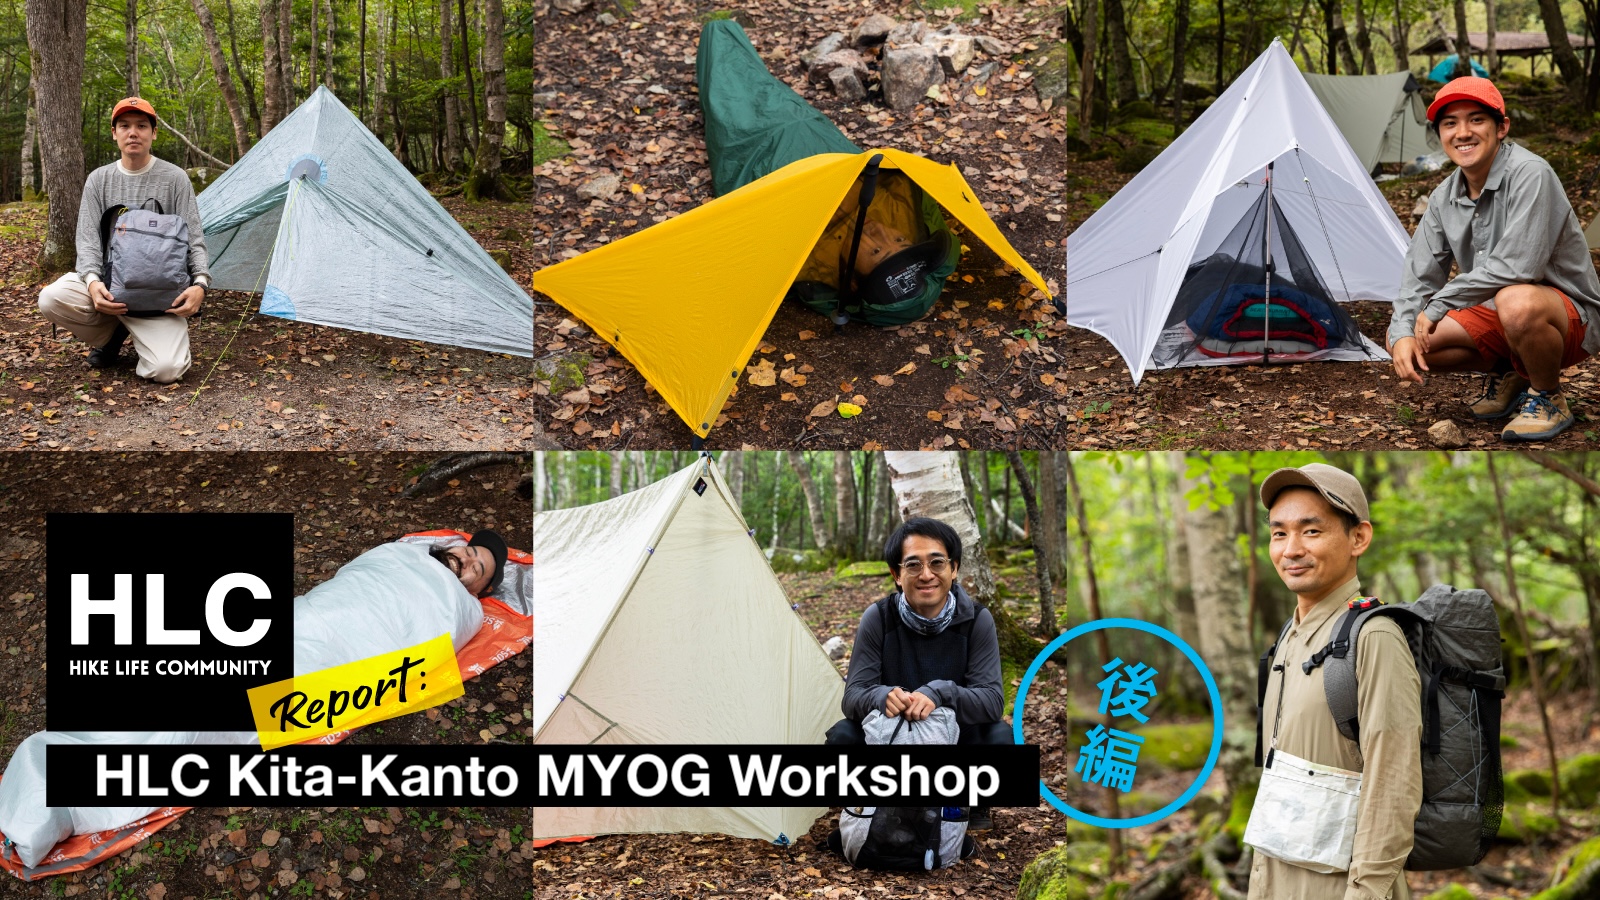
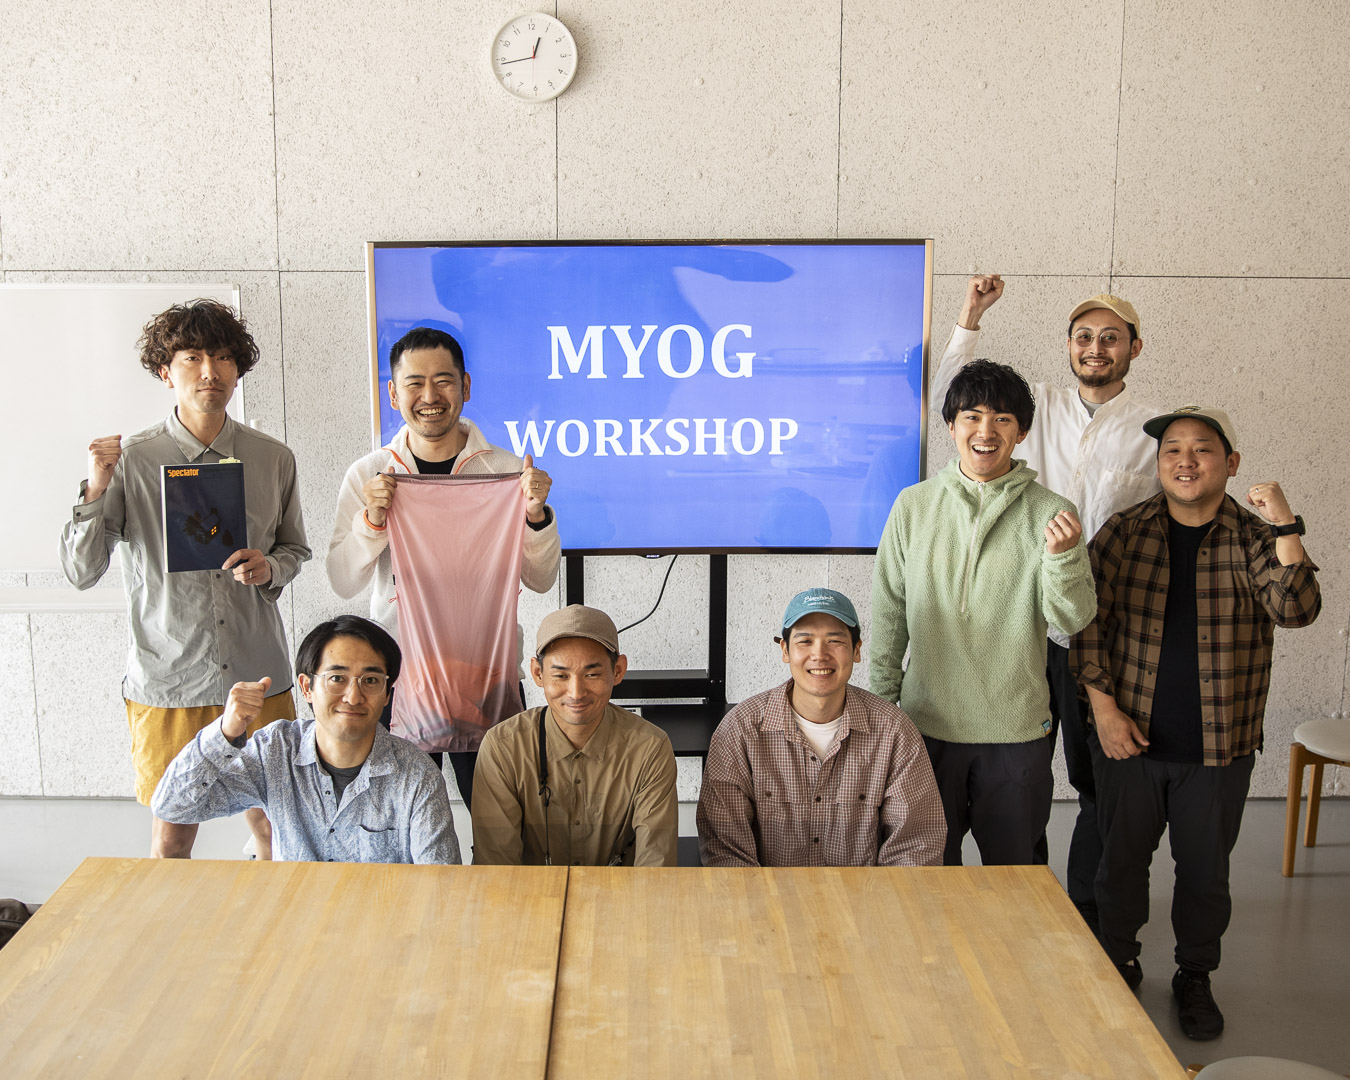
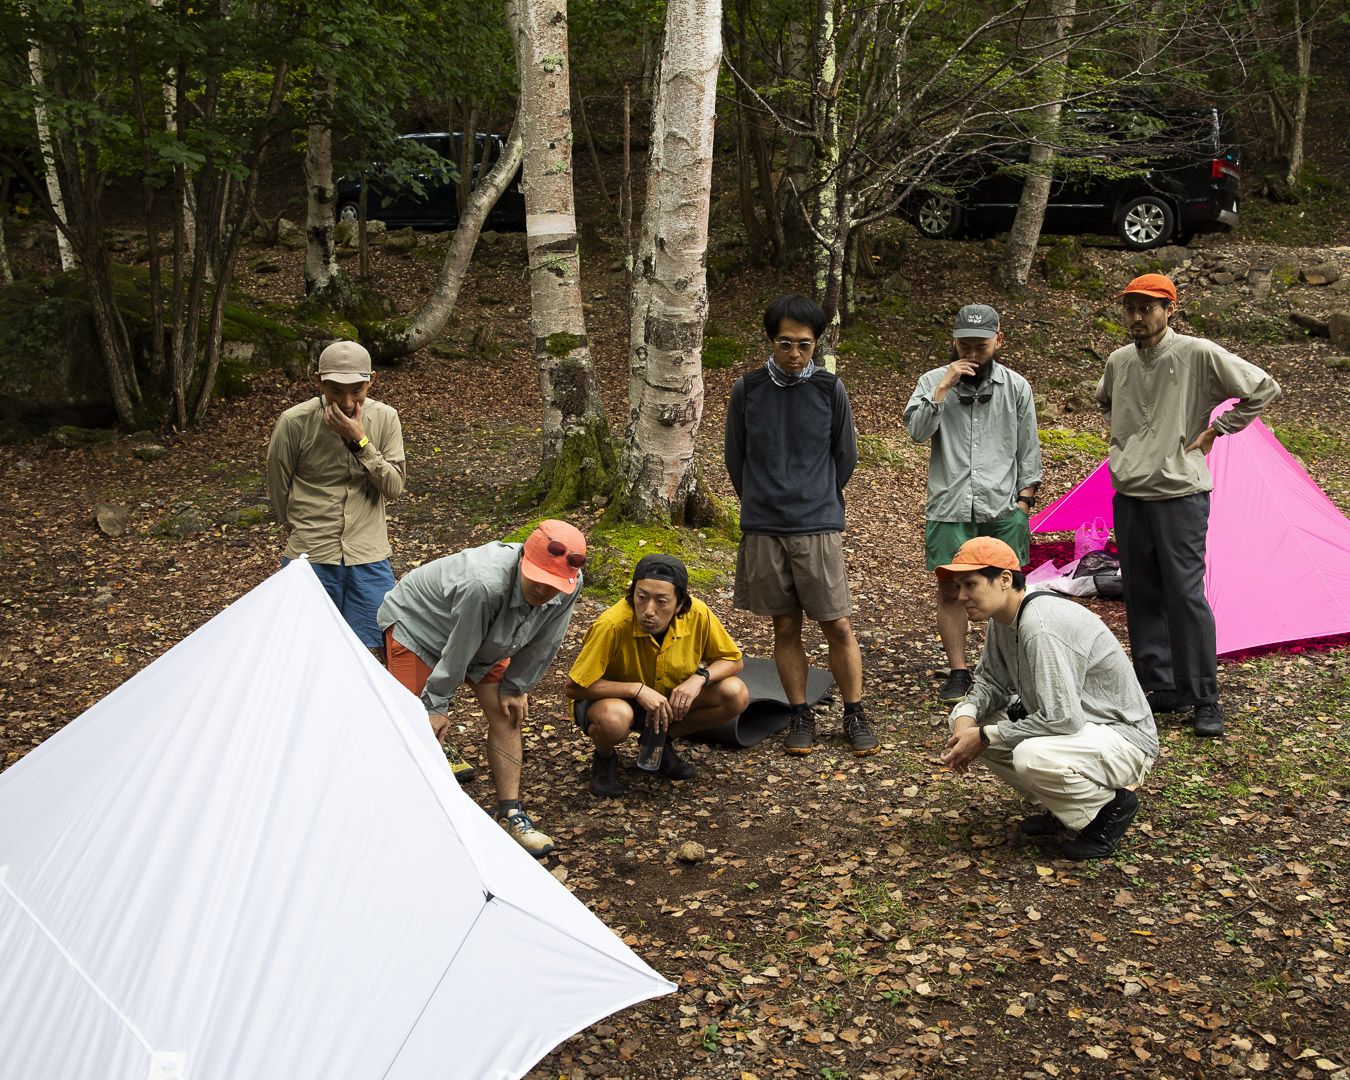
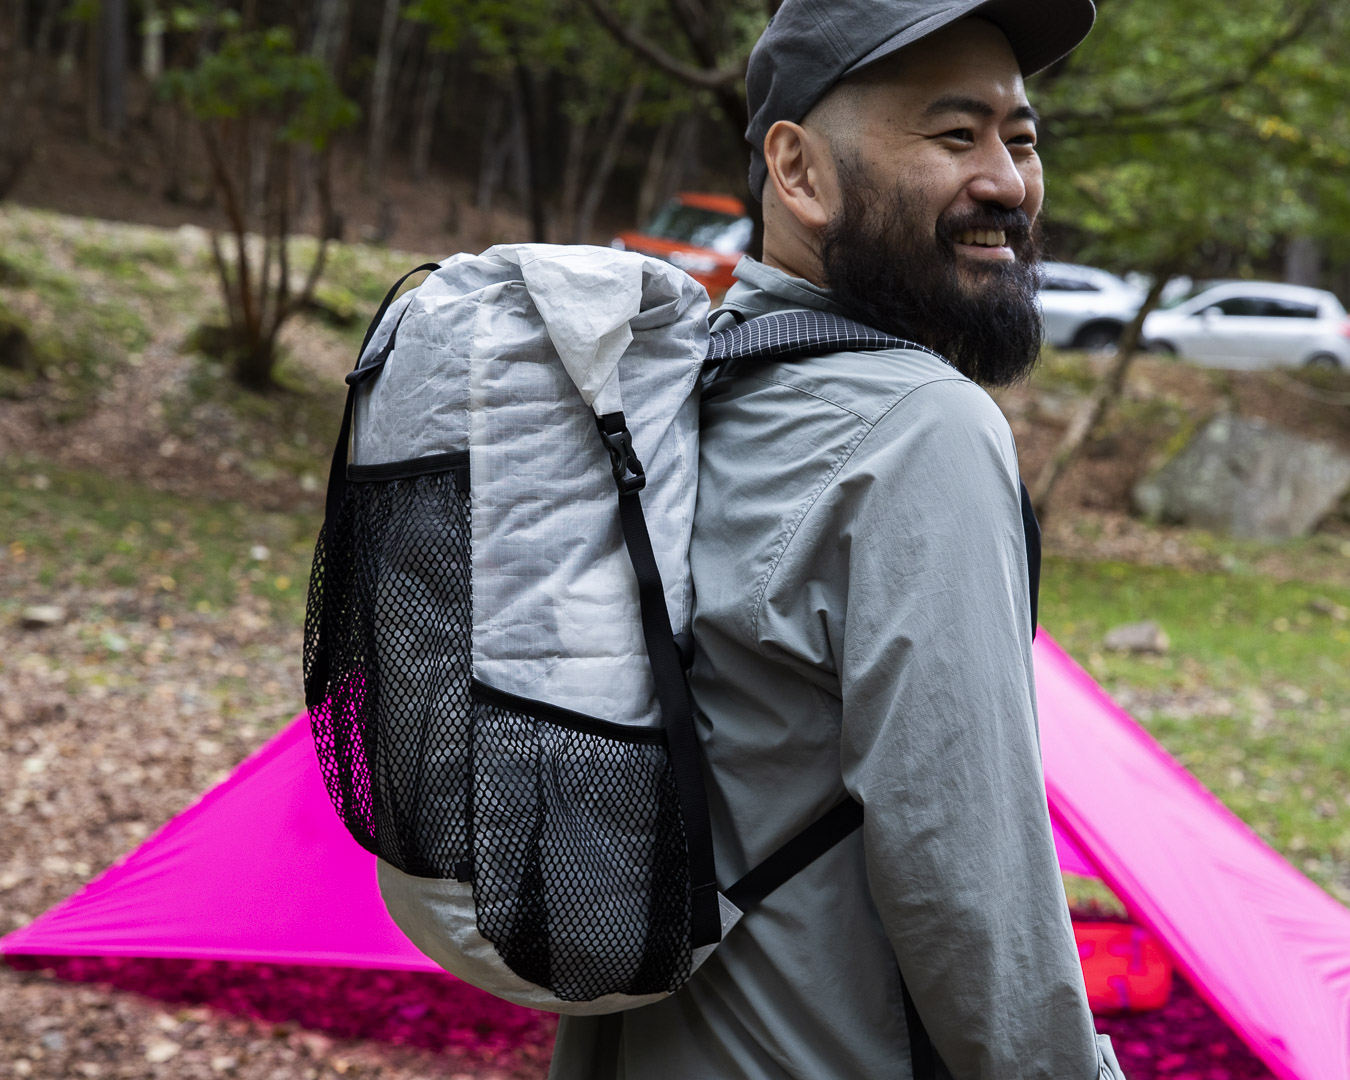
In this HLC Report, we highlight those activities—this time from the MYOG (Make Your Own Gear) Workshop held by HLC North Kanto at the Mairime-daira Campground. Participants brought along the gear they made during the program and shared their stories.
If you’re thinking, “There’s no way I could make my own backpack or tent”—think again! Some participants were sewing for the first time, and one even went on to launch their own brand. Crooked stitches, lopsided shapes—none of that matters. The best gear is the gear you make yourself.
What is MYOG?
One of the long-standing traditions within ultralight hiking is MYOG = Make Your Own Gear. In the 1990s and early 2000s, when UL hiking was still in its infancy, the market offered almost no equipment specifically designed for it. If you wanted to seriously cut weight, making your own gear was often the only option.
From this DIY culture, many small “garage brands” emerged, shaping an alternative outdoor scene distinct from the big mainstream manufacturers. Of course, Yamatomichi also traces its roots back to this lineage.
Where to find material and resouces
These days, it’s easy to find materials and resources for MYOG online. A wide range of MYOG kits are available, often including materials, patterns, and instructions as a set. You can also choose to get just the instructions on their own. Plus, platforms like YouTube are full of inspiring projects and how-to videos to help you get started.
Here are a few examples:
Resources in Japan
Outdoor Material Mart (shop)
An outdoor fabric specialty store run by Locus Gear, focusing mainly on tent and tarp fabrics.
Yoshinaga Store (shop)
Offers advanced materials such as DCF and Technoforce Steel, with a strong focus on fabrics for bags.
Tokyo Material (shop)
An online shop where you can purchase buckles, adjusters, and other bag components, including Nifco parts.
Tokyo Vinyl (shop)
Specializes in nylon webbing, straps, and related accessories for outdoor gear.
TRAILS INNOVATION GARAGE (shop)
A shop in central Tokyo run by TRAILS. Stocked with hard-to-find materials such as DCF, silnylon, and X-Pac—ideal for backpacks, tarps, and other MYOG projects.
The Complete Outdoor Fabric Guide / Masakazu Hasebe – Graphic-sha (book)
A comprehensive book covering explanations and tests of key outdoor fabrics, plus a practical MYOG how-to section.
Spectator Magazine Vol.26 – OUTSIDE JOURNAL 2012 (magazine)
Features Japan’s first MYOG special article “LET’S MYOG,” written by Yamatomichi Journal’s Mita in 2012. Includes the history of MYOG, a glossary of terms, and roundtables with early MYOGers—many of whom later became well-known garage brands. Now only available secondhand but well worth reading (Japanese).
– –
Resources overseas
Ray-Way Products (kits)
The official site of Ray Jardine, the “Godfather of UL.” Sells original Ray-Way kits including the iconic Ray-Way Backpack and Quilt.
Ripstop by the Roll (materials)
One of the largest U.S. outdoor material suppliers. Offers cutting-edge fabrics like DCF, plus patterns, MYOG kits, and even custom-printed fabrics.
Quest Outfitters (kits)
A long-established outdoor materials store, known for MYOG kits such as the legendary Gossamer Gear “G4” backpack.
Rockywoods Fabrics (materials)
An online store offering a wide selection of fabrics and materials for outdoor gear.
Pa’lante Simple Pack Kit (kits)
Pa’lante, famous for its FKT backpacks, also offers backpack kits. Options include full sets (materials + pattern + instructions), pattern + instructions, or instructions only. Video tutorials make the process easy to follow.
Learn MYOG (patterns)
A resource hub offering downloadable patterns and instructions for bags, backpacks, and apparel. Some patterns are free, and many are supported with video tutorials.
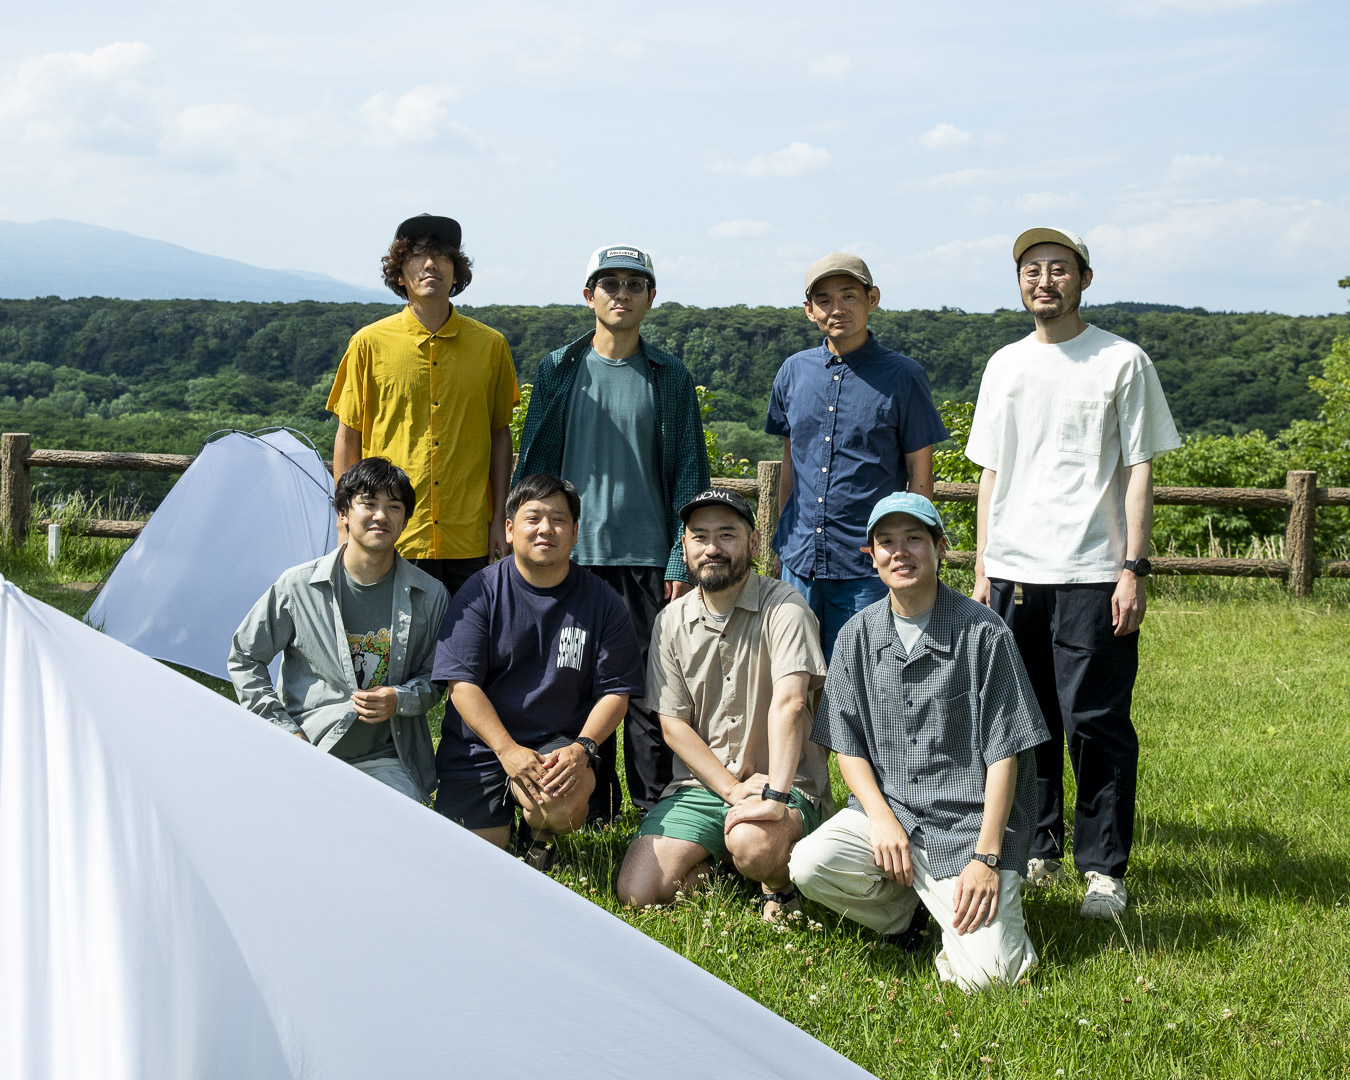
Recap: HLC North Kanto MYOG Workshop
The HLC North Kanto MYOG Workshop was Yamatomichi HLC’s first attempt at a three-part series program.
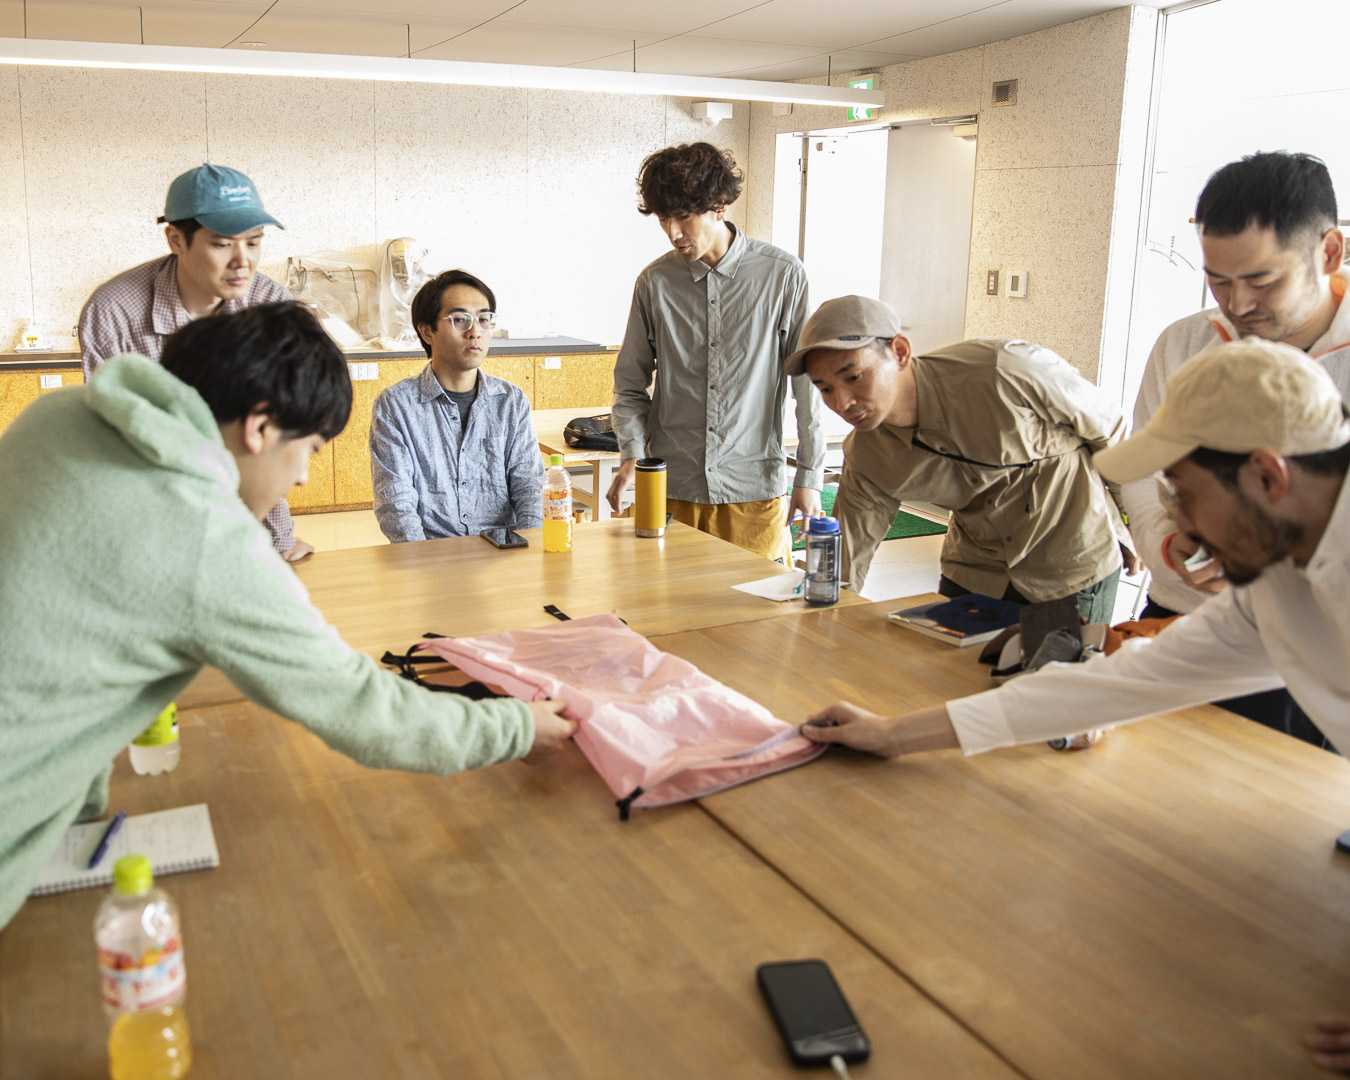
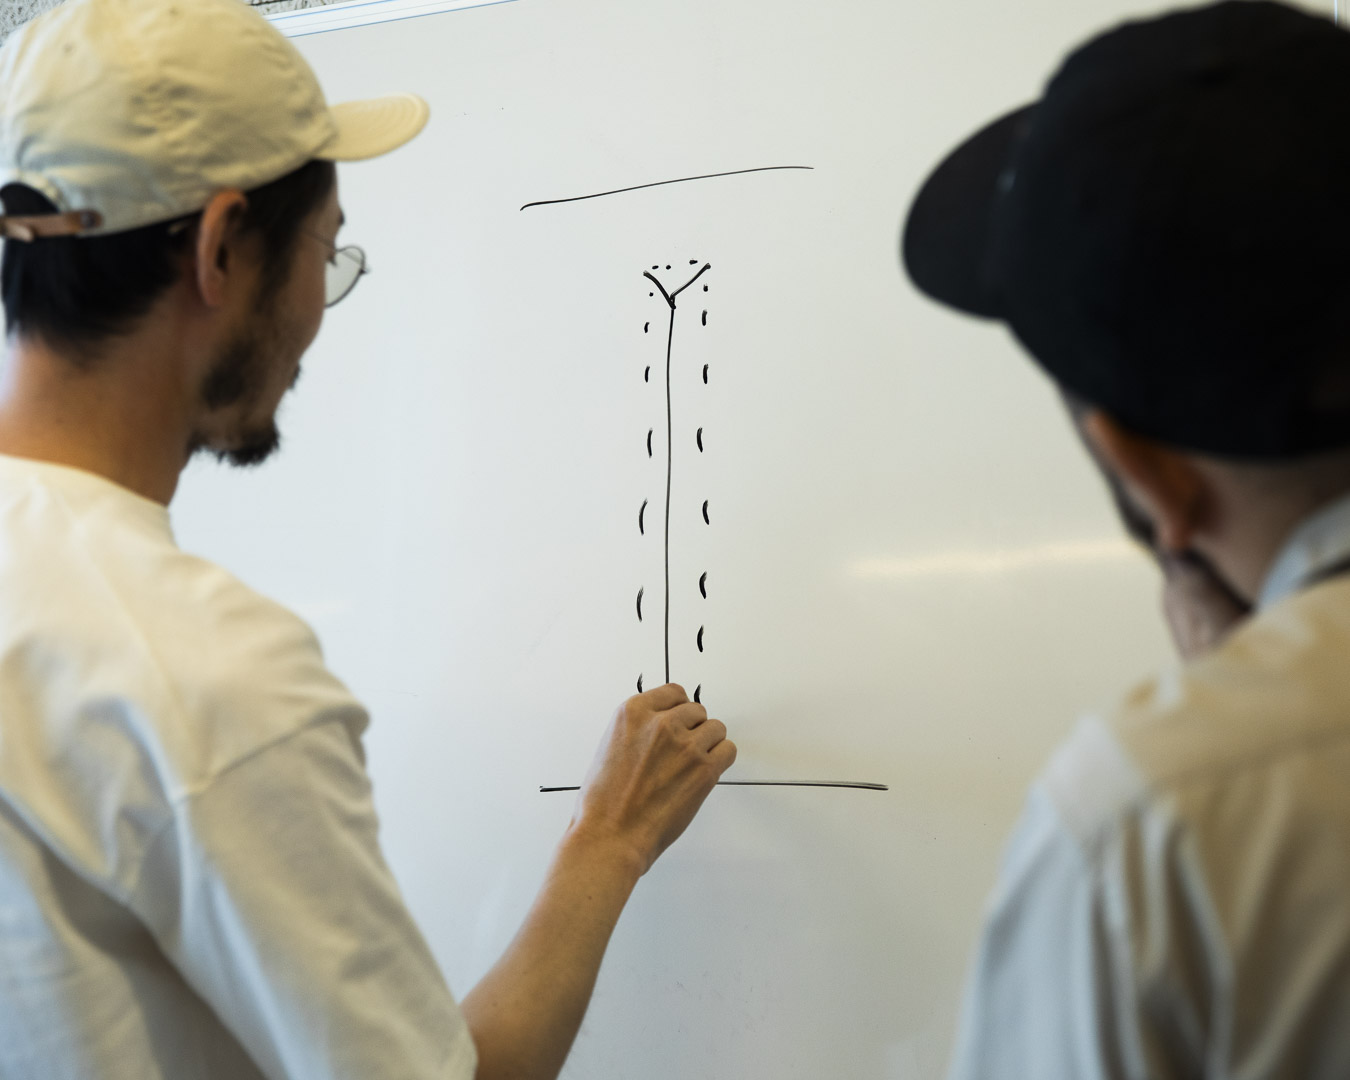
Led by HLC North Kanto Ambassador Tomoyuki Meguriya, the workshop began with an introduction to the program, an overview of the history and background of MYOG, and sharing knowledge about tools and materials. Participants also discussed what kind of gear they wanted to make.
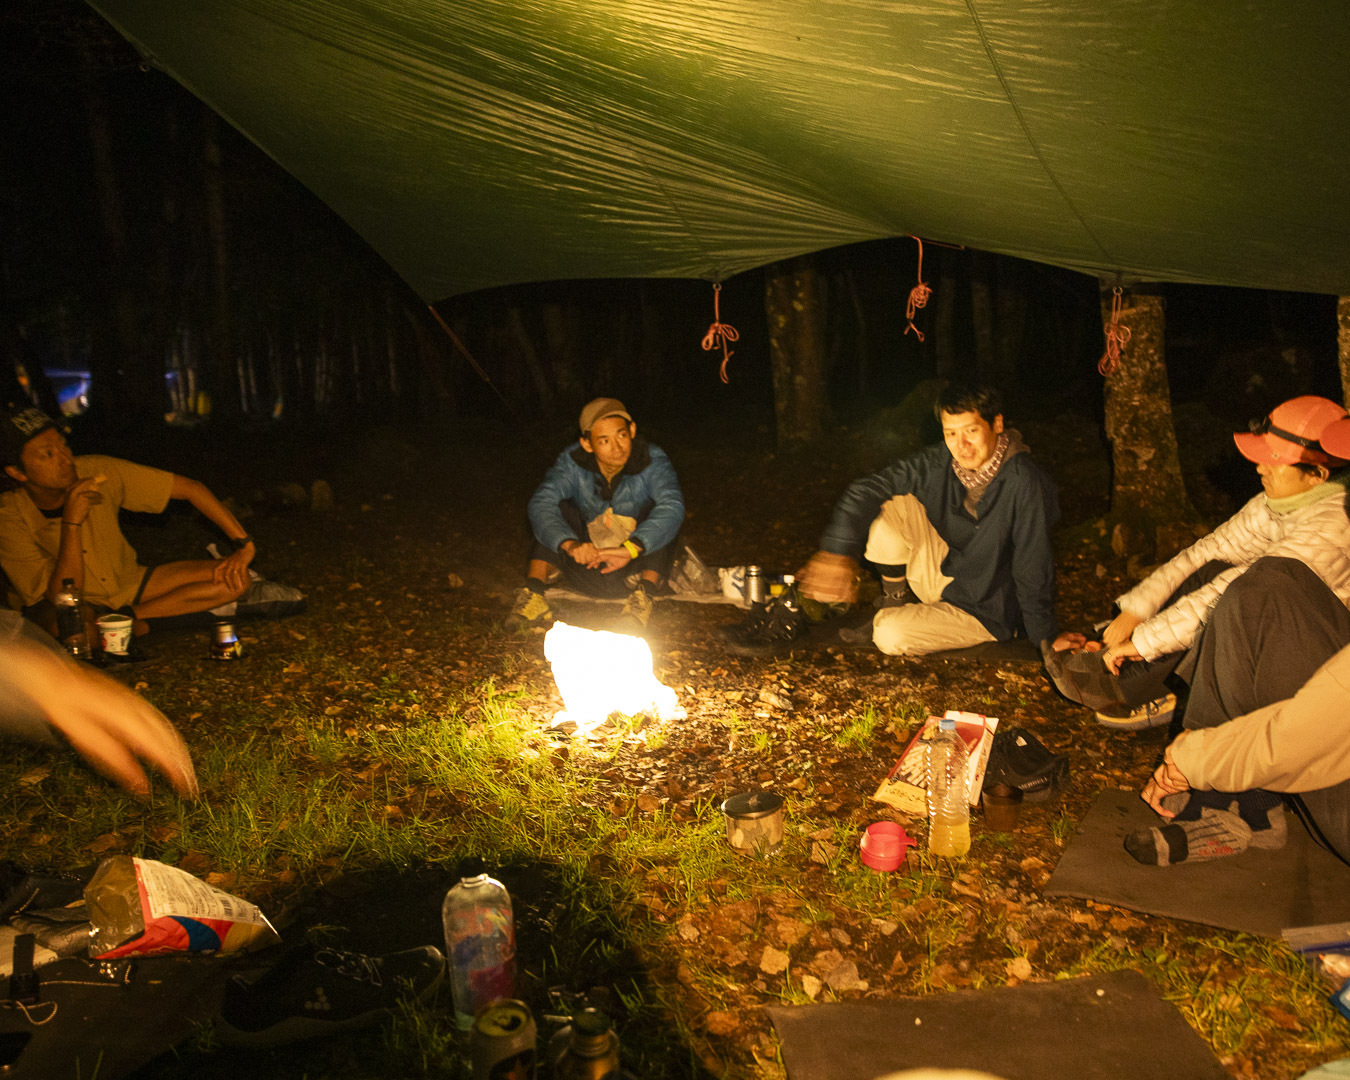
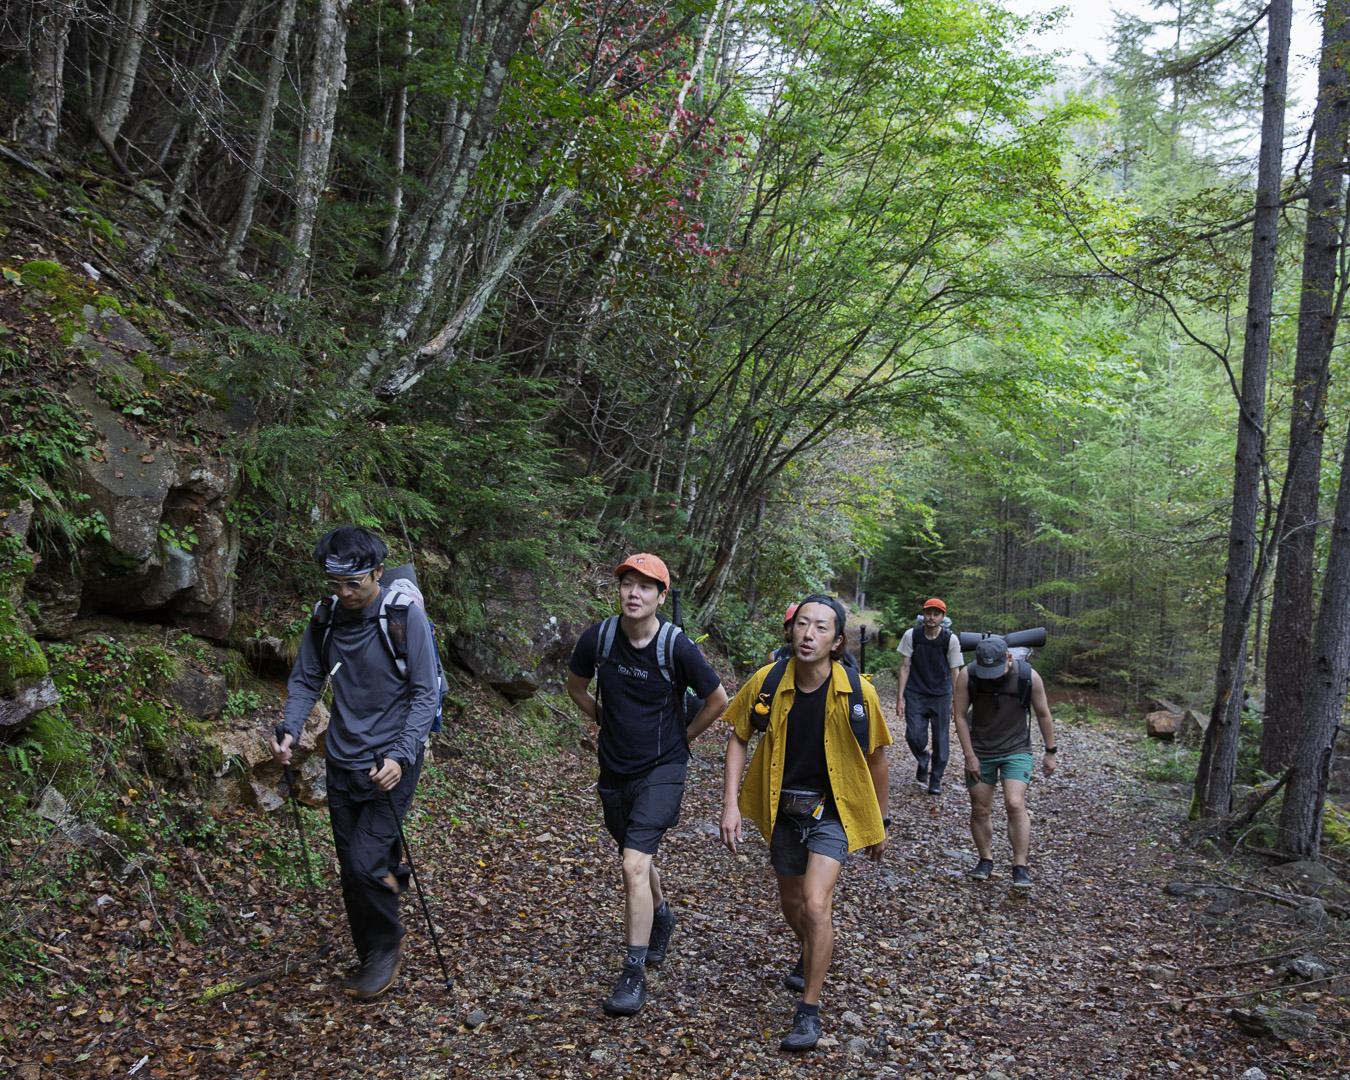
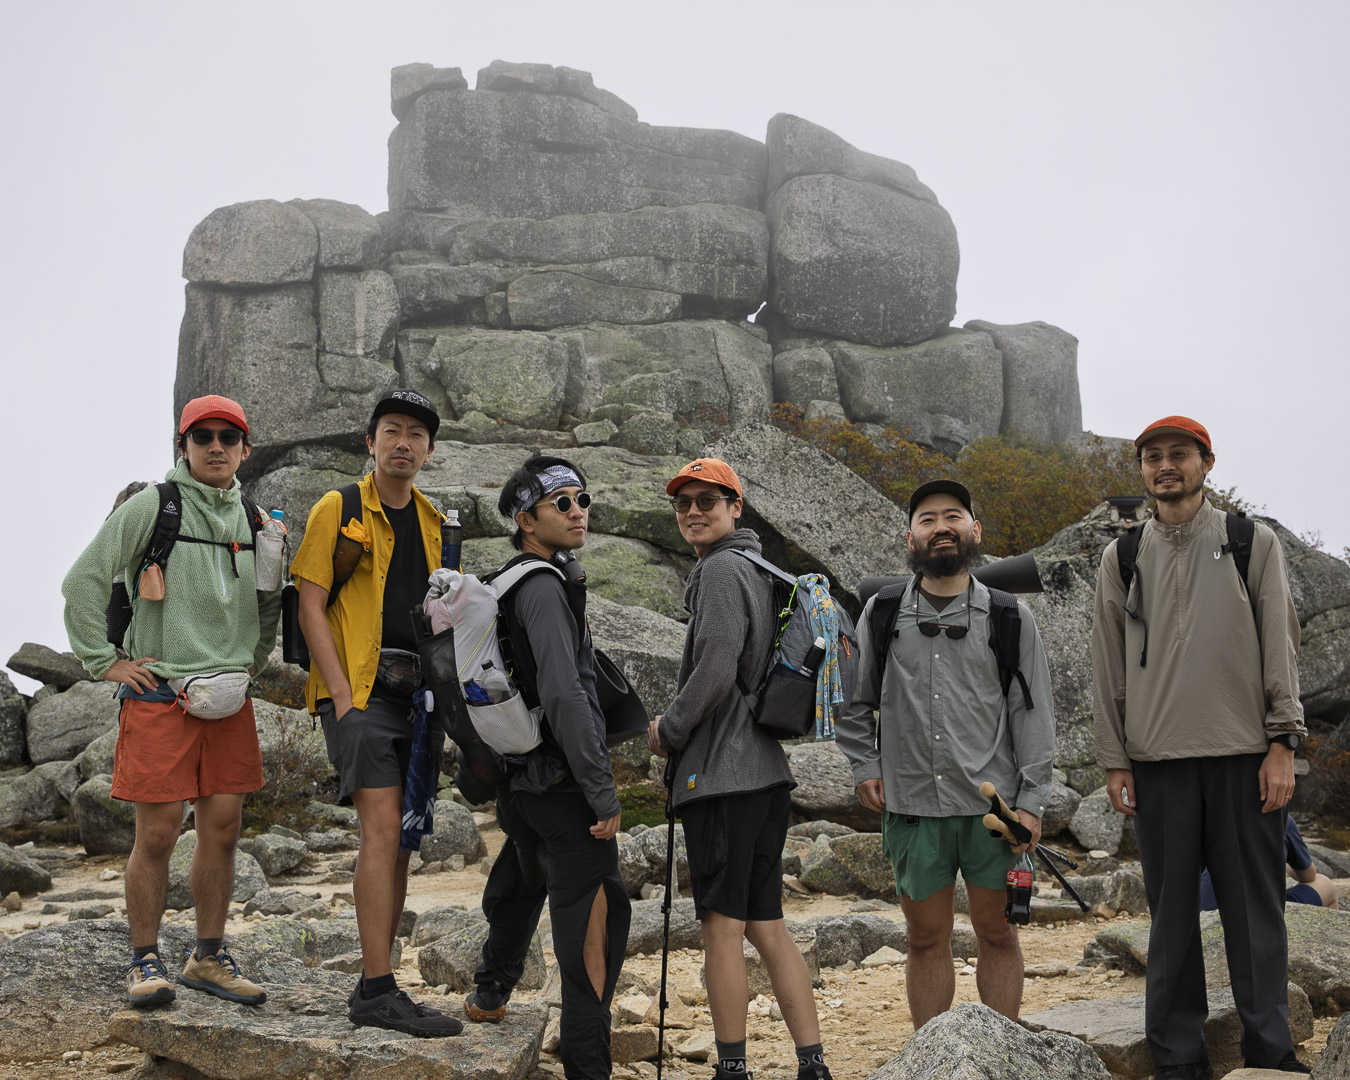
Two months later, the second session was held to check in on progress and share challenges. Finally, three months later, participants planned an overnight hike (1 night / 2 days) to test their self-made gear in the field.
Session 1
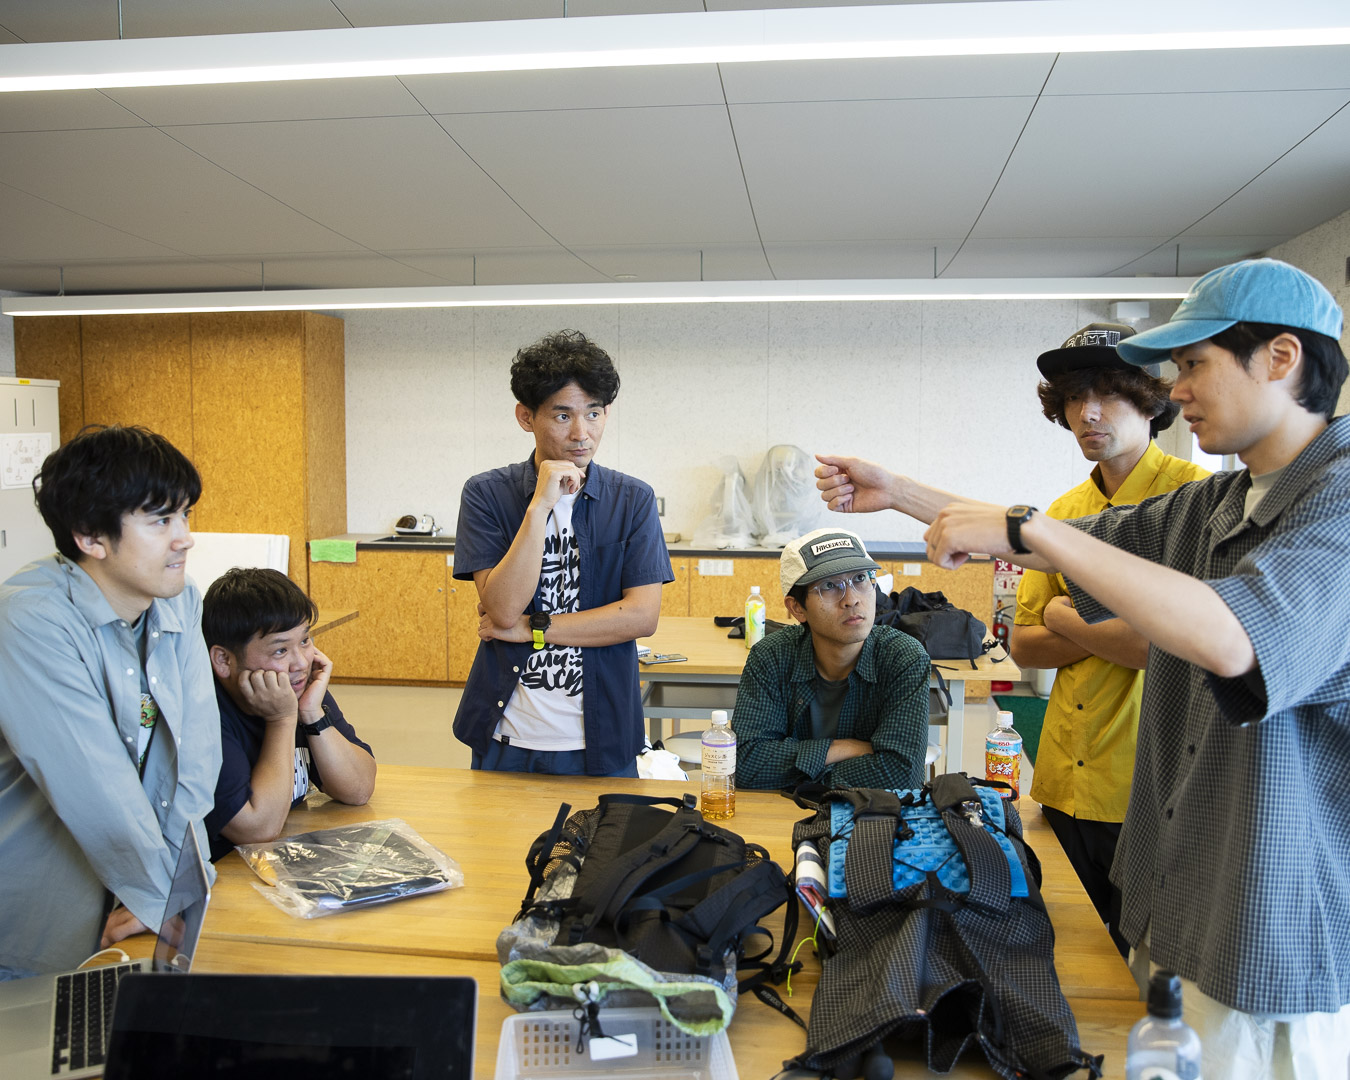
Session 2
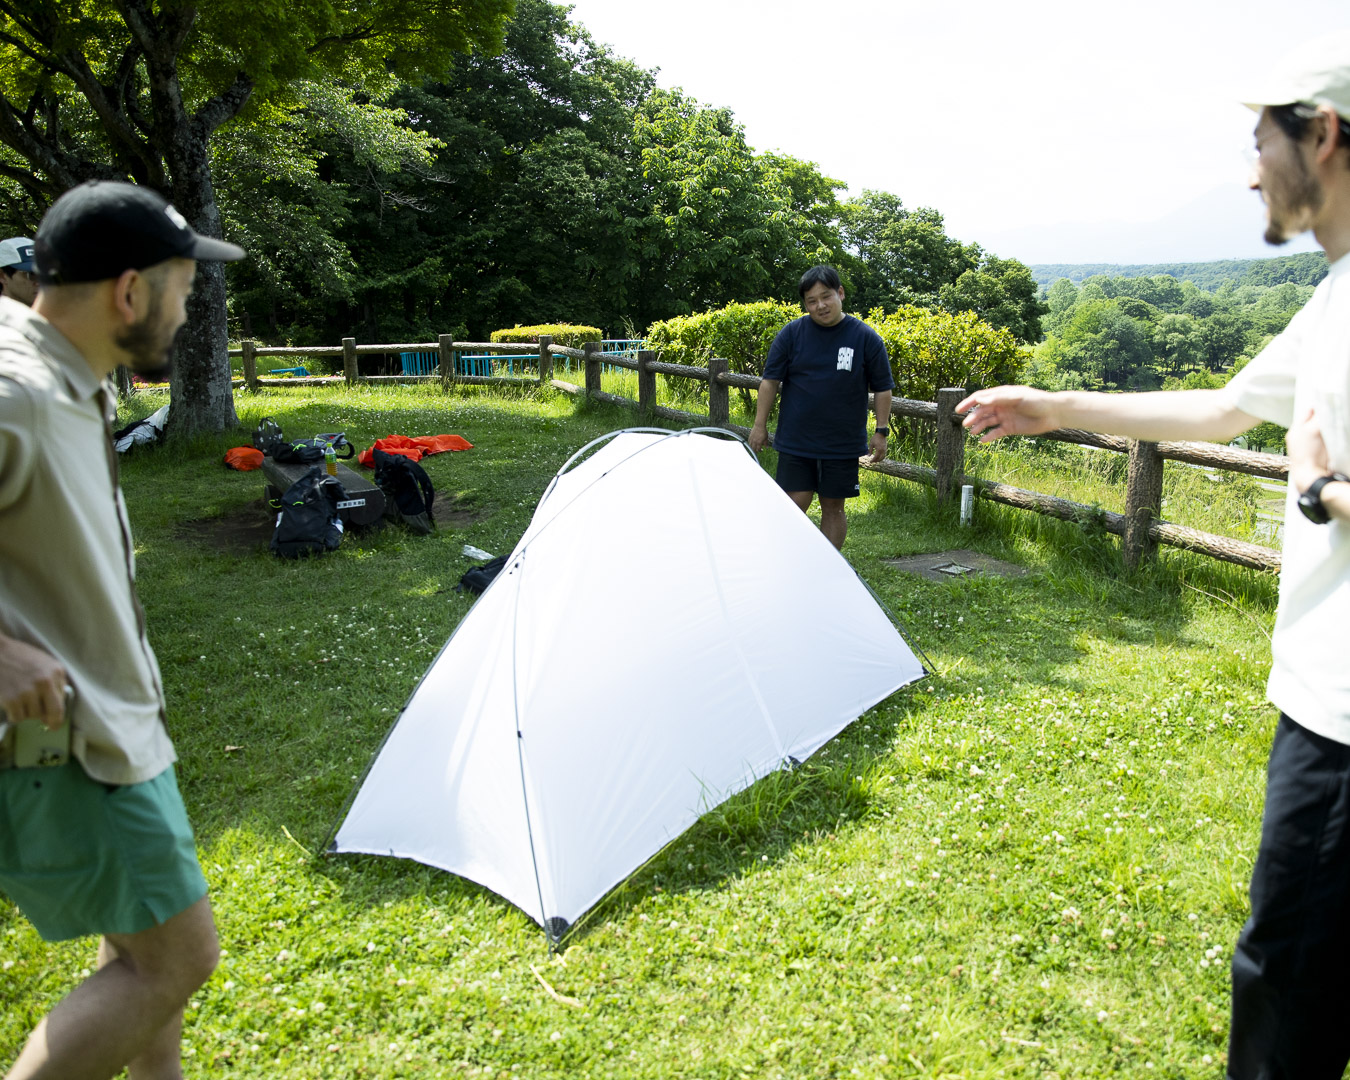
Session 3
Participants’ MYOG
① Yuichi Ohashi - tents and backpacks
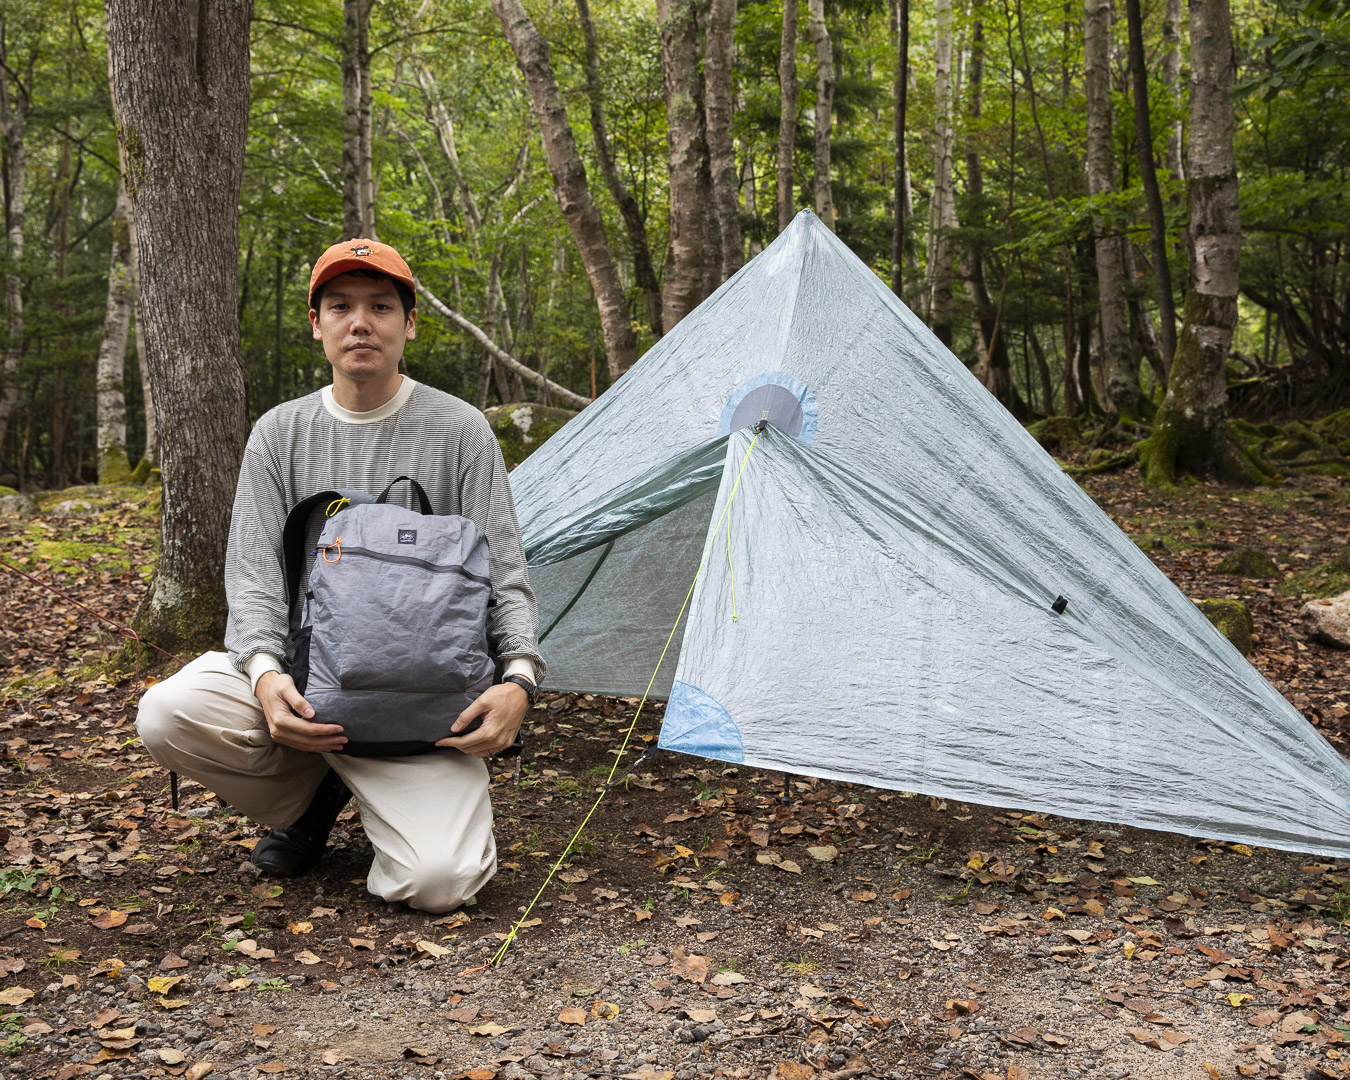
Despite having only six months of MYOG experience, the quality of each of his works was very high, earning admiration from the other participants. These days, his passion for MYOG has even led him to start his own brand — truly a rising star born from the MYOG workshop.
— How long have you been doing MYOG?
I started this April, so it’s been about six months. I had always wanted to try it, and this workshop gave me the push to begin.
— And since then, how many things have you made?
I’ve made three backpacks, one tent, one tarp, and a few small accessories.
— Was there anything particularly difficult?
The backpacks were the hardest. I’d make one and think, “Something’s not quite right,” then make another and still feel, “This isn’t it.” I kept wanting to change things to suit my own vision, and that frustration drove me to keep going. I never originally planned to make three backpacks, but it was really tough to get closer to the ideal form I had in mind.

From the left: the first and second backpacks.
— Is this your third backpack?
Yes. It has a 15-liter capacity, designed with day hikes in mind, but I also aimed to make it suitable for everyday use in the city.
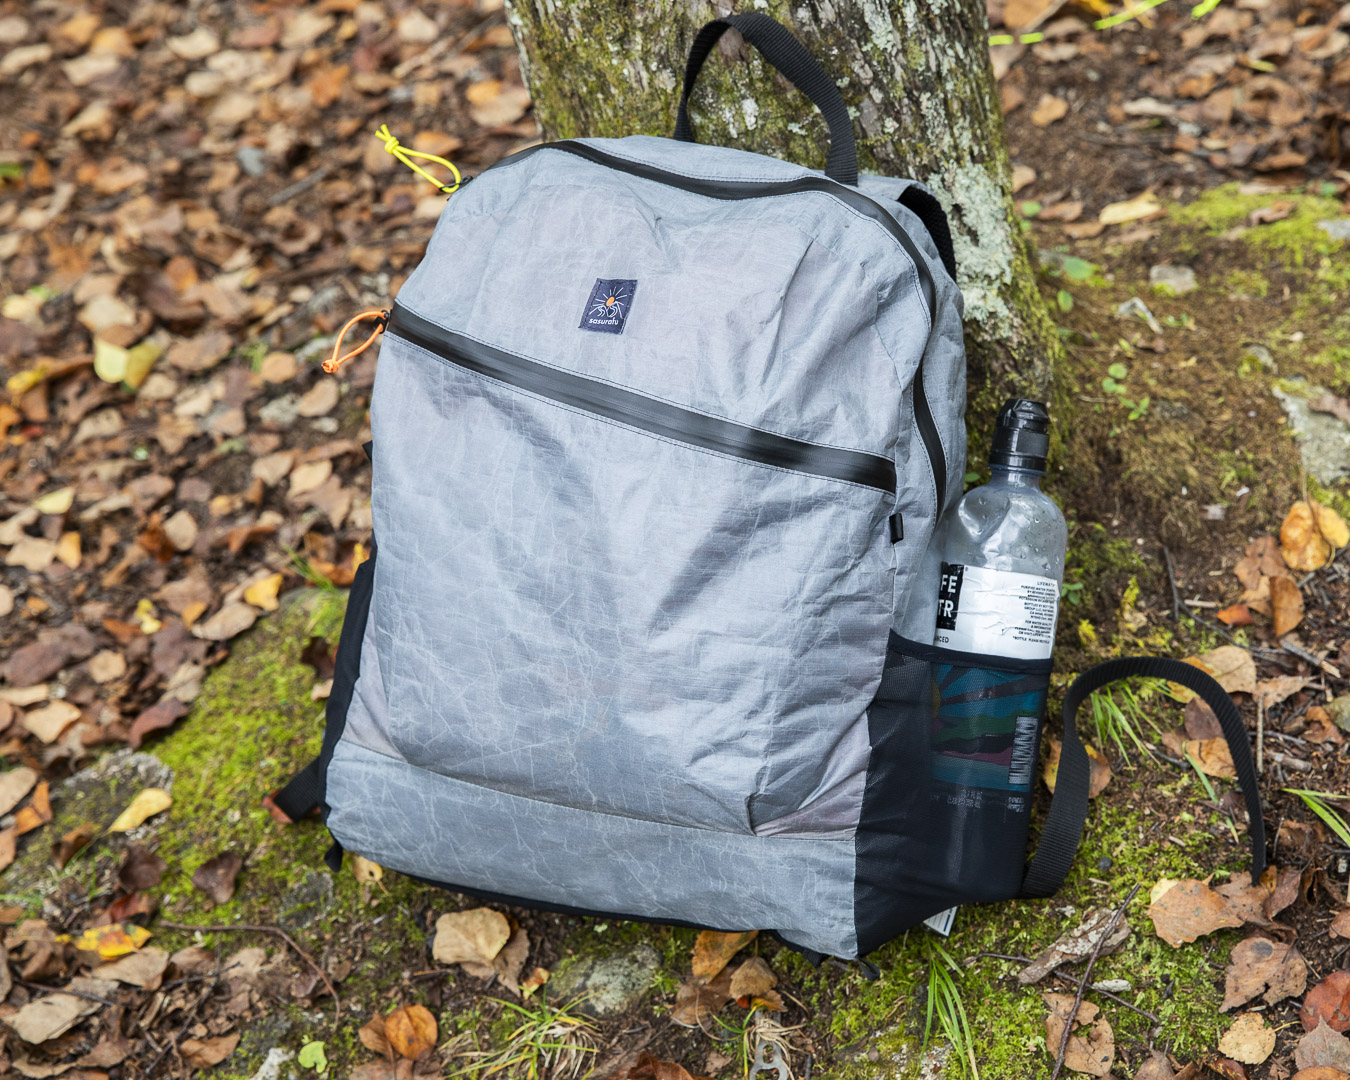
His third backpack blends a traditional daypack form with contemporary ultralight backpack details.
— I see, so you stepped away from the traditional ultralight backpack design.
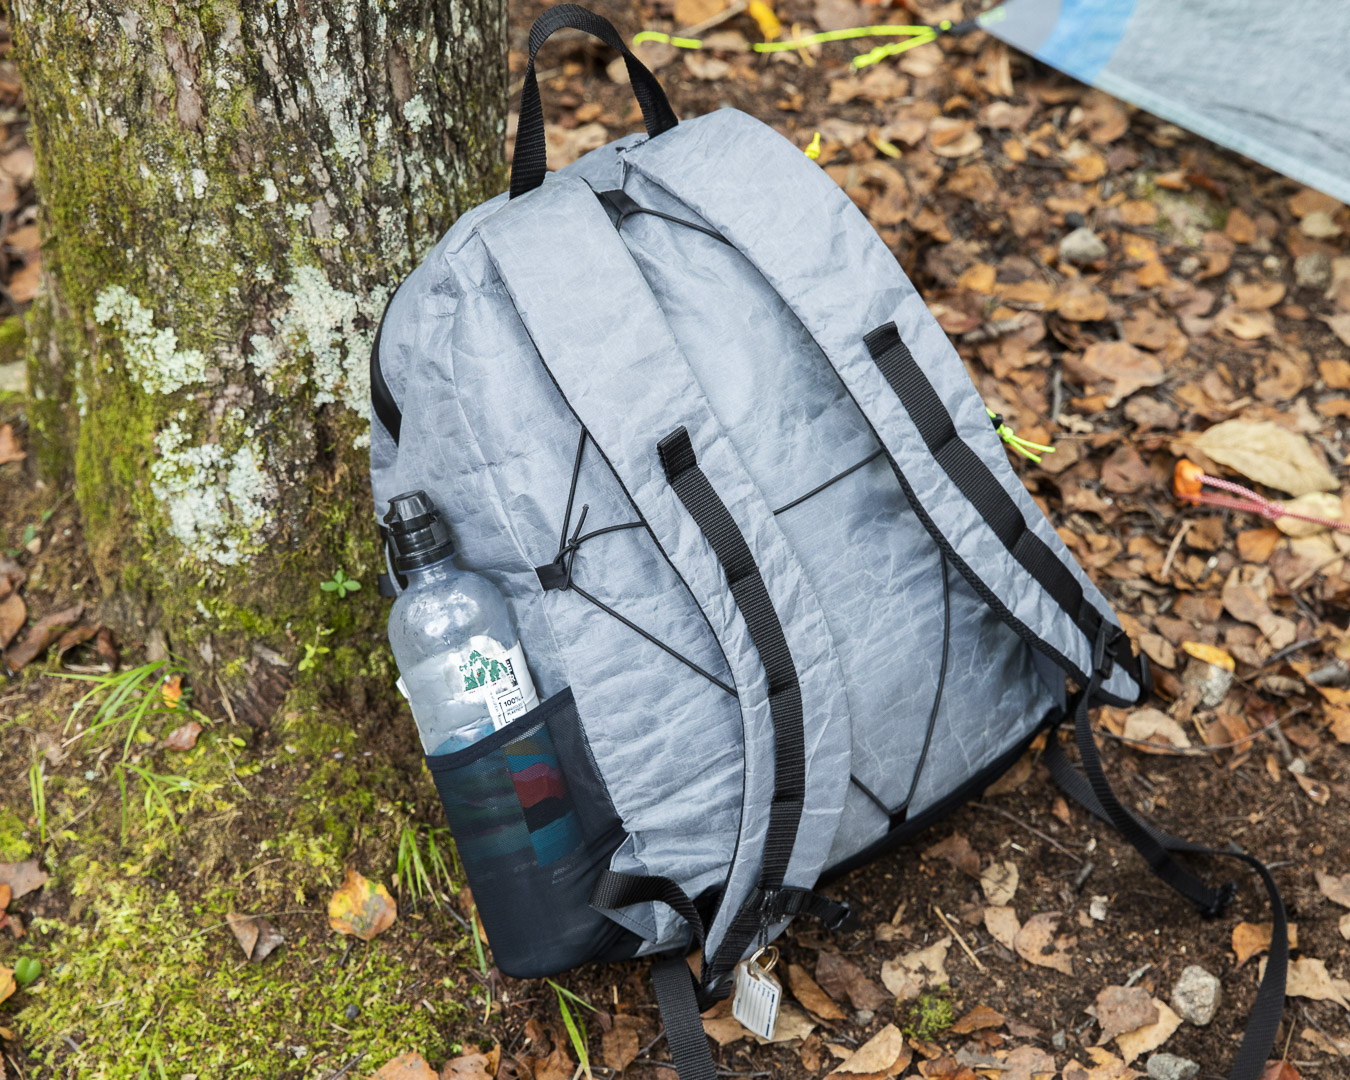
Yes, I imagined it as a travel companion that bridges everyday life and the mountains. As a base, I drew inspiration from Gregory’s Casual Day daypack. From there, I added ultralight elements: DCF Hybrid fabric (Dyneema® Composite Fabric Hybrid, valued for its strength and waterproofness and common in modern UL packs), mesh pockets on the sides and bottom, and slightly altered S-shaped shoulder straps. The overall silhouette remains old-school, but I wanted to weave in details that reflect the current ultralight scene.
— And how does it feel to carry?
The comfort is spot on. Honestly, it feels just like a Gregory pack (laughs).
— Having gone through the process, did you learn anything new?
At first the idea was hazy—just a vague sense of a backpack I wanted to see take shape. But with each step of building, the purpose sharpened. What began as a simple sketch of a form grew into a search for meaning: what this pack represented, and what I wanted it to say. By the time it was finished, the vision had come into focus, clear and undeniable.
— You even made a tag?
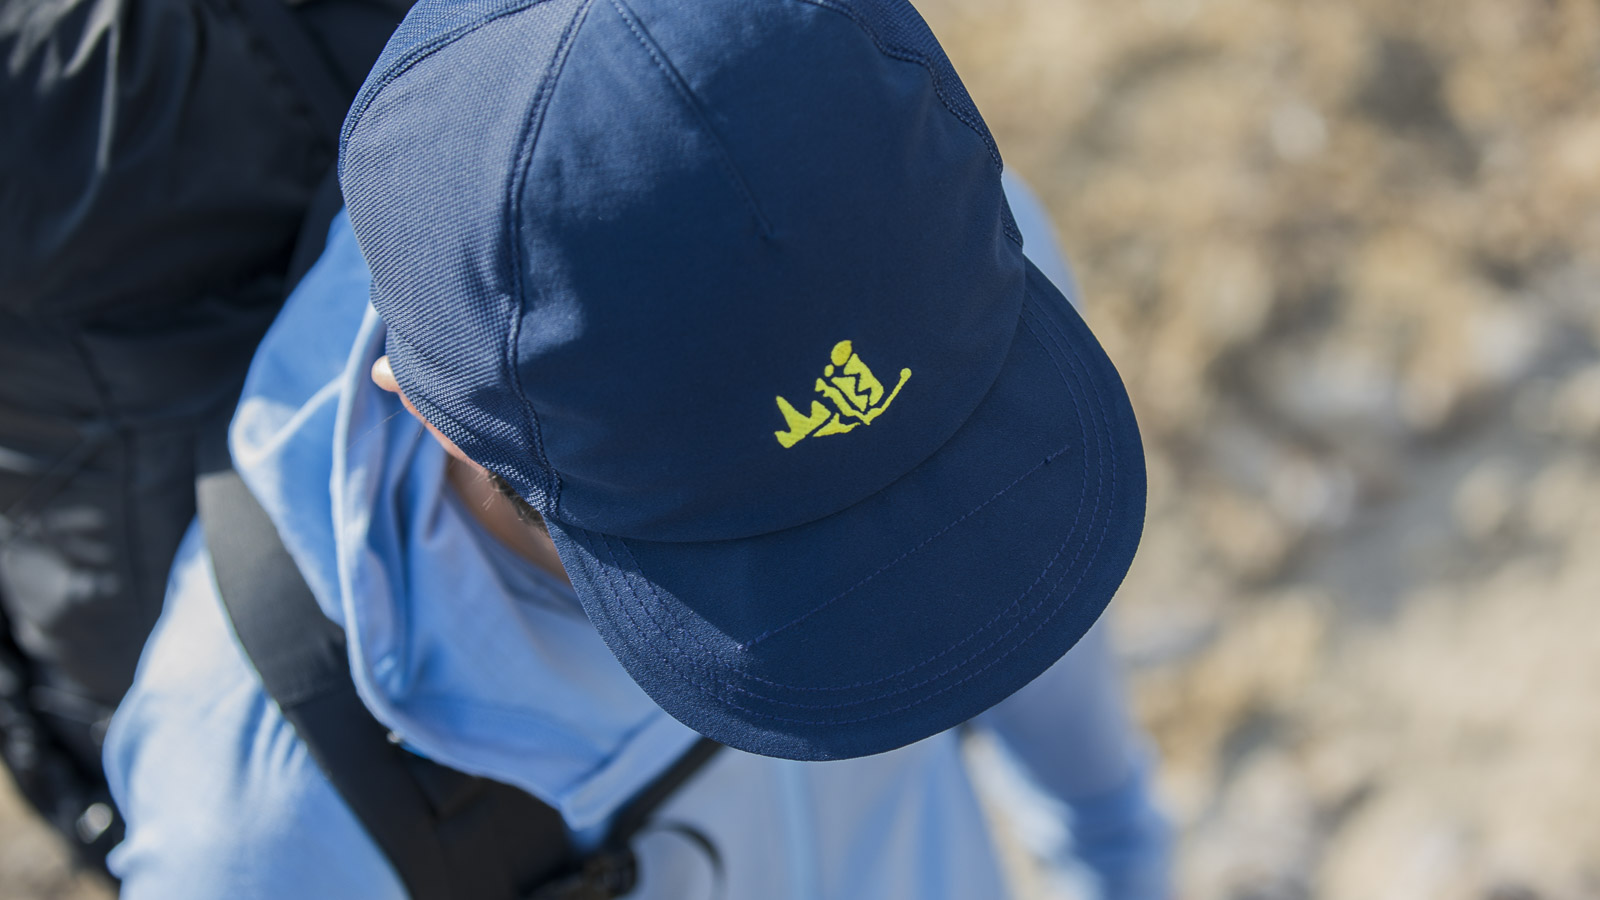
Yes. I wanted to give the backpack a name, so I created a kind of brand logo. I used the old Japanese reading of the word sasurau (“to wander”), which I rendered as Sasurafu. I felt that “wandering” is a good way to describe the feeling of long trails or long-distance hiking in Japanese. For the logo, I went with something a bit deliberately kitschy — like the vibe of an old American souvenir cap.

— You use CAD in your work, right?
Yes, my job is in design, so I use it regularly.
— Being able to use CAD must be an advantage.
Definitely. It’s not an unfamiliar world to me. I already have the image in my head, and I can reference different tents. As long as I nail down the dimensions, I can adjust the design to fit my own body.
— Were there any particular design features you focused on?
The door. You can unhook it, roll it up, and secure it, but I also made it so that it can be kept half open. The hook that attaches to the front guyline is fixed with a taut-line hitch. This allows for easier entry and exit, quick tension adjustments in strong winds, and being able to check outside from inside the tent. That flexibility in opening and adjusting was important to me. Also, for the tie-out points — they’re usually sewn, but I experimented with bonding them instead. Basically, I attached them without stitching, just bonding. It’s become a defining feature of the tent, and I really like how it turned out.
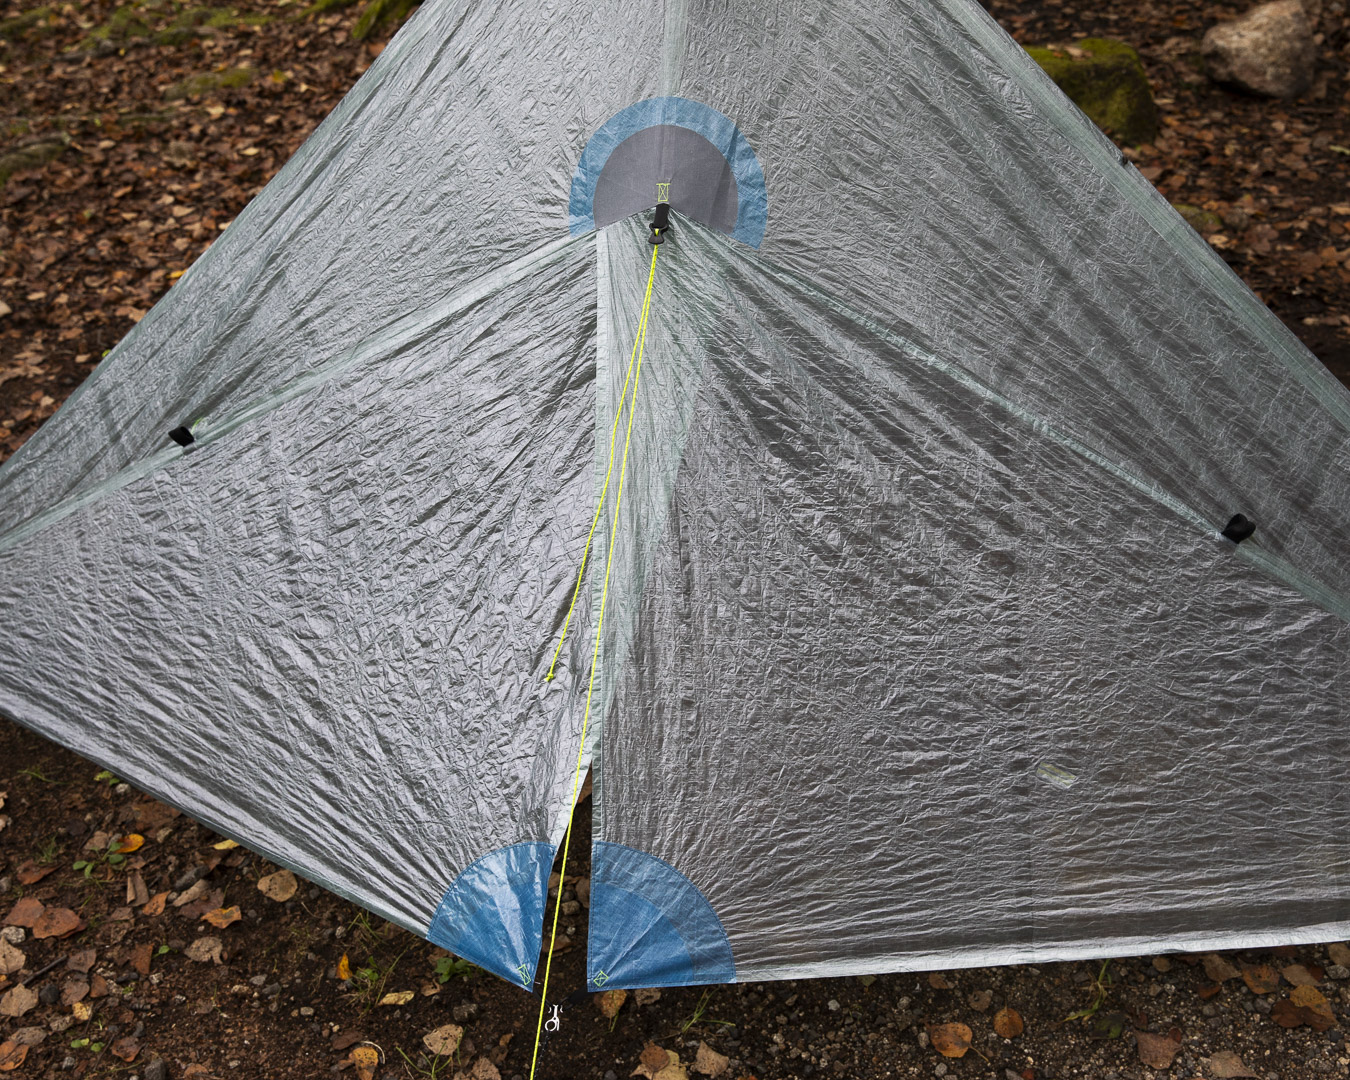
Inspired by the Zpacks Hexamid tarp, this door uses a taut-line hitch on the hook side, allowing for precise adjustment of the opening. The colorful tie-outs add a unique touch.
— That’s amazing for a first tent.
Yes, I think it turned out really well. There aren’t any warped sections, and I was glad I managed to cut everything cleanly.
— Compared to the past, it’s easier to find information now. What resources did you use?
YouTube was a huge help. Also, Pa’lante sells backpack kits, and they include video tutorials. Watching those was much more intuitive than reading instructions — I could clearly see how to sew or cut. That made it much easier to absorb the information.
— What would you like to make next?
My third backpack got a lot of good feedback from people who saw it, so I’d like to try making it in a way that I can share it more widely.
— Oh, so you’re thinking of starting a brand! These days you don’t have to put too much pressure on yourself either — with social media and events, it’s easier than ever to give it a try. This workshop really turned into a big opportunity for you, didn’t it?
That’s right. This MYOG workshop really was the trigger. At the very beginning, when I didn’t even know what sewing machine to buy, Mr. Mawatari recommended one to me. Once I bought it, I thought, “Well, now I have to make something.” I got a used JUKI professional machine. It wasn’t cheap, so I felt I had to create something tangible with it.
— So we might be seeing your products popping up in more places from now on. I’m looking forward to it!
Thank you!
After the interview: Yuichi Ohashi has launched his online shop sasurafu.
② Keisuke Takayama - tent, backpack and quilt
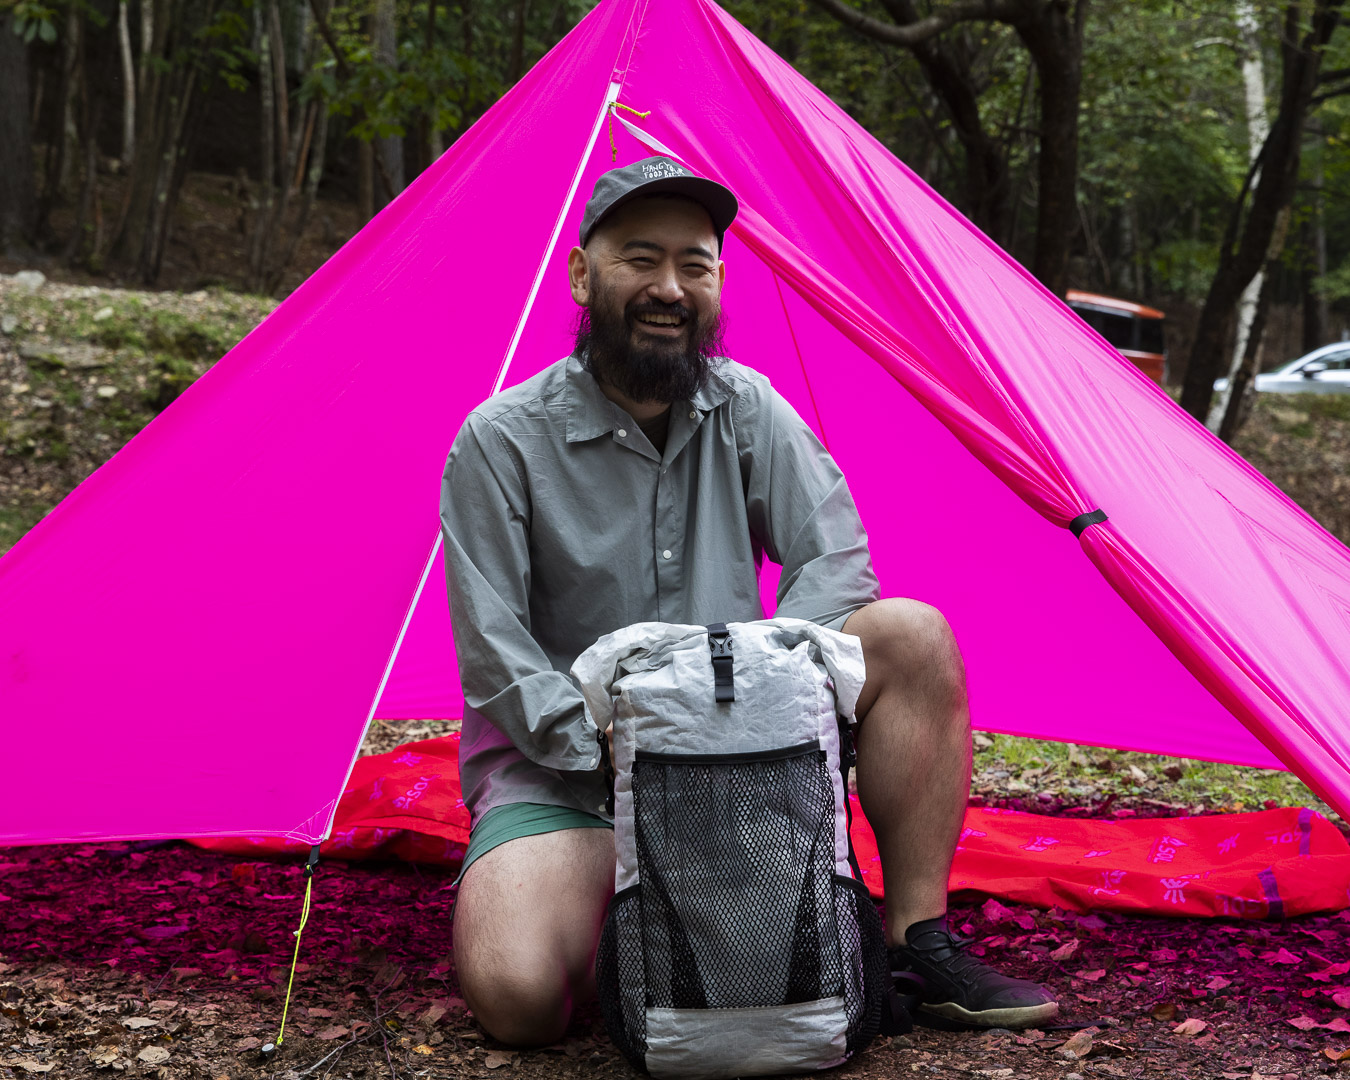
With his distinctive goatee, Mr. Takayama stood out. Rather than focusing on originality or innovation, his approach was straightforward and very much in the spirit of MYOG: “I just make what I want right now!” That directness gave his creations a strong and memorable character.
— How long have you been doing MYOG?
About a year and a half.
— What did you start with at first?
The very first thing I made was a fanny pack. I wondered if I could make something in the style of Hightail Designs, so I ended up making three or four of them. From there, I tried making a small backpack, and some simple projects like stitching Tyvek together to make a groundsheet in my own size. I also made alcohol stoves a few times. For this workshop, I made a tent, a backpack large enough for overnight trips, and a synthetic quilt.
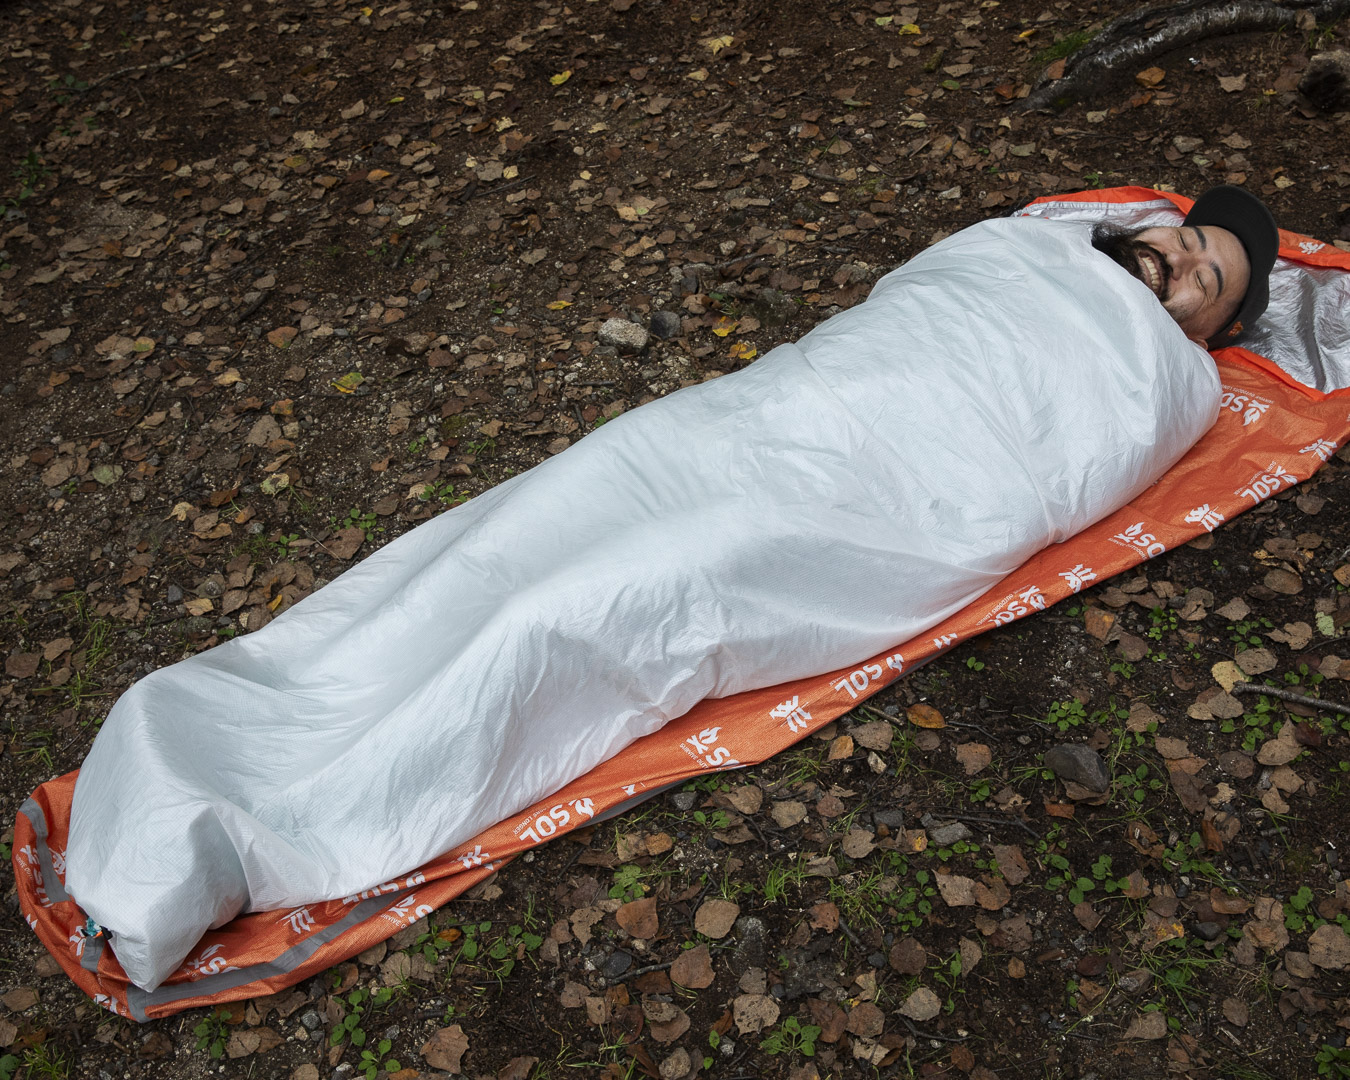
— So this quilt works just like a proper futon?
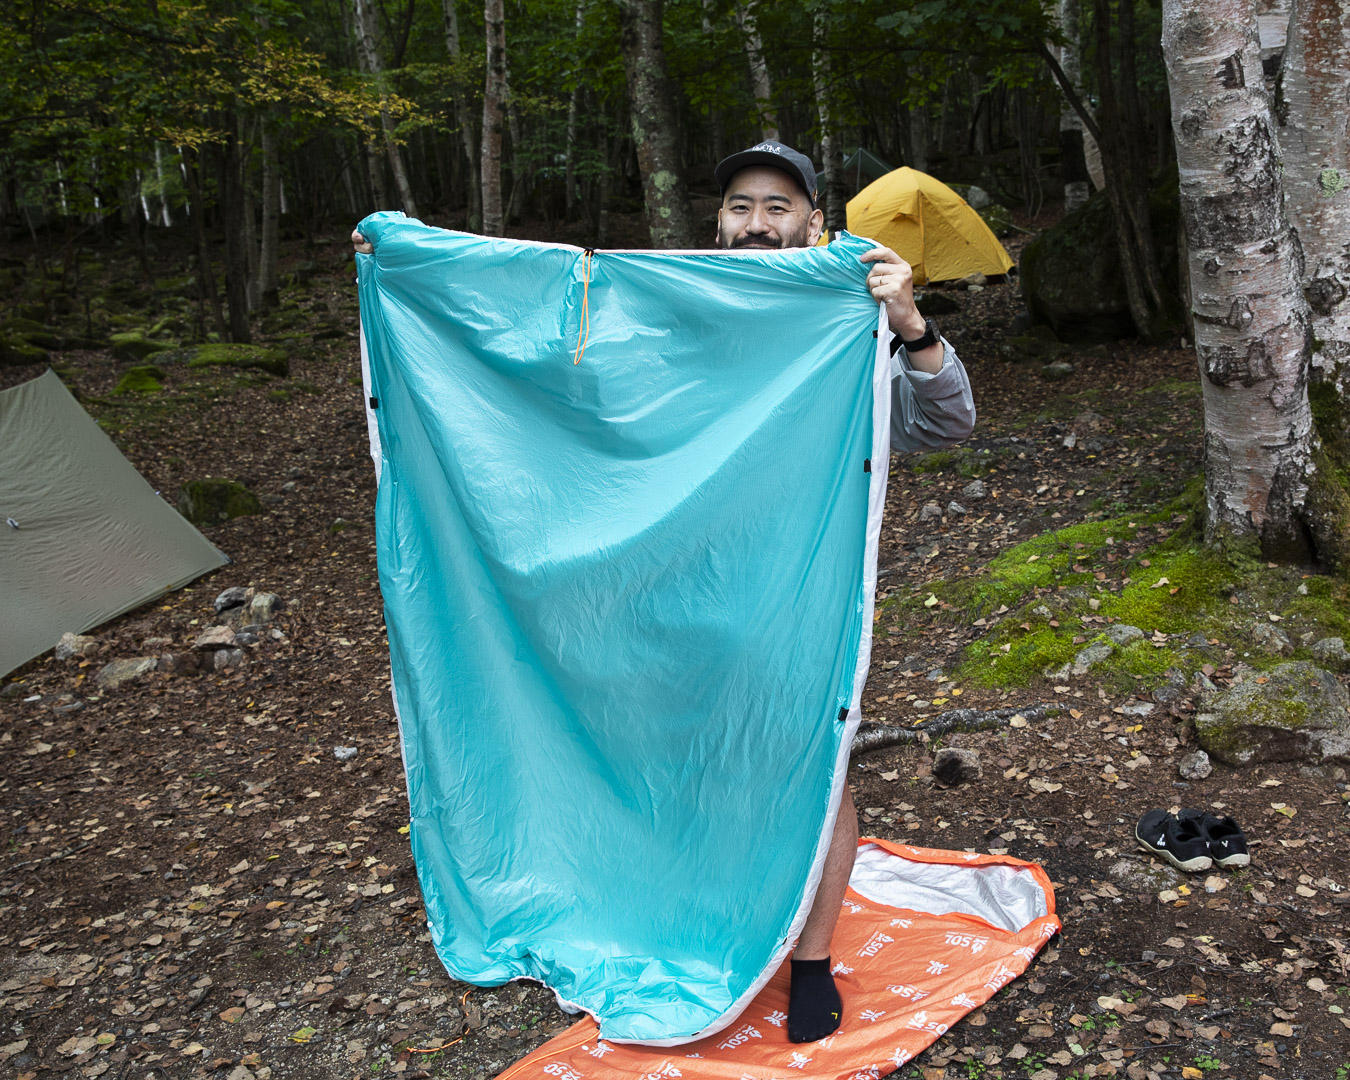
When the quilt’s snaps and bungee cords are undone, it opens up into a flat blanket-like futon.
Yes, you can cinch it tight at both the top and bottom. I modeled it after a quilt from Enlightened Equipment.
— Is the structure exactly the same at the top and bottom?
Not quite. The overall shape is trapezoidal, narrowing toward the foot end. At the bottom, it cinches from both sides, while at the top, it can be adjusted from the center so you can tweak it while lying down.
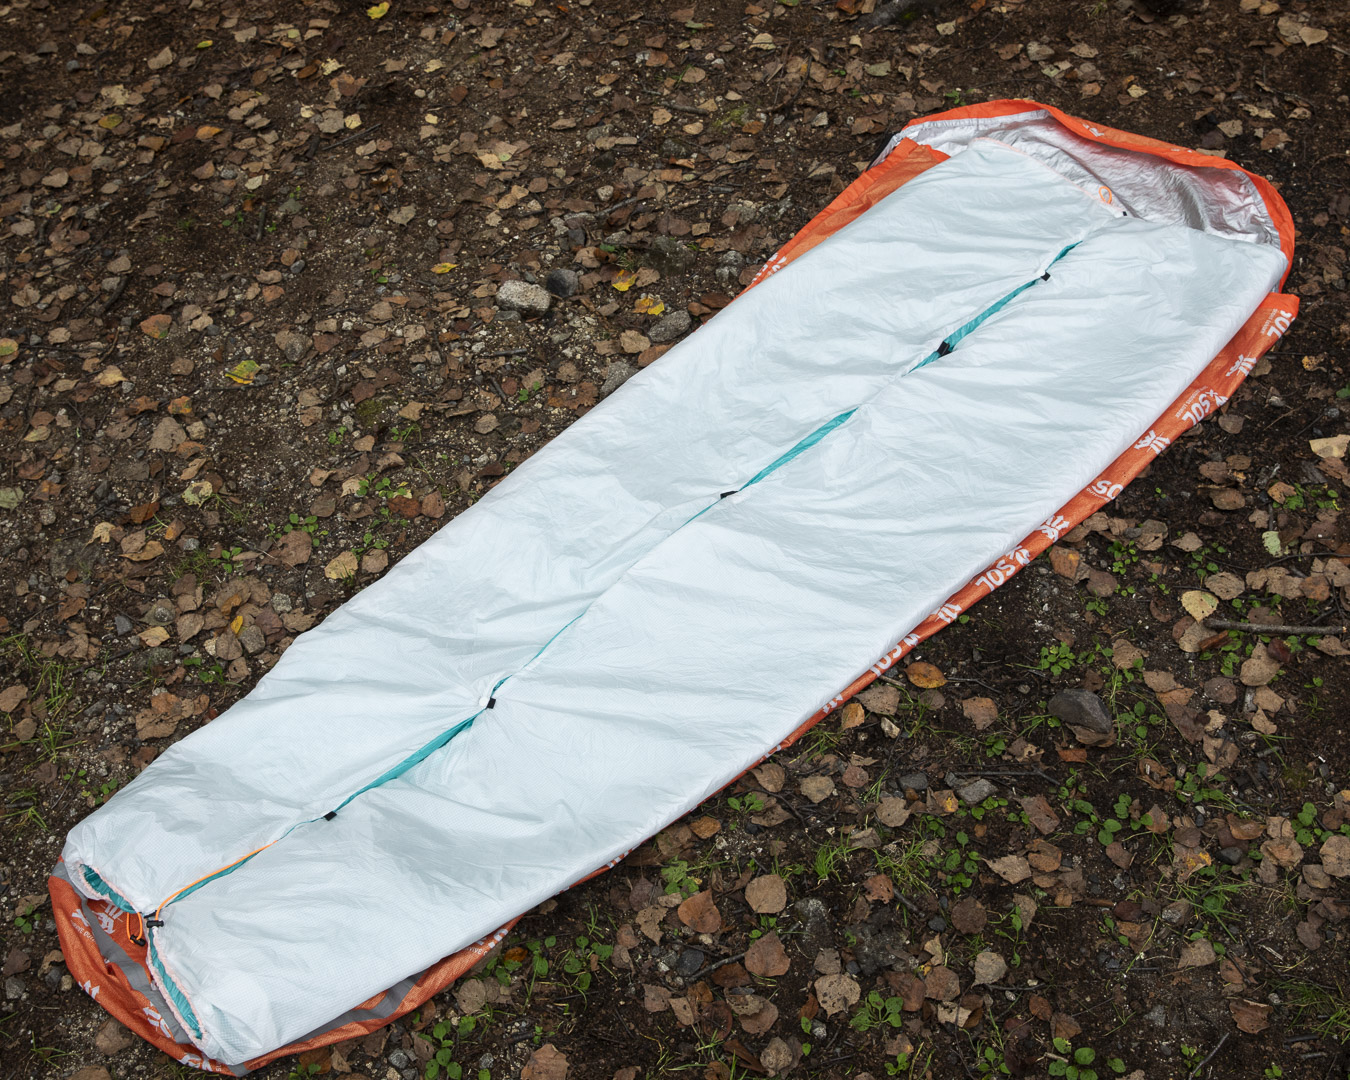
— About how much does it weigh?
When I measured it, it came to 325 g.
— And what about this backpack?
Up until now, I’d made simpler things like drawstring daypacks or attack packs, without much structure or frame. But this time, I wanted to create something more solid — with the capacity and load-bearing strength for overnight trips — while also reflecting the design and structure I personally wanted right now.
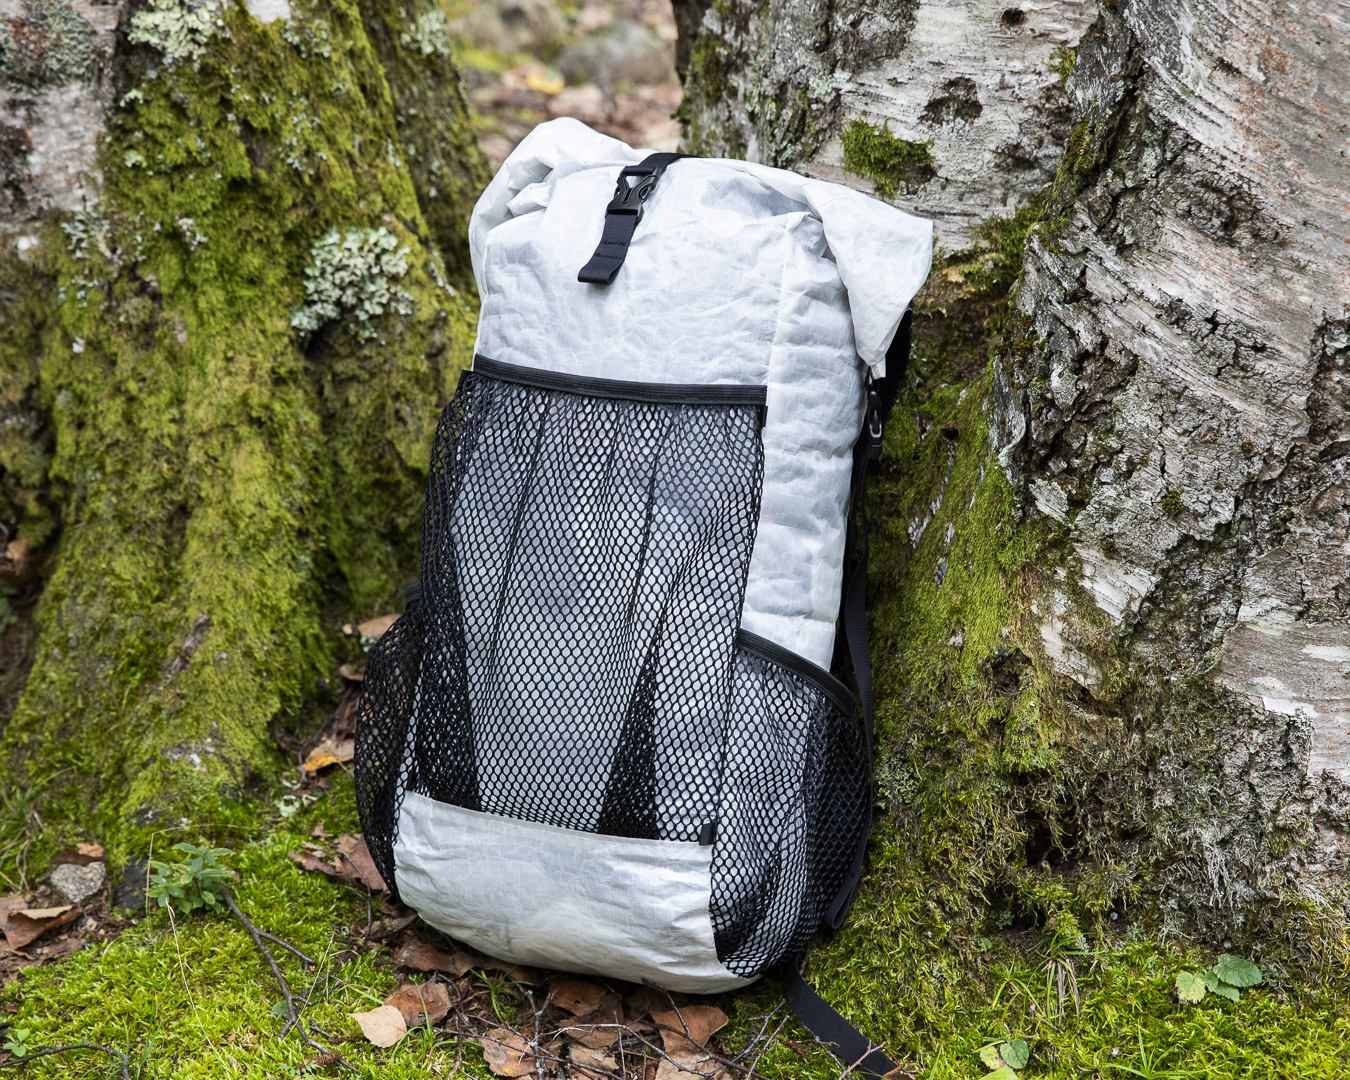
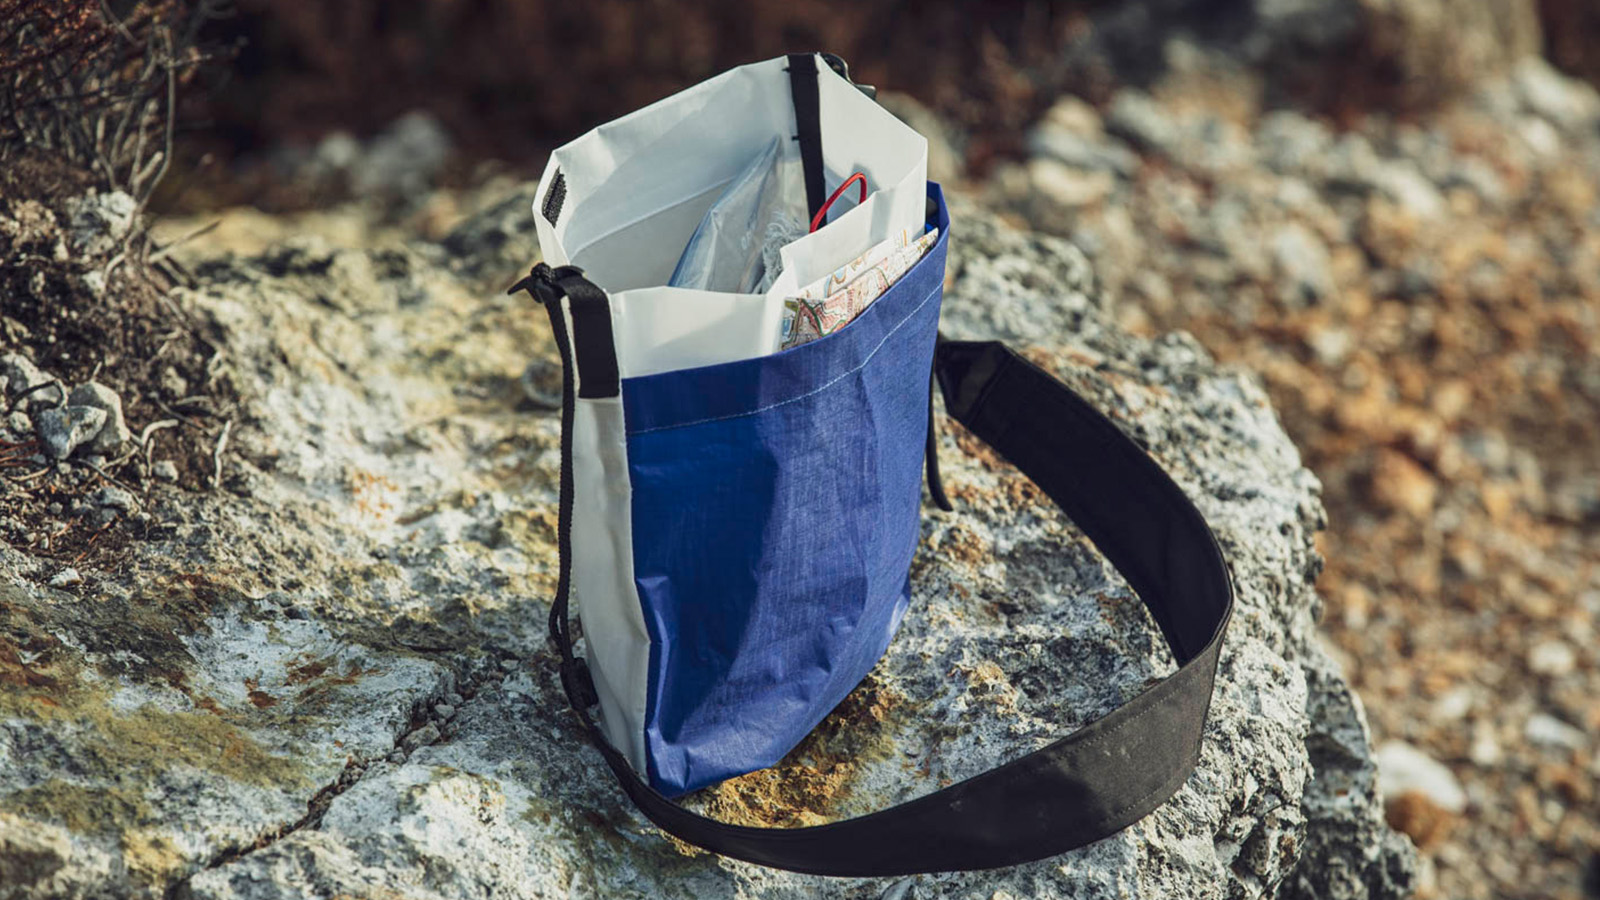
A minimalist backpack inspired by a Pa’lante kit, tailored to his preferred size and specifications.
—What kind of pack did you want to make?
I often use the Yamatomichi MINI2, but lately it’s been feeling a little too big. For one- to two-night trips, I thought a smaller size would be better. So first, I wanted to hit that size, and also strip away the parts from existing makers where I felt, “this is unnecessary” or “I don’t need that.” I really like the Hyperlite Mountain Gear Windrider 2400, so I based it on that but adjusted it to the size and features I personally wanted.
—How did you approach the back panel design?
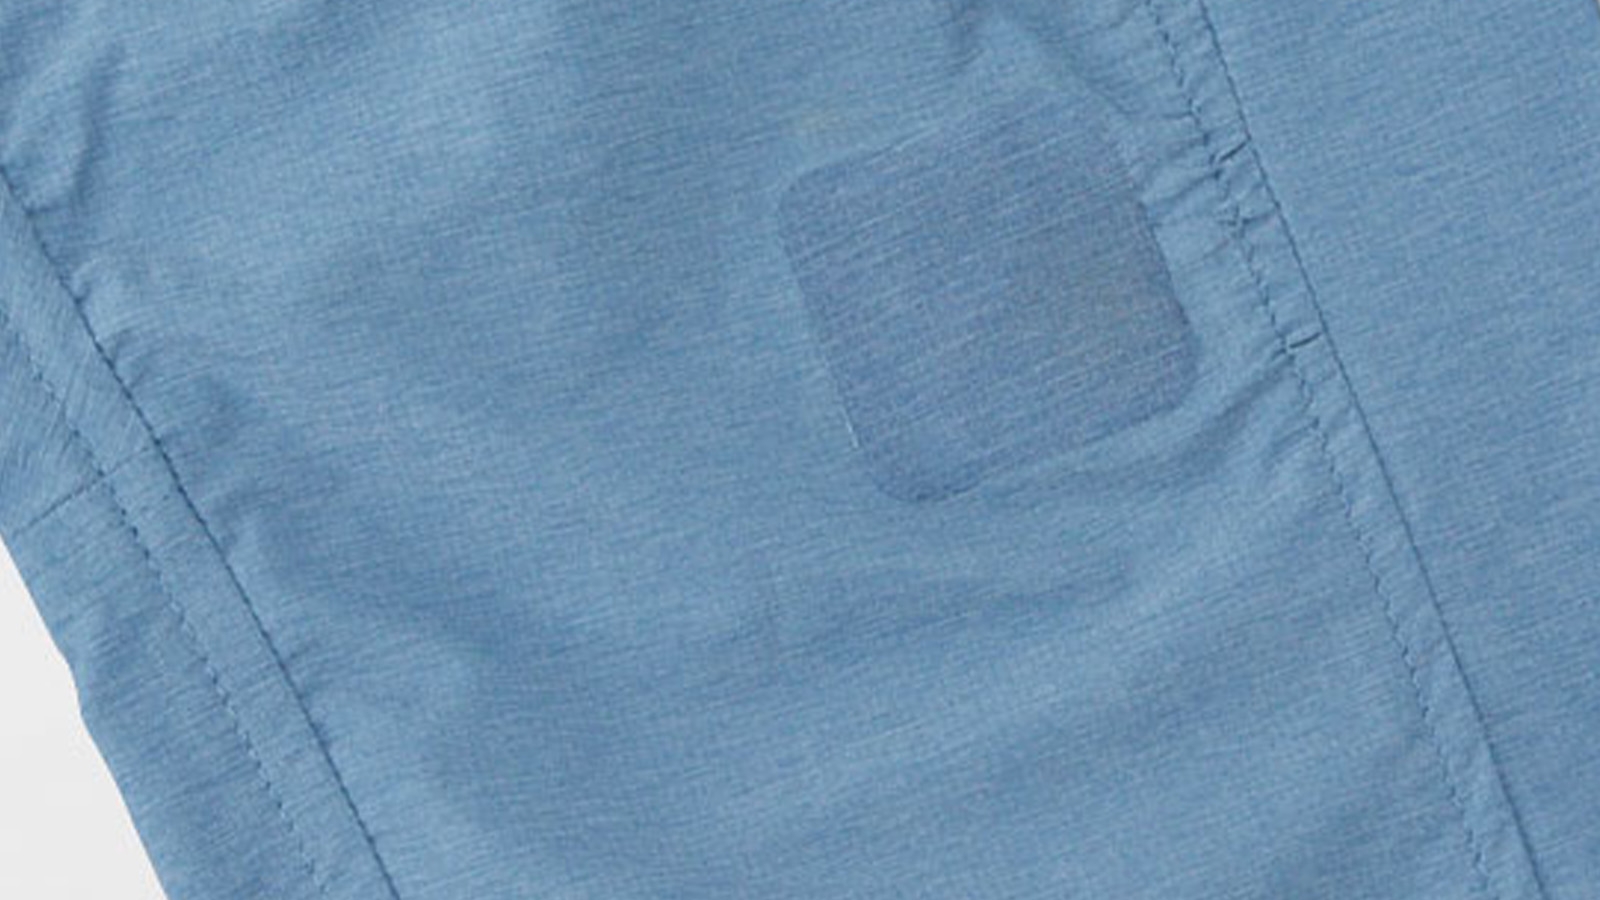
I started with a kit from Pa’lante and gradually modified it. For example, while packs like the MINI are about 250mm wide, I narrowed mine down to around 230mm. I also switched materials: I didn’t like how water-absorbent fabrics soak through in the rain, so I used a hydrophobic DCF hybrid instead.
—Have you actually used it yet?
No, this is my first time. I just finished it last night.
—Last night!? Wow!
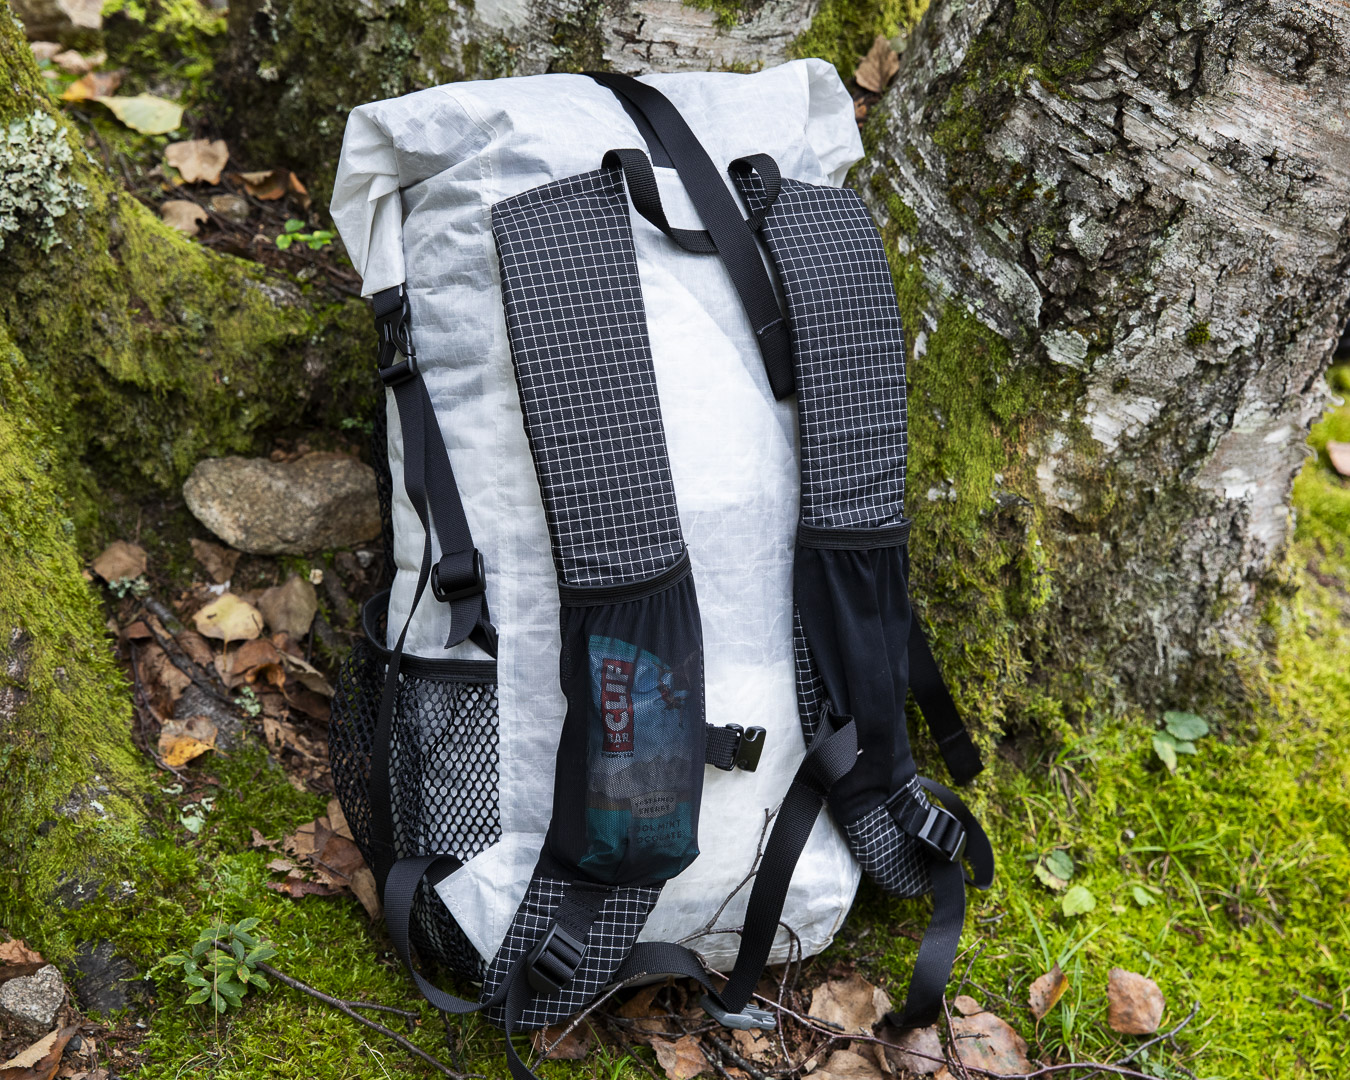
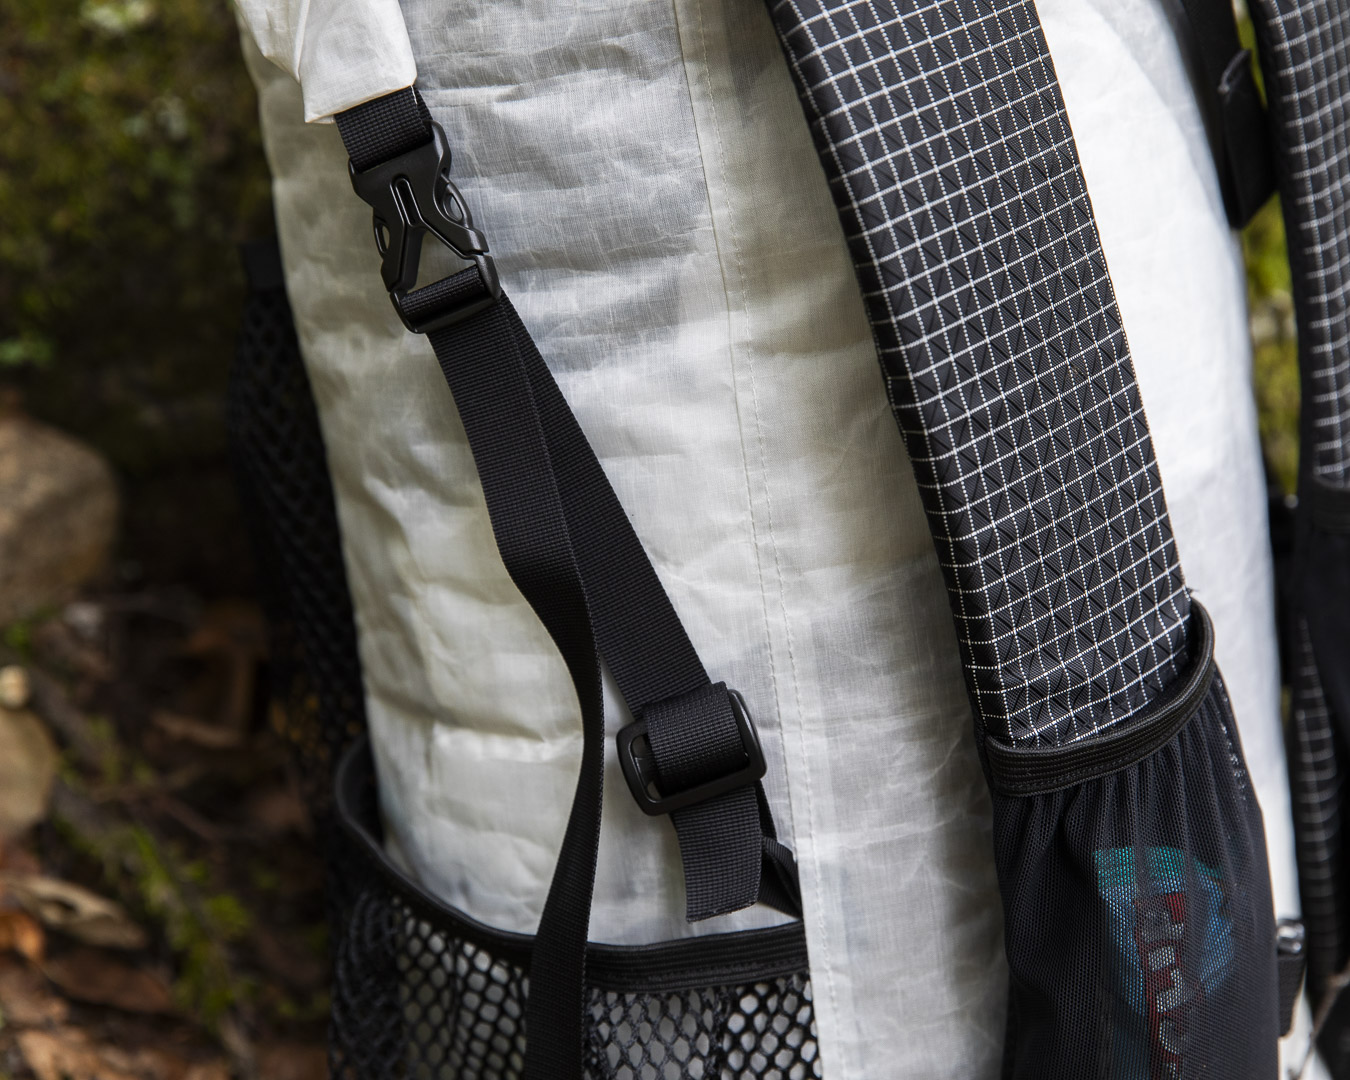
As an original feature, the main opening can also be secured from the side, but I designed it so the base can be detached. That shaves off a little weight too.
—Don’t you think compression is important for backpacks? With this size, can you go without it?
Yes, that’s right. Once you pack in everything you need for an overnight trip, it’s just the right size, so I figured compression wasn’t really necessary. Also, as a personal preference—up until recently I’d always used a waist pouch—but I wanted to keep the waist area clean. So I thought it’d be nice to have shoulder pockets, and I added them.
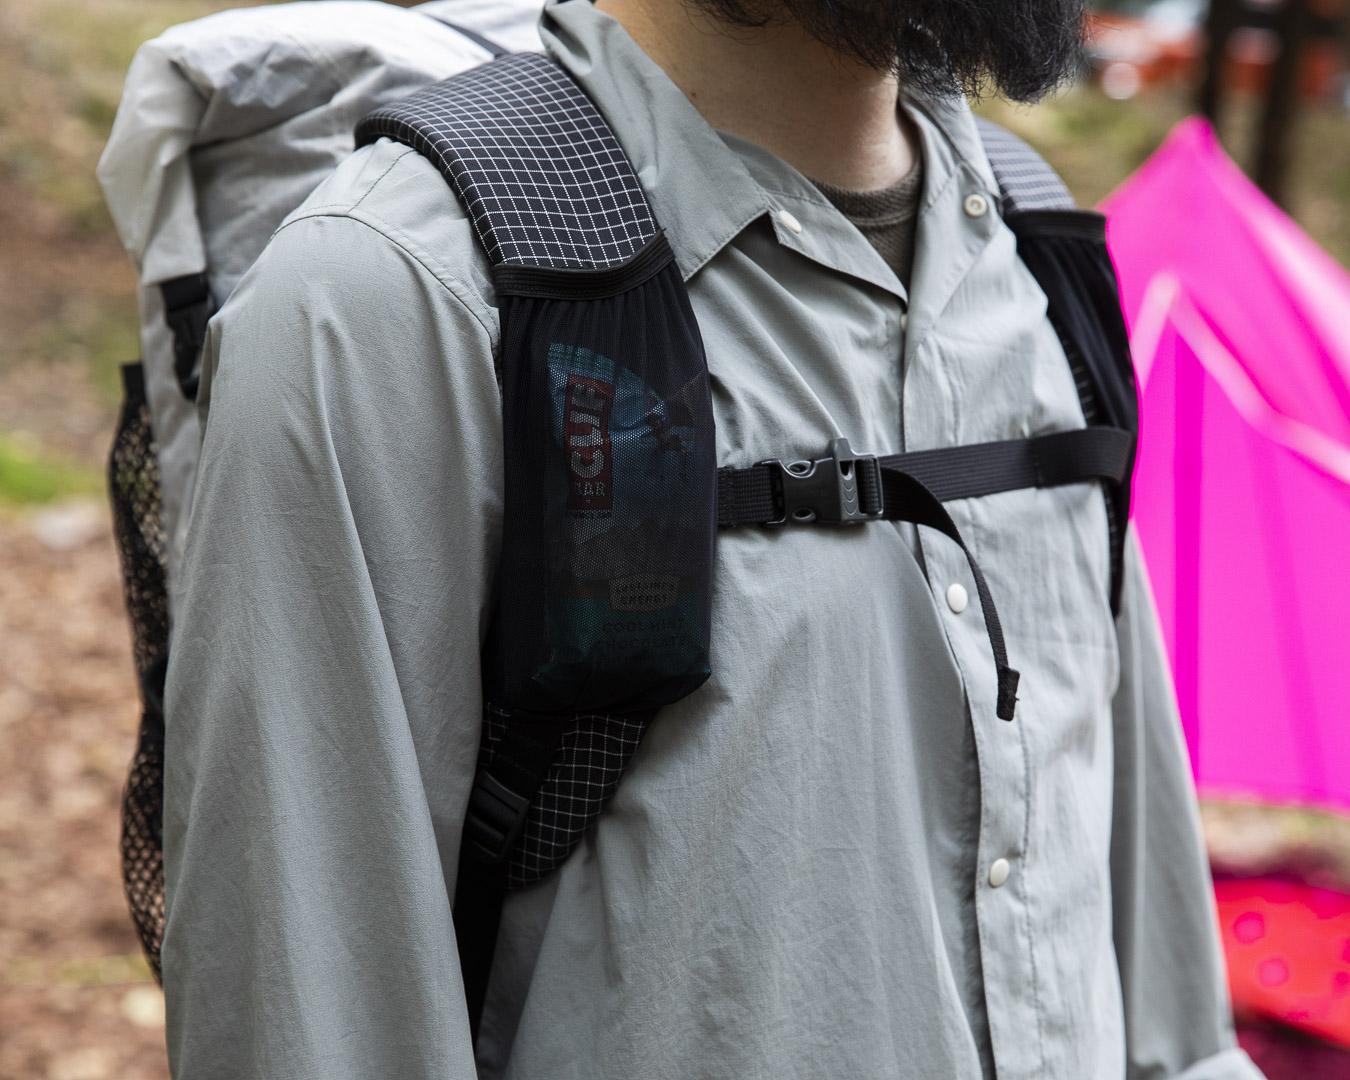
—You must be excited to try it out.
Yeah, once I packed it and put it on, it felt really good. I’m also quite satisfied with how it looks and the overall sizing.
—It must feel great to have finished it.
Yeah, making something this solid really helped me understand the structure, so now when I look at other packs I can imagine, “Ah, they probably built it this way.” And the nice thing is, since I made it myself, I can repair it myself too. If something tears, I can just undo a bit here and fix it.
—Did you design all the shapes of the panels yourself too?
For the sides, I just used parts from an existing kit but changed the material. For the front pocket, I thought about how long to make it and how many folds to add. I also borrowed some ideas from looking at commercial packs, thinking, “Oh, that’s a clever method,” and incorporating them.
—And what kind of tent are you thinking of making?
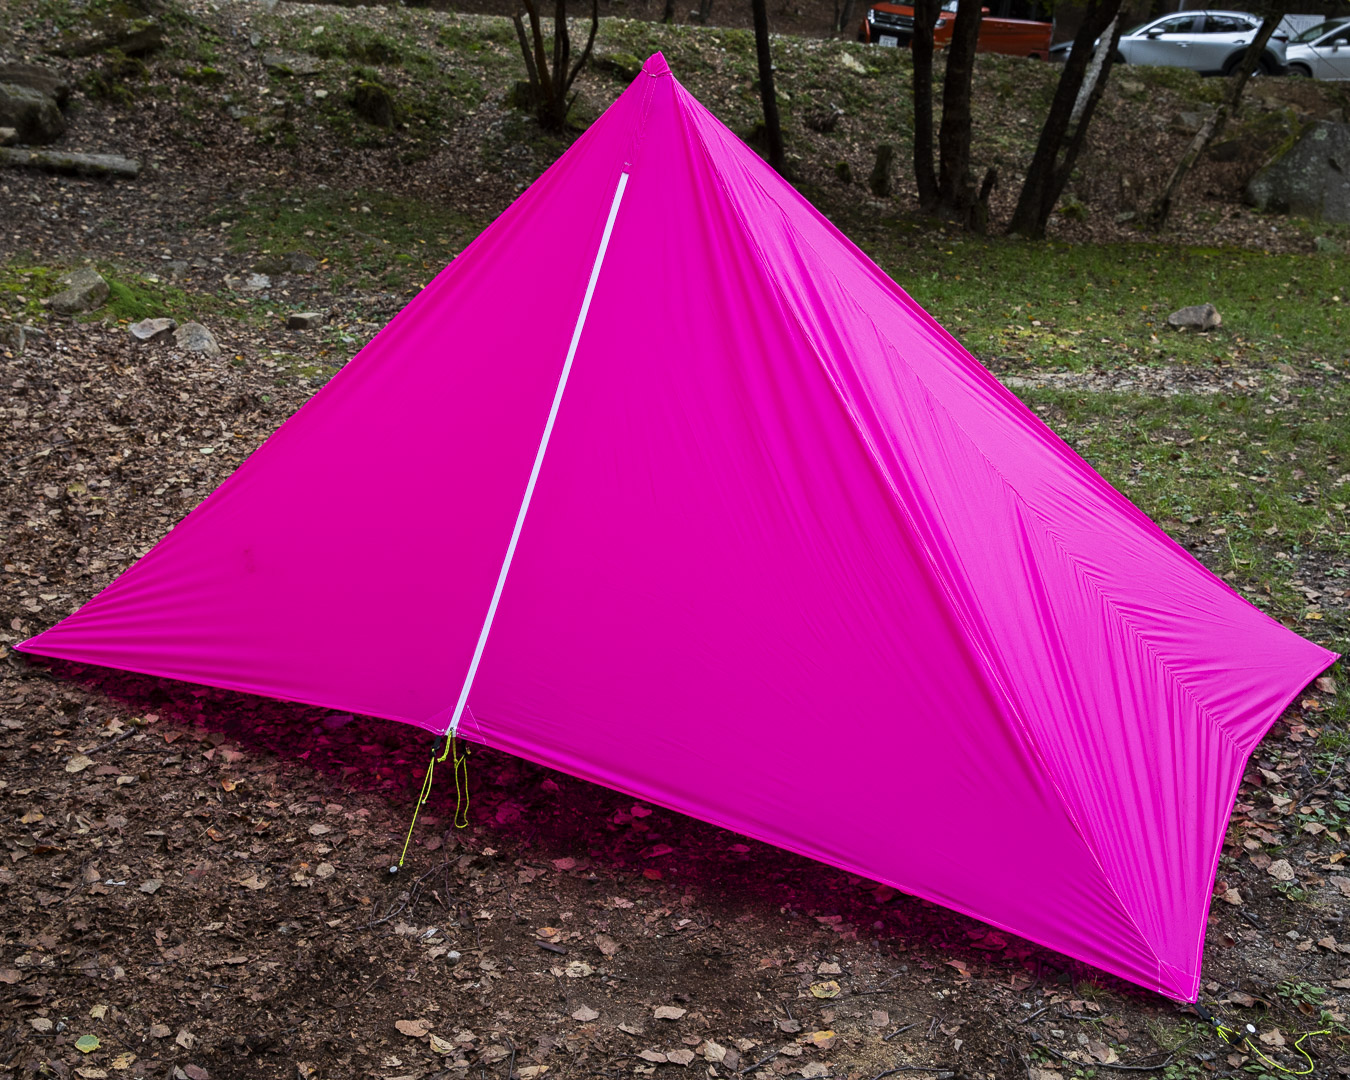
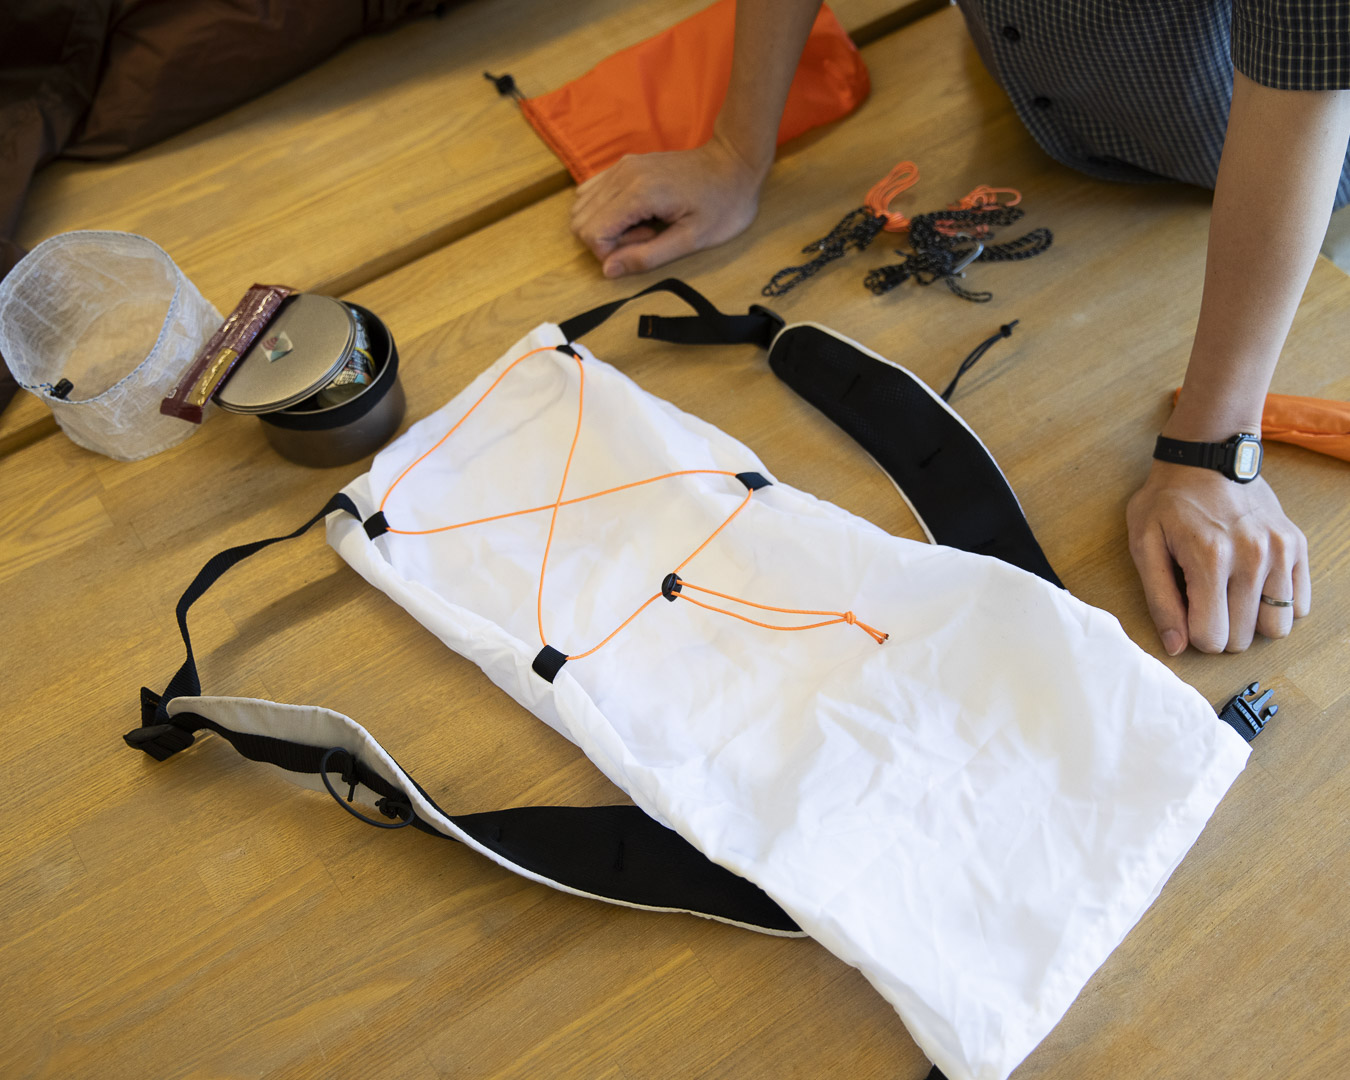
A one-pole tent inspired by the Locus Gear Khufu. Its shocking-pink canopy really stands out at the campsite!
This model was inspired by the Locus Gear Khufu. I didn’t own one, but I wanted it, so I decided to make it myself. I had originally wanted to build a one-person, single-pole tent, so I thought, “Well then, why not make the Khufu I wanted?” That’s how I started. The weight came out to about 363g.
—Since the Khufu is 470g, that’s quite a bit lighter. How did you design it?
I looked up the base dimensions and height of the Khufu, then modeled a square pyramid in free CAD software to calculate the diagonal and slanted edge lengths. That’s what I used to make it—no paper patterns. I built a half-scale prototype with Tyvek to test how to fold and sew everything, and then went straight into making the full-sized version.
—What was the hardest part?
At this size, cutting the fabric was really tough. The longest side is over two meters, so even a small shift at the start creates huge differences in the end. But I figured things would get misaligned anyway, so I just decided to balance things out along the way and not stress too much about it.
—So you kind of fudged the alignment at the apex here?
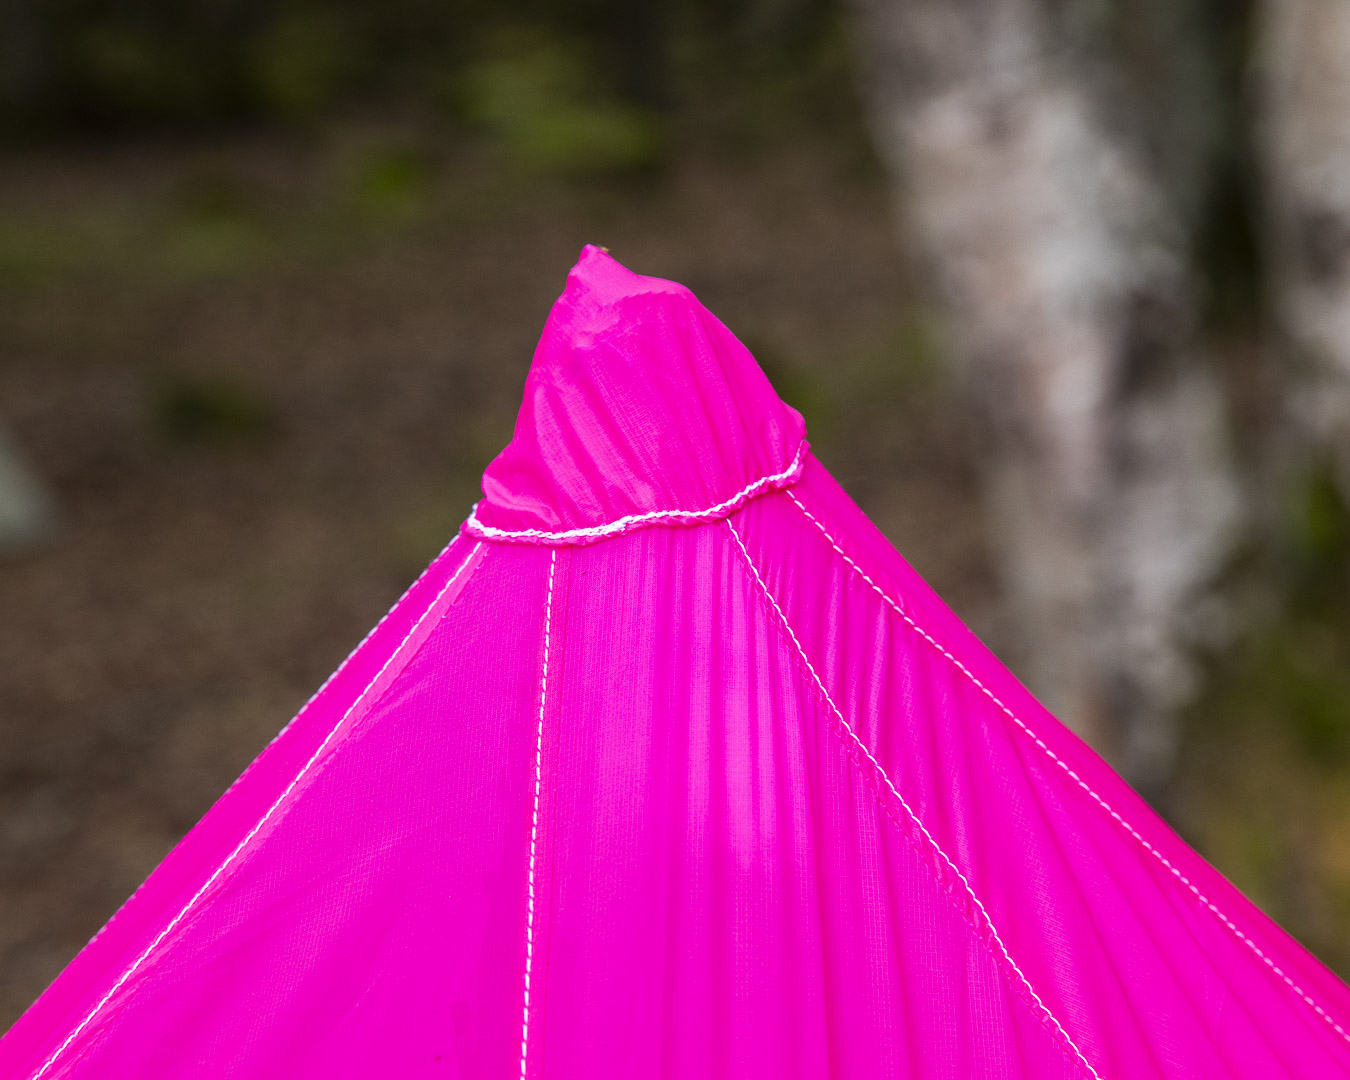
Yeah, that’s right (laughs). But even while basing it on the Khufu, I added my own little tweaks and also drew inspiration from good features in other models.
—For example, what kind of features?
Normally, with the entrance you open one side and roll it up to secure it, but I wondered if there might be a cleaner, simpler way—something that wouldn’t take extra effort but would also look neat. While looking around, I found that Hyperlite Mountain Gear’s Mid 1 and Mid 1 Tarp use magnets, so I copied that idea and made mine magnetic. However, with the Mid 1 the magnets are sewn in on both sides, so even if you don’t use them, they’re still there, which I didn’t like. So I made mine removable. Of course, there’s a chance of losing them, but since they’re so simple and cheap to make, I just approached it with the idea that I can always make new ones if they get lost.
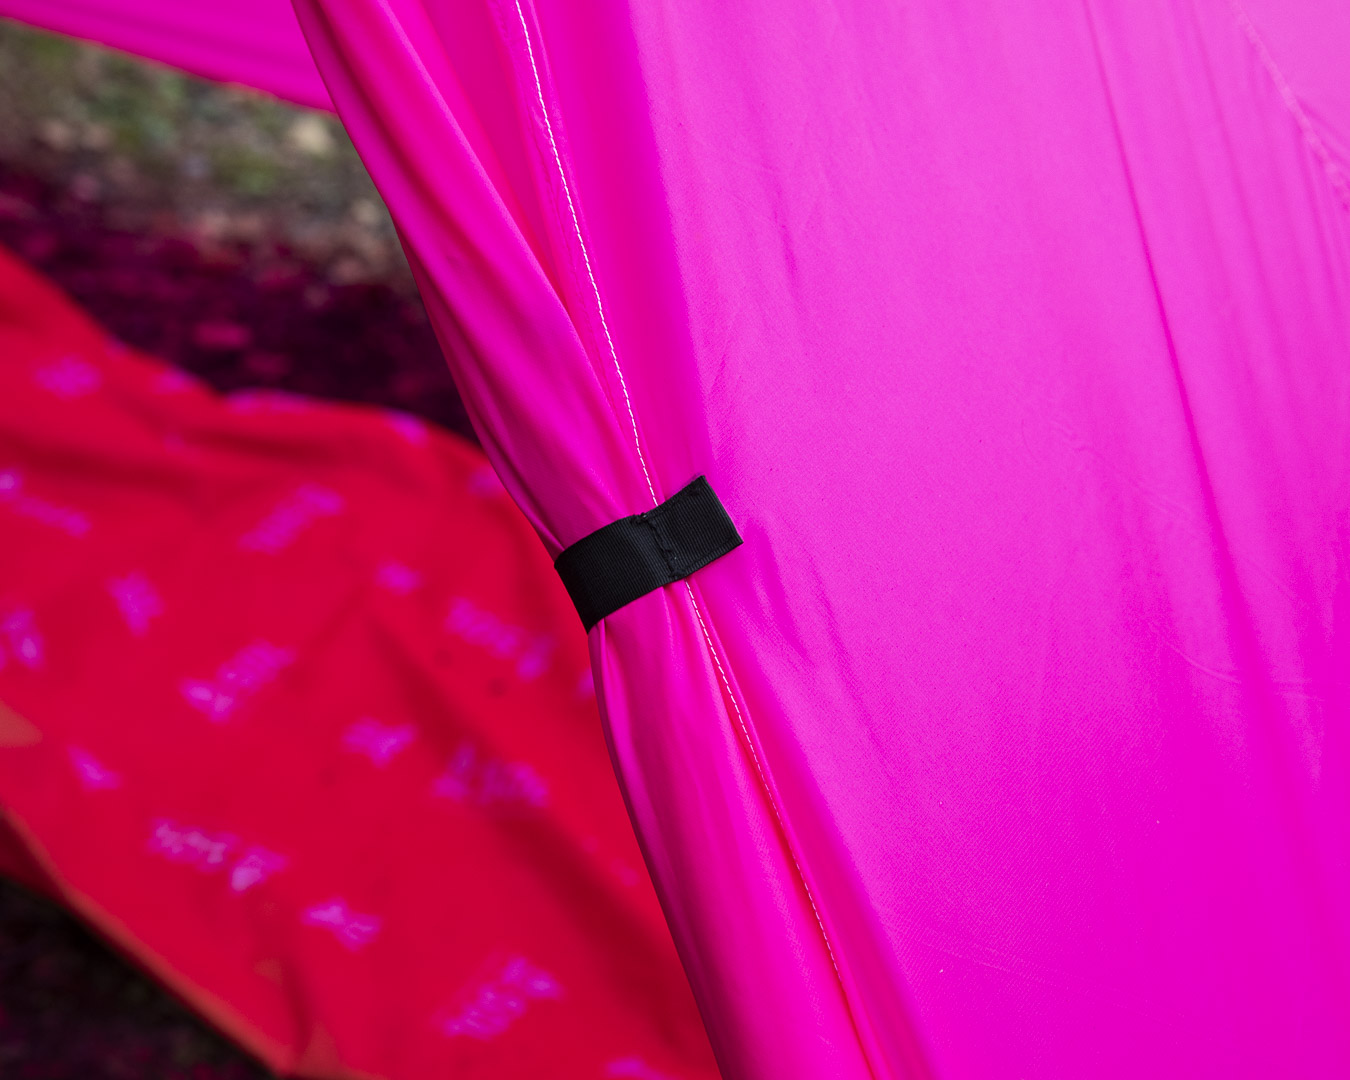
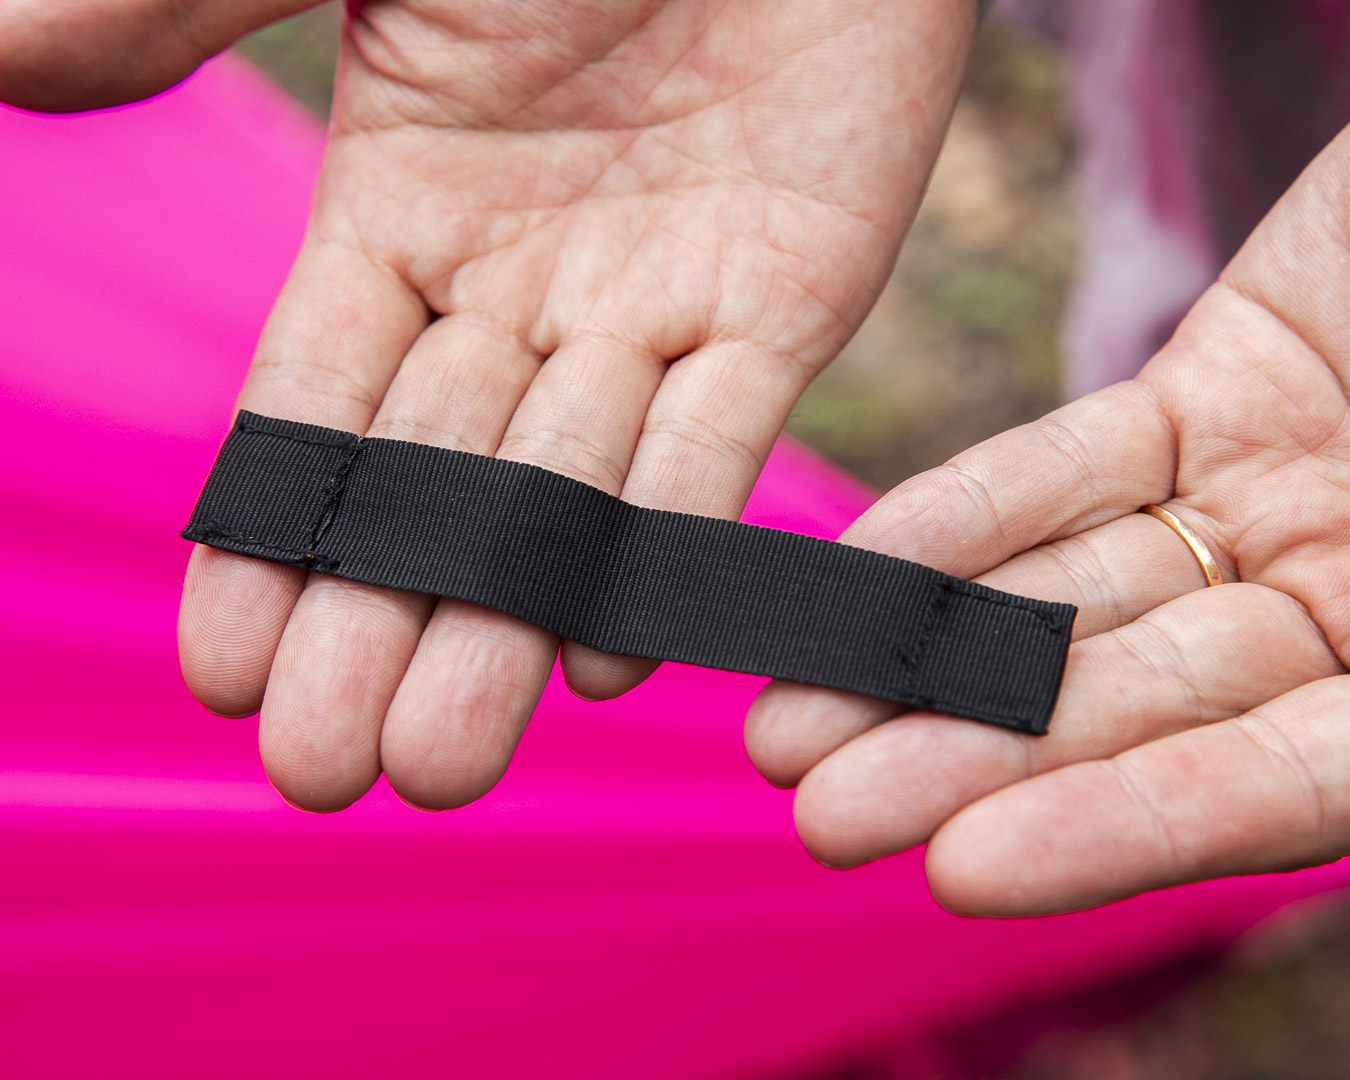
The rolled-up tent flap is secured with a nylon strap embedded with magnets. A simple yet brilliant idea with plenty of possible applications!
—Have you already used this one?
I did one test pitch, and I also brought it to the mountains and set it up there.
—How was it then?
When I actually pitched it, I found I couldn’t get it perfectly taut, and I thought it would’ve been better if I’d added more points to tension with guy lines. But even so, I was just happy that it held its shape at the minimum level.
—Do you still have more MYOG ideas coming to you?
Yeah, for example with tents, I’d like to try making an even smaller, more compact one-person model. With backpacks too, once I built one I realized the size didn’t feel quite like I’d imagined, so there are definitely more things I’d like to change. I also tried using synthetic insulation in a quilt for the first time, and I was surprised that I could actually handle it. That made me think I could probably make something like a synthetic-insulated jacket as well. So basically, I want to keep making whatever I feel I can.
—Has MYOG changed the way you see things?
Since starting MYOG, I’ve begun looking at how things are constructed. Because I’ve worked with my own hands, I understand what certain design choices mean. Like, “This is how they’re adding strength,” or “This is how they’re improving usability.” And conversely, I can also see when corners are being cut, or when a simpler finish is being used (laughs).
—Where did you get your information?
I learned a lot about sewing and machines for MYOG at TRAILS INOVATION GARAGE. I’d show them what I’d made, and they’d give me advice like, “It’d be better if you did it this way.”
—Do you use a home sewing machine?
It’s a semi-professional one. A JUKI SPUR 30.
—Do you feel that using a professional-grade machine is necessary?
Honestly, I don’t really know. That’s because I’ve never used a home machine. When I decided, “I’m going to do MYOG!” I already admired that blue JUKI logo, so I just thought, “Okay, I’ll buy it!” and started using it right away. So I don’t actually know how powerful it is compared to a home machine (laughs). But since I have it, I feel like I really need to keep making things with it.
—What do you want to make going forward?
Right now I’d like to try making caps, or using fabric I’ve printed myself to make things. That sounds fun. It’s not that I want to create something revolutionary, but I think MYOG is all about making the things you personally want, or saying “I wish it were like this,” and then actually doing it.
—Do you have any advice for people who want to start MYOG?
If you try, you’ll find it’s surprisingly doable, and things will work out somehow. Don’t be afraid—just make it, and if you like it, that’s good enough. Whether or not it’s “amazing” isn’t what matters. Even if it’s just an imitation, or only different in color, the fact that you made it yourself gives it value. So I’d encourage people to try it casually.
【To be continued in Part 2】
Working as a photographer for cultural and music magazines, a deep passion for adventures emerged. Drawn to the grandeur of nature during adventures to many countries, Masaaki began hiking as a way to connect with nature. Before long he was working for outdoor magazines, with writing assignments, leading to the current state of not knowing his main profession. As a writer he, continues to pursue ultralight hiking and the culture of Japanese independent makers as a lifelong passion. Through a work-related interview with Yamatomichi’s founder Akira Natsume, he gradually found himself in his current positions through sharing drinks and going on hiking adventures with Akira.
Series: HLC Report